When you click on links to various merchants on this site and make a purchase, this can result in this site earning a commission. Affiliate programs and affiliations include, but are not limited to, the eBay Partner Network.
Thanks for the link but pardon my ignorance....those look different than the ones in the picture and the ones on my vehicle. Am I missing something? What I'm seeing on my is a little ball that pops into a socket on the fender side.
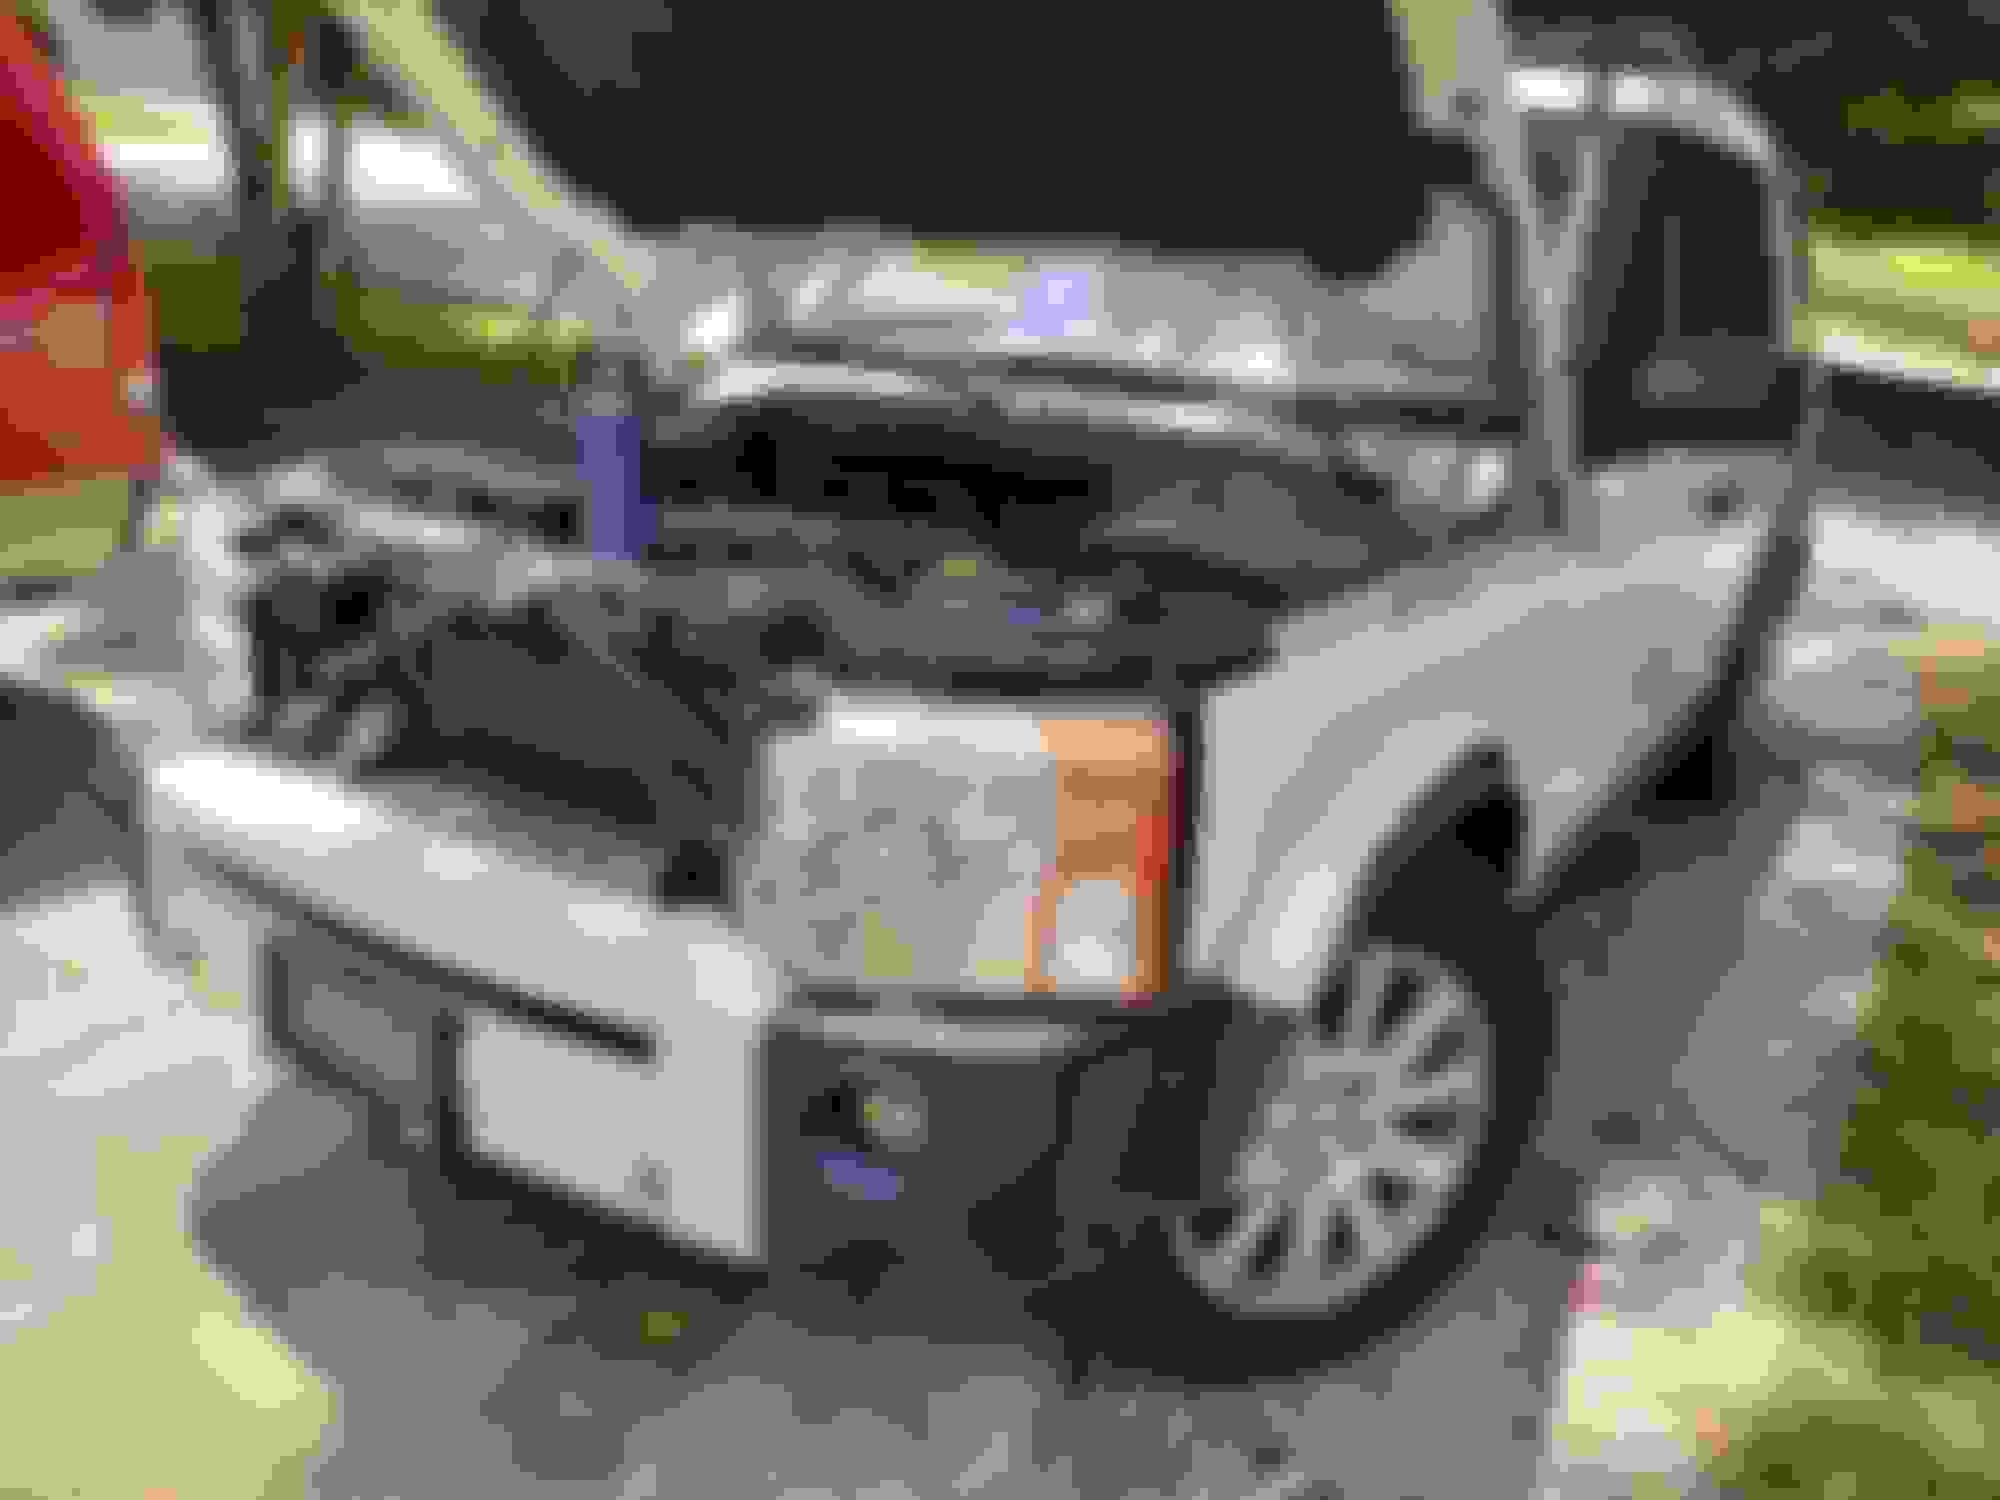
So this one is Pretty straight forward with only 2 real surprises
1. Pop the hood
2. Remove the grill
3. Remove the headlight
4. Pull the screw that goes to the backside of the fender flare trim
5. Moved down to the bottom of the fender flare trim at the rocker area. Pull the Phillips screws and 10mm bolt in the bottom
6. Remove the pop clips and Phillips screw that secure the flare and fender liner together. There are 2 screws also that go into the fender in the back of the wheel well near the bottom.
7. Pop the flare and rocker trim off
8. Pull the 3 top torx bolts. The one near the cowl is a bit fiddly but with the universal you can play the angle and get it out.
9. Pull the 2 torx bolts at the front corner near the bumper.
10. Last bolt is about half way down the the back edge of fender. You can use the 10mm to pull the adjustment bolt and leave the bracket or the 13mm to remove the bracket with the fender. I had to do the 13mm route due to the damage on the fender from the P.O.
Assembly is the reverse. Quick easy job that got rid of a nasty dent and a chunk of missing paint.
I need to do the same to my passenger side fender. Where did you get that fender? I need the other side?