When you click on links to various merchants on this site and make a purchase, this can result in this site earning a commission. Affiliate programs and affiliations include, but are not limited to, the eBay Partner Network.
Been a busy few weeks catching up deferred maintenance on a new-to-me 2007 4.4lv8 LR3 - with spark plugs and front/rear differential fluid changes completed yesterday and today. Had a local independent shop replace the tranny pan, filter and fluid, brake rotors and pads all around, and an alternator going bad. A transfer case fluid change is next, then installing the LRPassion manual tailgate opener as a preventive measure.
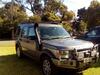
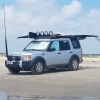
I've also replaced the windshield cowl, spare tire winch (frozen), and added a trailer harness and trailer brake controller as I'll be using the LR3 as a tow vehicle for an old Seven.
Recent posts to this thread have me thinking about replacing the propshaft - the bearing carrier was close to full delamination. I replaced it with the darkside development carrier, but am rethinking that decision. There is a little driveline noise I haven't id'd, yet, so propshaft bearing and cv joint are theoretical contributors. The front differential fluid was dark and maybe a bit low, but nothing other than the usual paste on the drain plug magnet. The rear diff fluid was remarkably clean, maybe thin, and only a little paste on the plug.
Installed a block heater today and did a citric acid flush of the cooling system. Tomorrow I will be putting in a new water pump and t-stat housing. As well as that small coolant hose behind the pump - figured since the housing will be out, best time to do it. All the other hoses next year.
Hard to say if the acid flush helped since its very clean not but I have no reference to before. Got the new water pump installed. AC Delco, will see how well it does. I did it as a measure of preventative maintenance not thinking my original pump was going. Almost 200k after all. Well, it was! Signs of a small leak and the bearing was a bit tight and not super smooth. So heading into winter, I am very happy I decided to swap. The crossover tube I bought from Parts Geek as genuine and it was OEM/LR indeed. So I am very happy with that too. Again, preventative since the original was old. Since it did last as long as it did maybe it was replaced once already. But I myself put nearly 100k on it. Looks like my next project will be a radiator swap since the input is breaking apart. Next summer I will be doing all the coolant hoses as I am seeing some deposits and cracks in the plastics.
By the way, used my method again for install of the hose behind the pump (LR006158). No need to remove intake. I used a worm clamp since the factory clamp gets caught up and then used some string tied near the end to pull it on. I purred some water before sliding it on to act as lubricant. Being new, I thought it would be harder to do but it slid on fine. Still a bit of monkey business sliding in the new one and getting it in position. Bit of a pinch point, but gently nudging got in back there.
I installed a block heater on my '05 in 2014. Being in Wisconsin you'll probably laugh at me for having done so, but it was just before a trip to the Yukon Territory...not so much for our harsh Washington winters when it sometimes gets down to 19F !!!
With the wild weather we have been having down here a large tree branch fell and the very end clipped the rear wiper on the disco stripping the plastic gear (2nd time this year), i sourced an STL file and 3D printed a new gear to rebuild the spare motor and swap them over. Removed the motor and opened it to find that only a small section of plastic had broken of a slider that the little rack runs on and meshes with the shaft gear, made a new piece from some HDPE drawer slide material assembled the motor and re-fitted.
Printed gear fitted to the other motor and added to the parts bin.
Having just returned from a 12 day adventure, which was by far the longest stay in one place with a tent for some years. Anyway we set up camp, put the fridge and battery in the tent, hooked up the solar panels and Starlink and just let them run in the background while we took our Disco 3 out for some trail rides with friends and family. The Bluetti AC200 kept up just fine, but I did discover was that I needed to re-work my storage arrangement in the Disco.
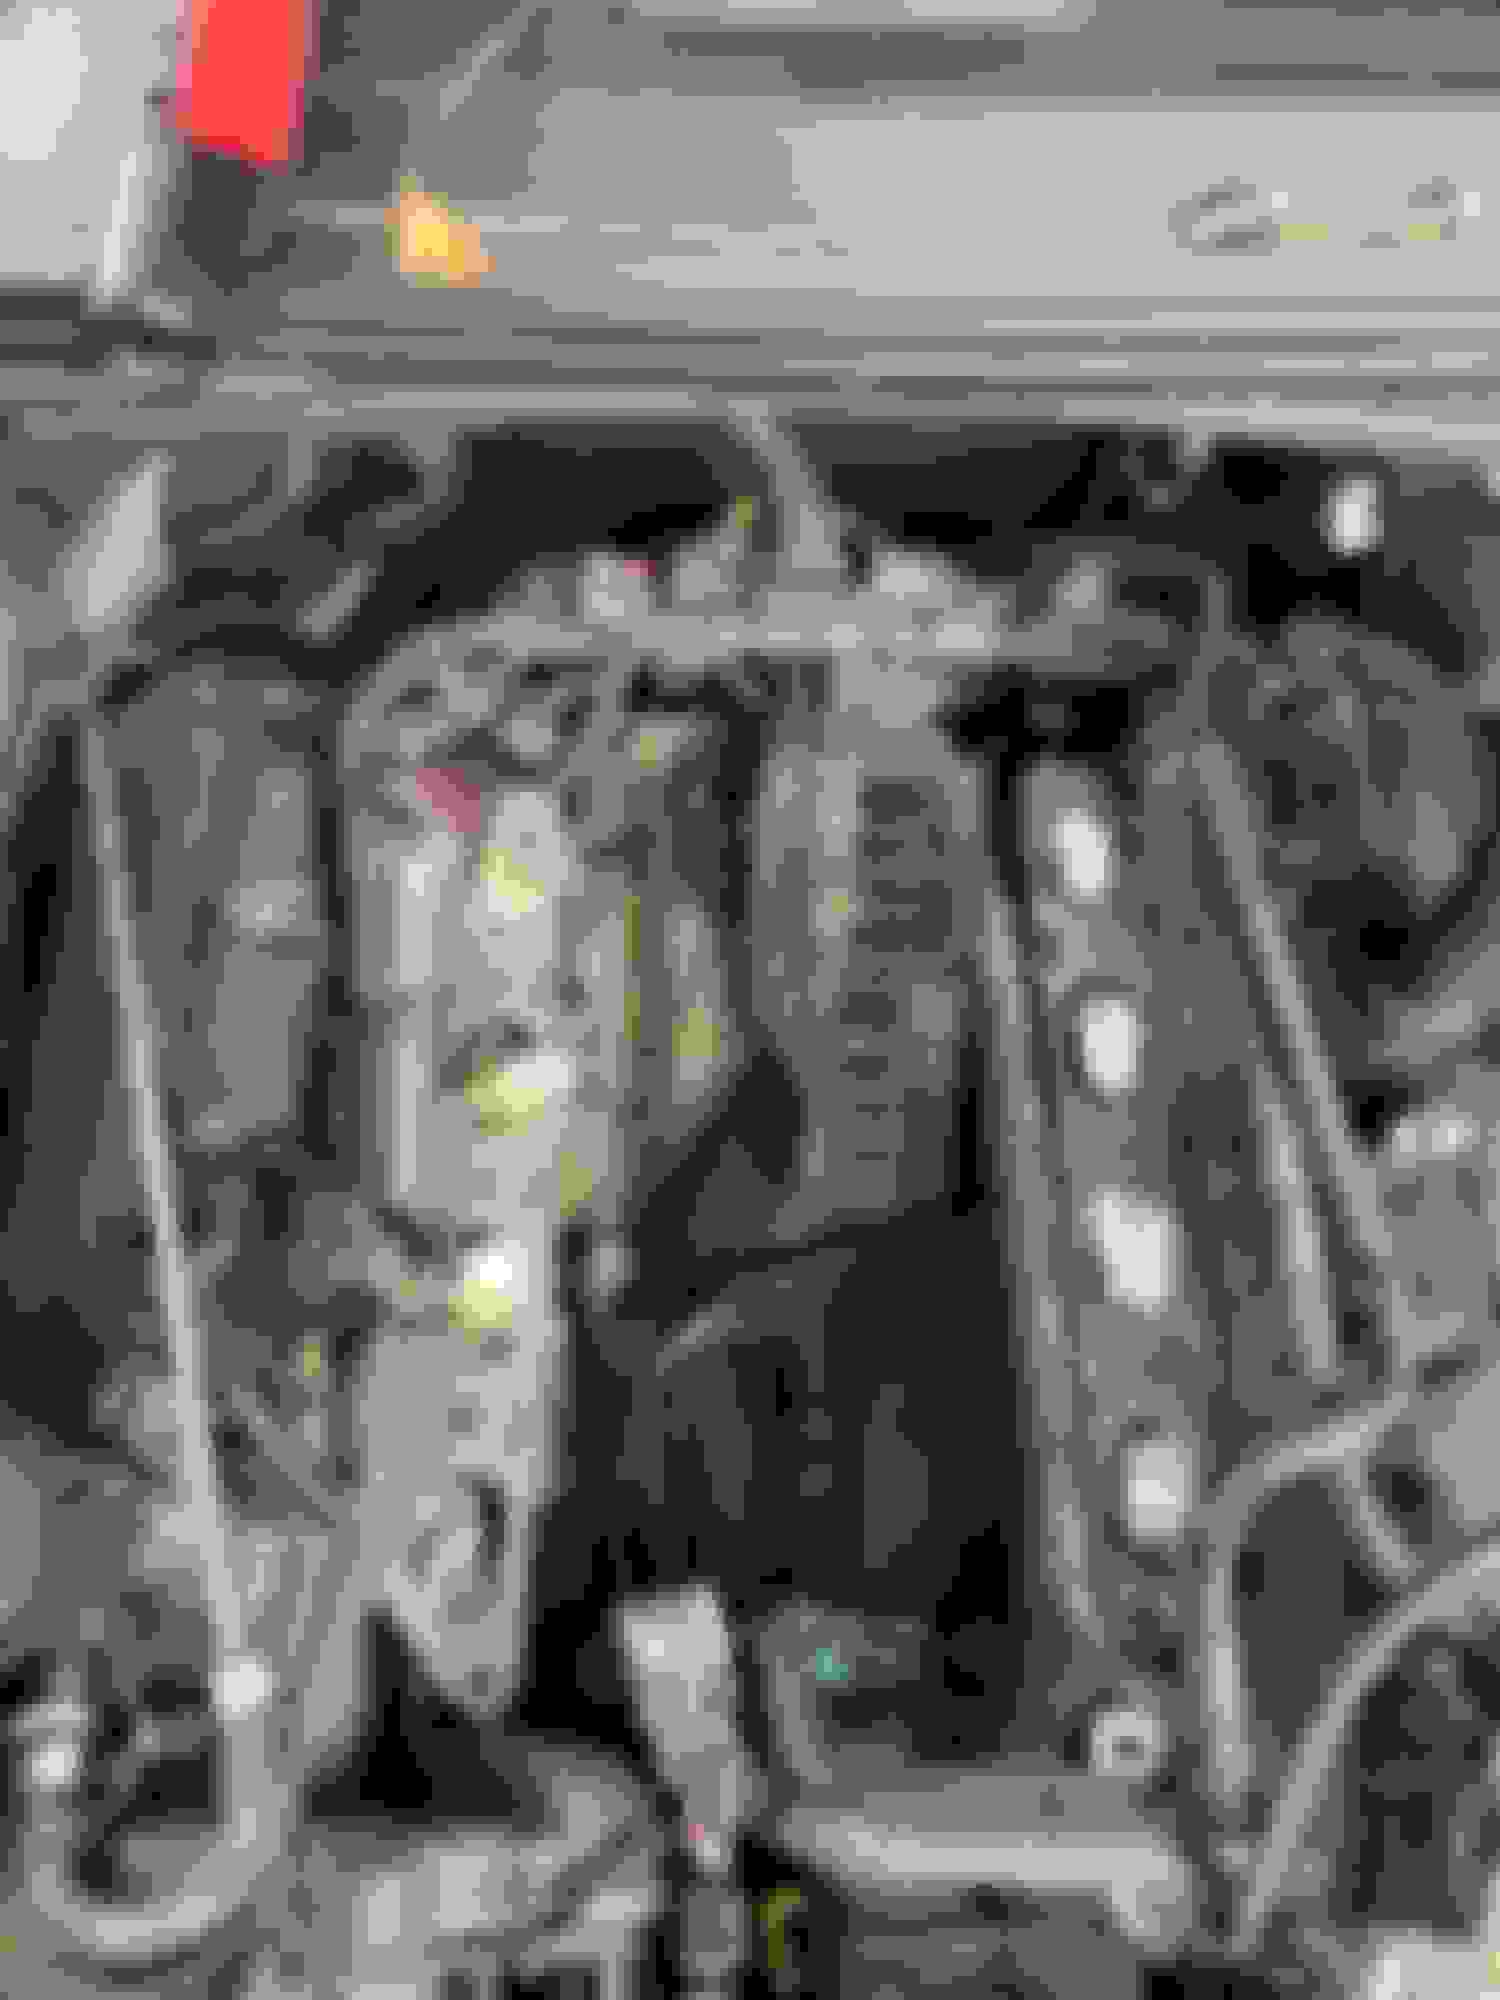
Before I had a single flat board that replaced the middle and rear seats and we just crammed everything in from the sides. The problem with this was I had to keep getting down on my knees to see into the storage area. So I re-designed it and came up with ...... This. Lockable latches that allow access from above. Much easier to see in. Also added some sides and was surprised that I did not loose that much space. I put the piano hinges in "up side down" to make them more flush with the floor. Also worked out for a self stopper when opened. I reworked the rear by making the opening smaller and putting just one latch for closing. I keep the usual car stuff here that I seldom need to get to but is nice to have when needed such as a tire plug kit, my tow receiver and hitch and jumper cables that connect to a 250 amp Anderson plug in the front grill. ( got tired of opening my hood and removing the battery cover to jump start my friend Toyota.
I still need to figure out how I want to finish it (carpet, paint, stain, bed liner etc.). I may run with it like this for a few more trip to see if it works or if I need to make changes.
We have a trip next weekend/week to attempt the whole 60 mile (and back) on Padre Island National Seashore. This time we will be car oriented rather than tent oriented so I may have a better understanding of what works and what doesn't
No bad! I pulled my second row also, I never really transport people. I have a module that drops in and secures via the old seat bolts incase of accident because its heavy with 18 gallons of water in it. Also has my aux power system and some storage. But I did leave one third row seat in because I sleep inside and if weather is really bad I can pop it up and chill in back comfortably instead o the crammed front seat. The other third row seat was pulled for the fridge, stove, etc. But I wish I had more floor storage like that. Recovery gear and stuff I don't use much would be great to pack deep away.
edit:
By the way, I use this carpet from Amazon. It is cheap and matches the standard Rover beige/tan interiors well. But because its cheap I replace it every year or two - this is mainly cause the dog brings in dirt and such. It physically holds up pretty well. With 3M spray adhesive, it is not terribly hard to remove and recover.
New rear parking sensor, a-pillar seal kit, and cowl panel cover. Very simple jobs that I�d been putting off for various reasons. I�d assumed the pillar and cowl had been done, but with most things seeing is believing. Now it�s done and I can be satisfied! I used Grace Vycor Plus, which is a butyl tape used to weather seal door and window penetrations, to seal the cowl. Covered the lower 1/2 so we can still get fresh air into the cabin.
Outer rear parking sensors can indeed be done without removing the rear bumper cover but it is difficult to undo the two retaining clips simultaneously with one hand. I ended up wedging a flat head screw driver under one and getting my finger under the other, using my remaining hand to push sensor out from outside the car.
Quick note: I�d avoid Vemo sensors. One of the pins on my sensor was bent; I was able to bend it back without breaking it, but it�s a high risk with connector pins.
Fully cleaned intake manifold, cleaned throttle body, reinstalled the refurbished original fuel injectors, installed all new intake manifold gaskets. Installed some new vacuum hoses. Installed the new front EBC brakes� rear coming soon with parking brake too. Much to do still. FYI my intake manifold is a rare manifold that is on very early models that came in from the UK into the USA. The upper manifold gaskets are stupid expensive and can only be purchased from Land Rover. It�s the green gaskets with the little waffle looking parts on them.
Engine is running amazing now! Super quiet and smooth. I still have a CEL on the dash for P0171 and P0174. Can�t find the issue to save my life.
Last edited by Coldwater; Nov 14, 2022 at 10:15 PM.