
Operation Magpie.


Camel Trophy
Joined: Jan 2010
Posts: 4,245
Likes: 402
From: Traverse City MI
Maximum warp is .002
Maximum reface limit .02

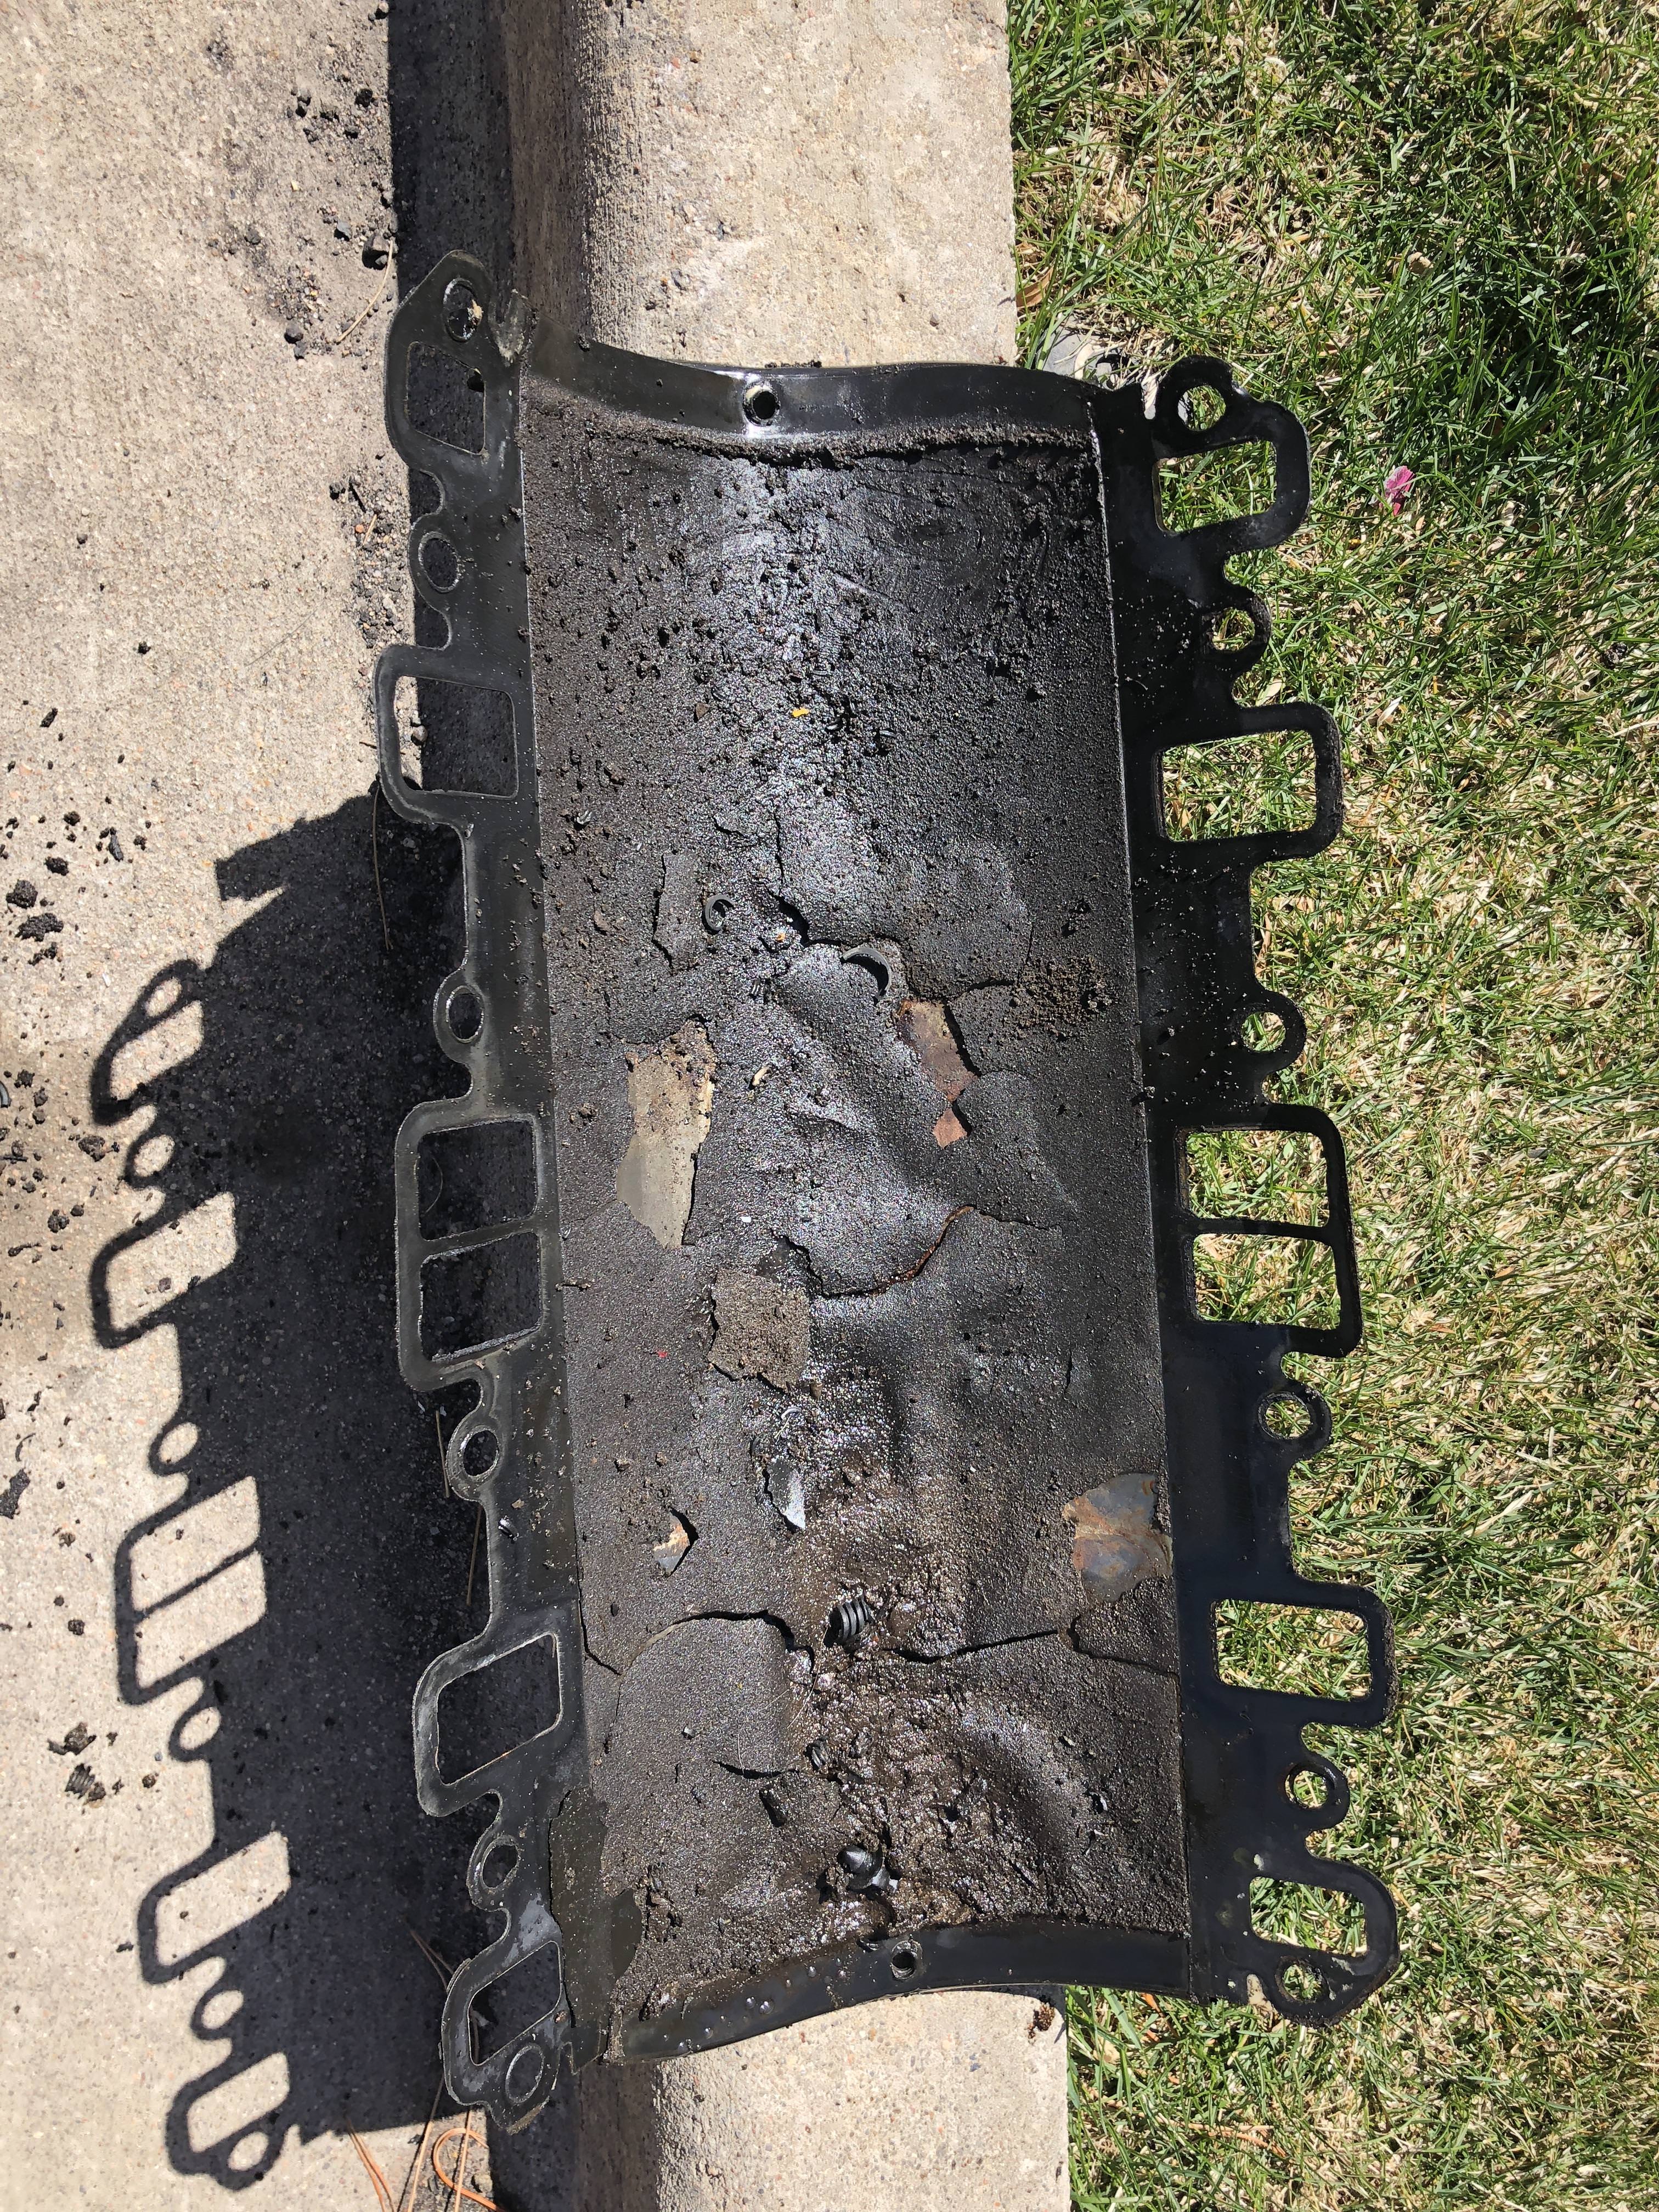
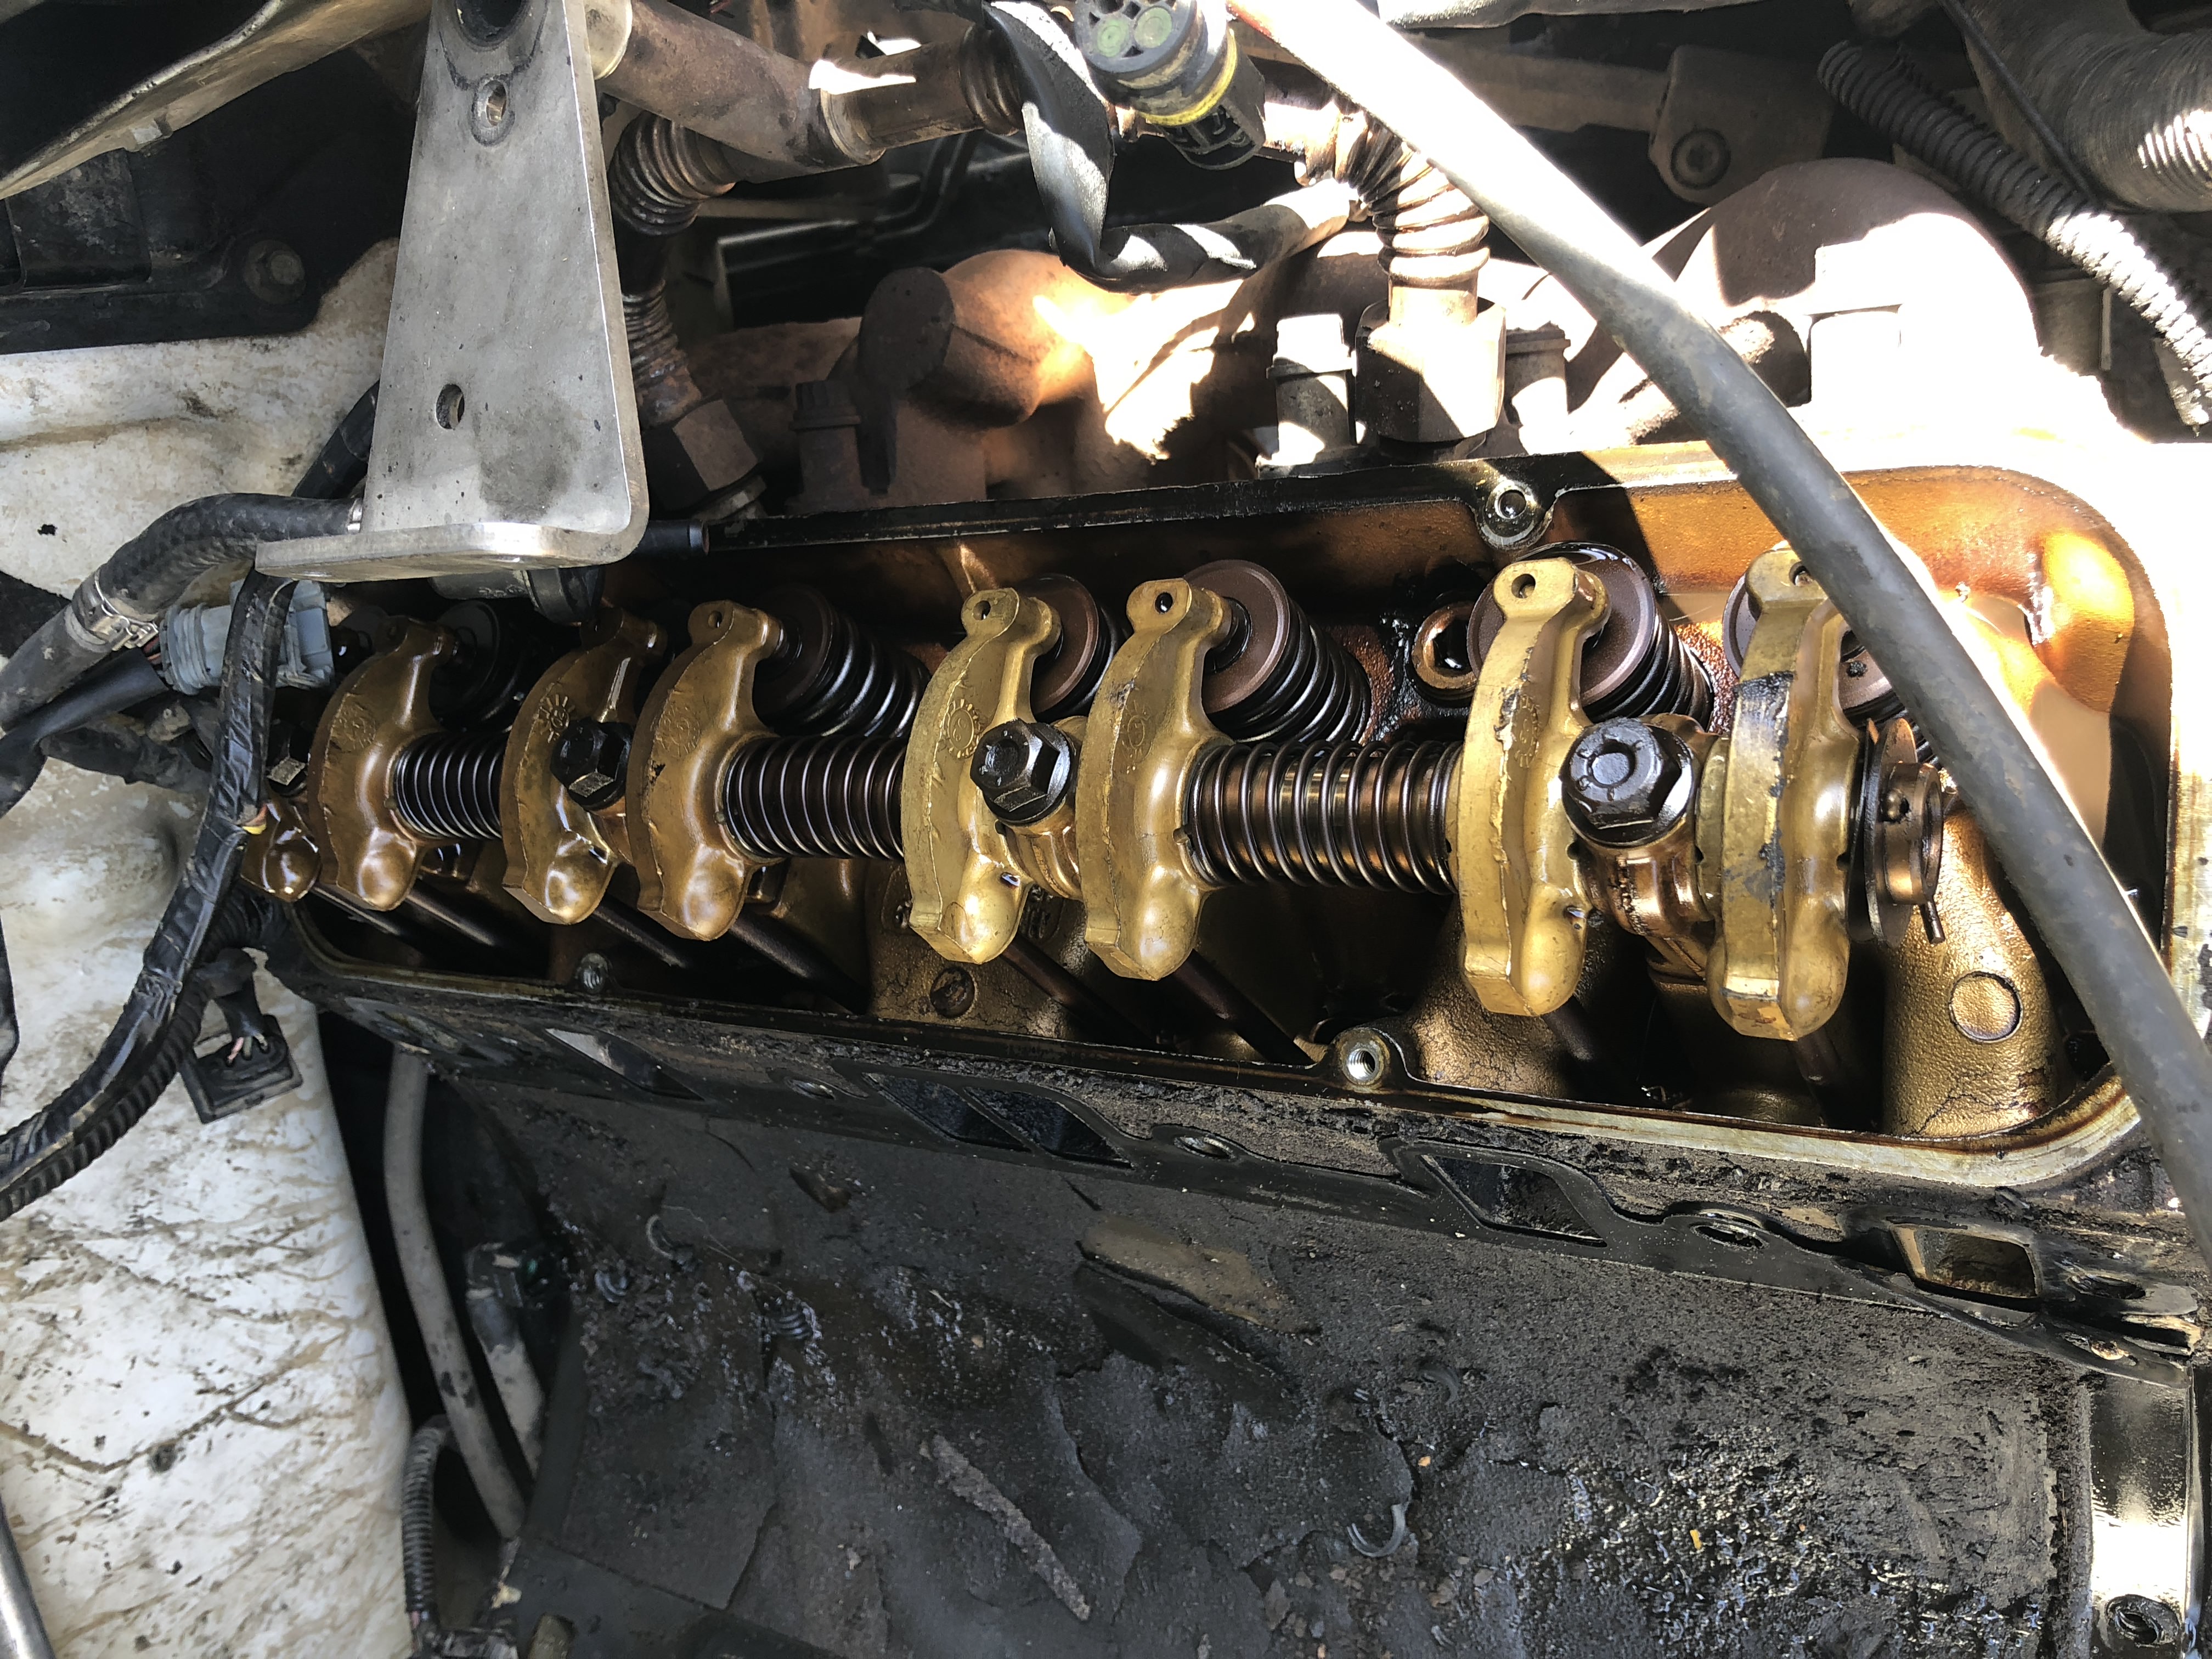
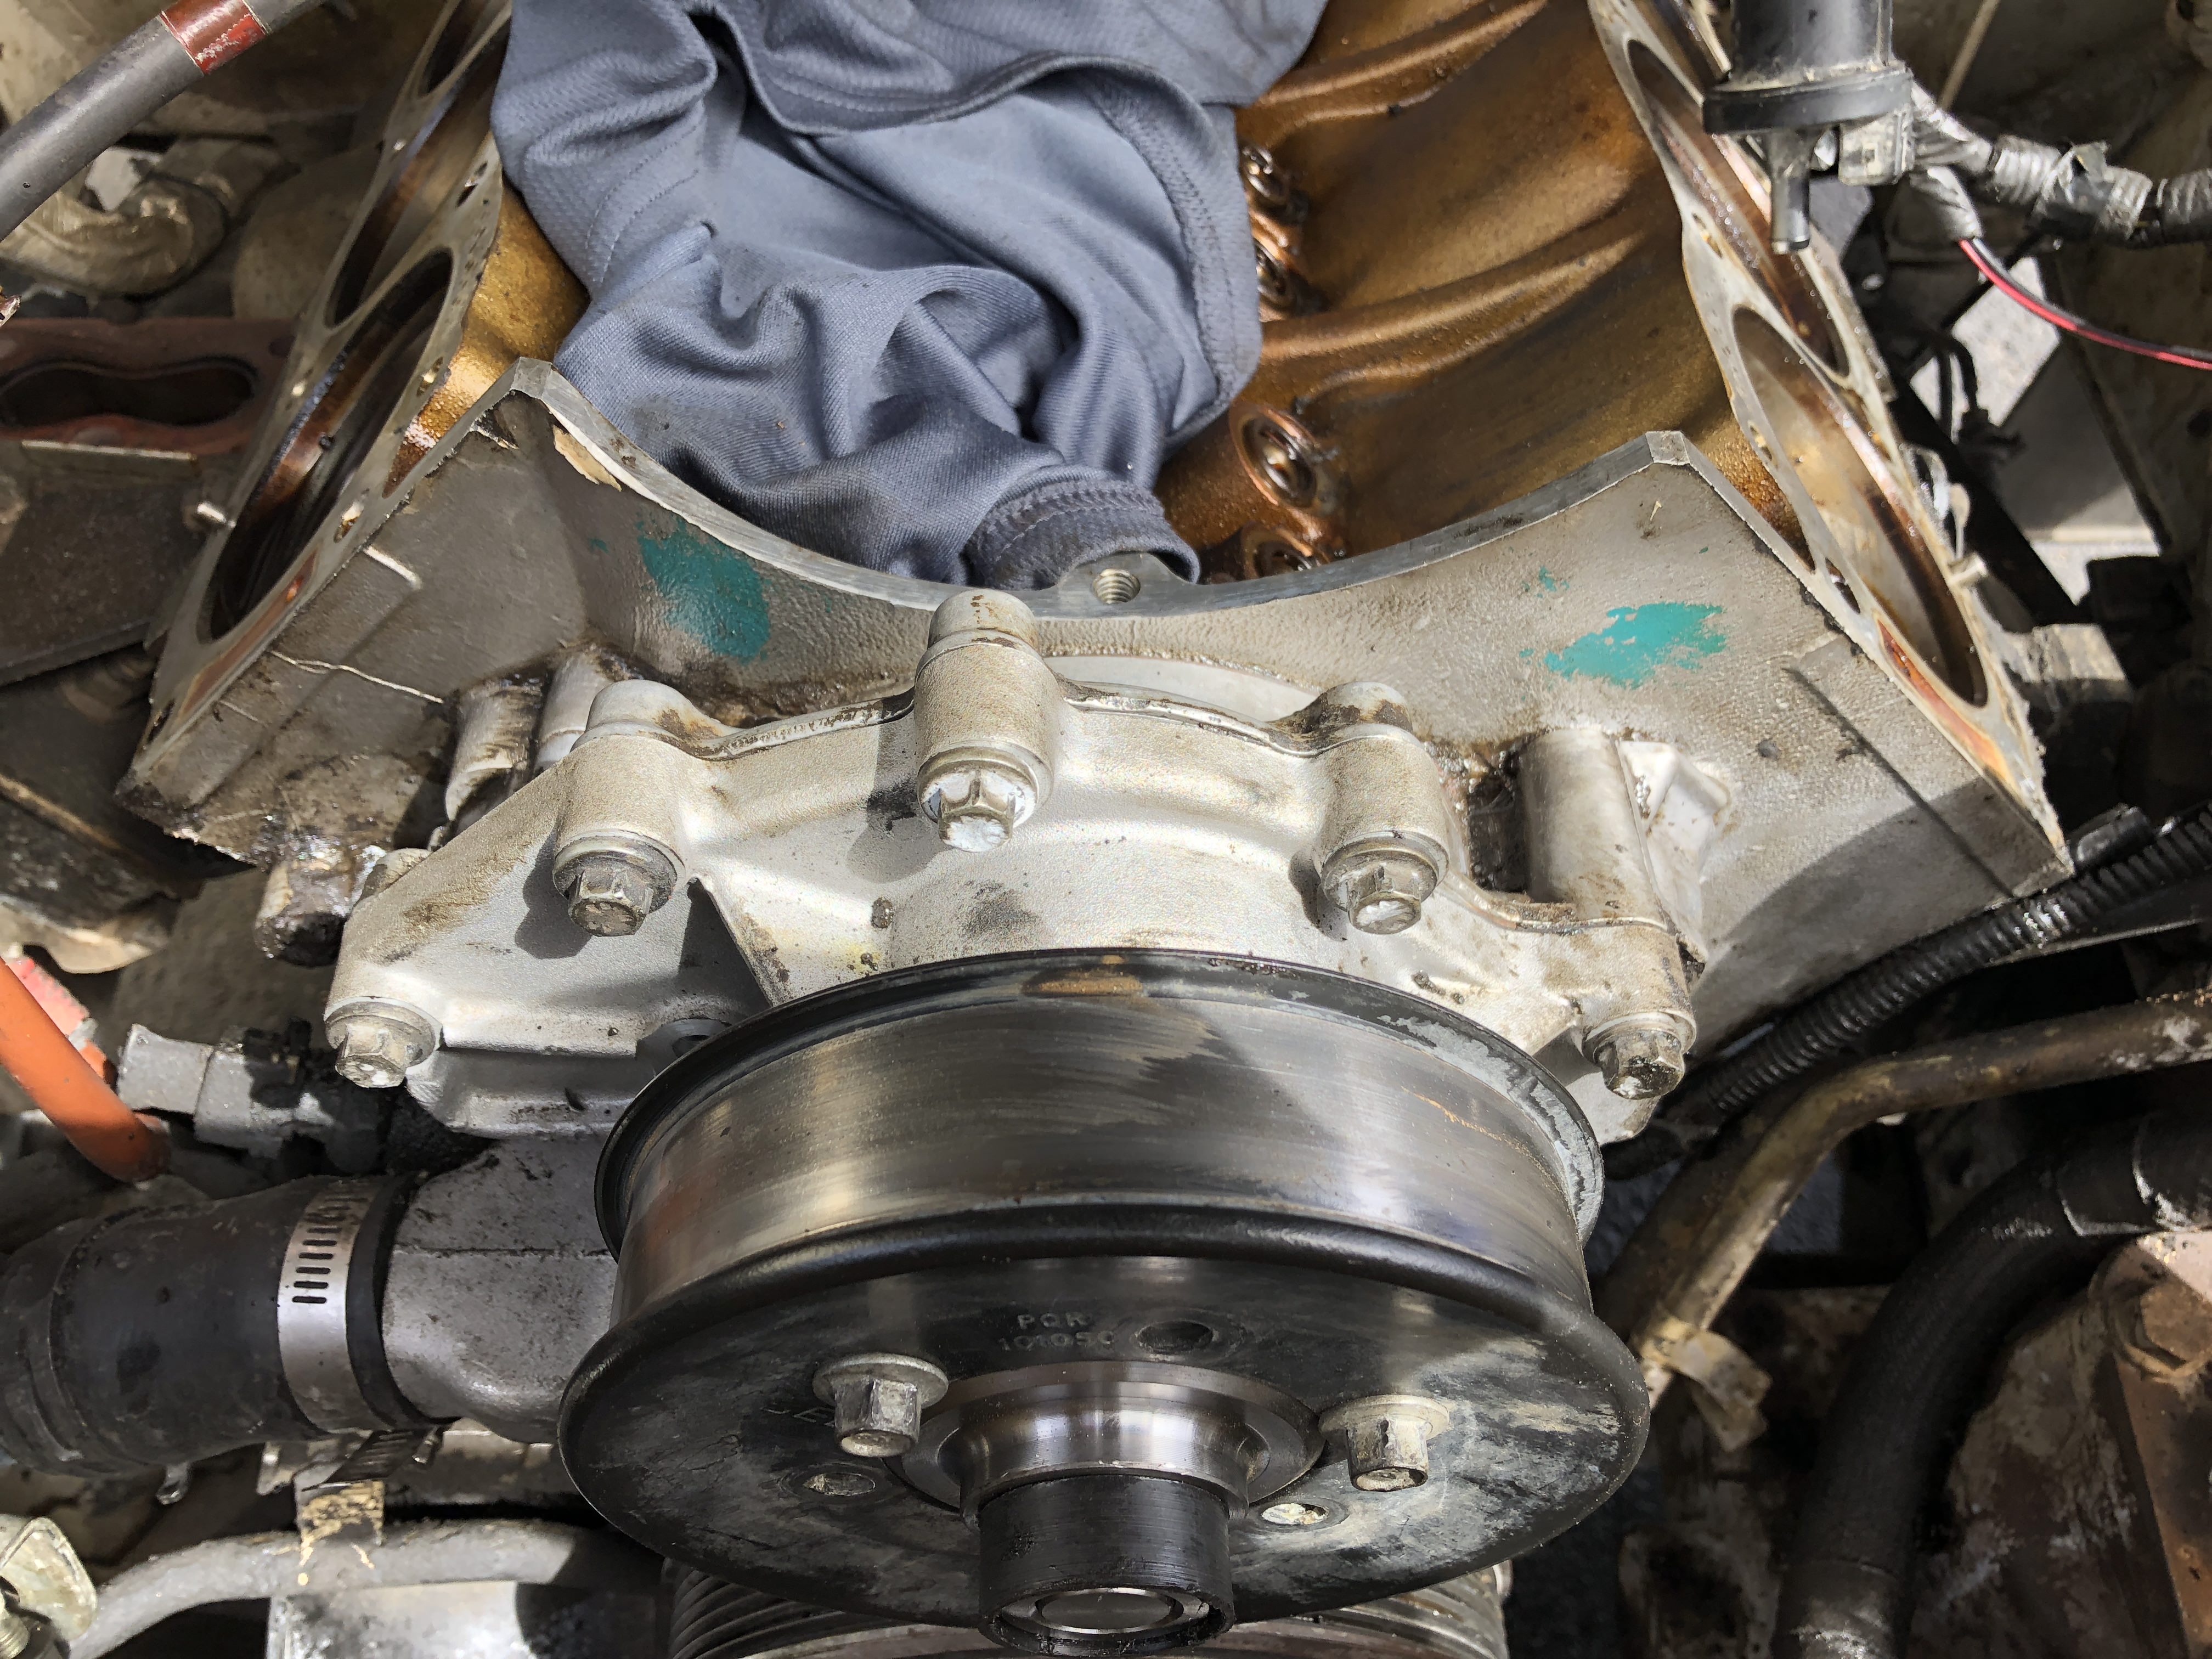
Making progress... Man is this thing filthy -- Looks surprising clean on the inside though!
I am pleased to report that i did loosen all the exhaust mani bolts and none of them broke!
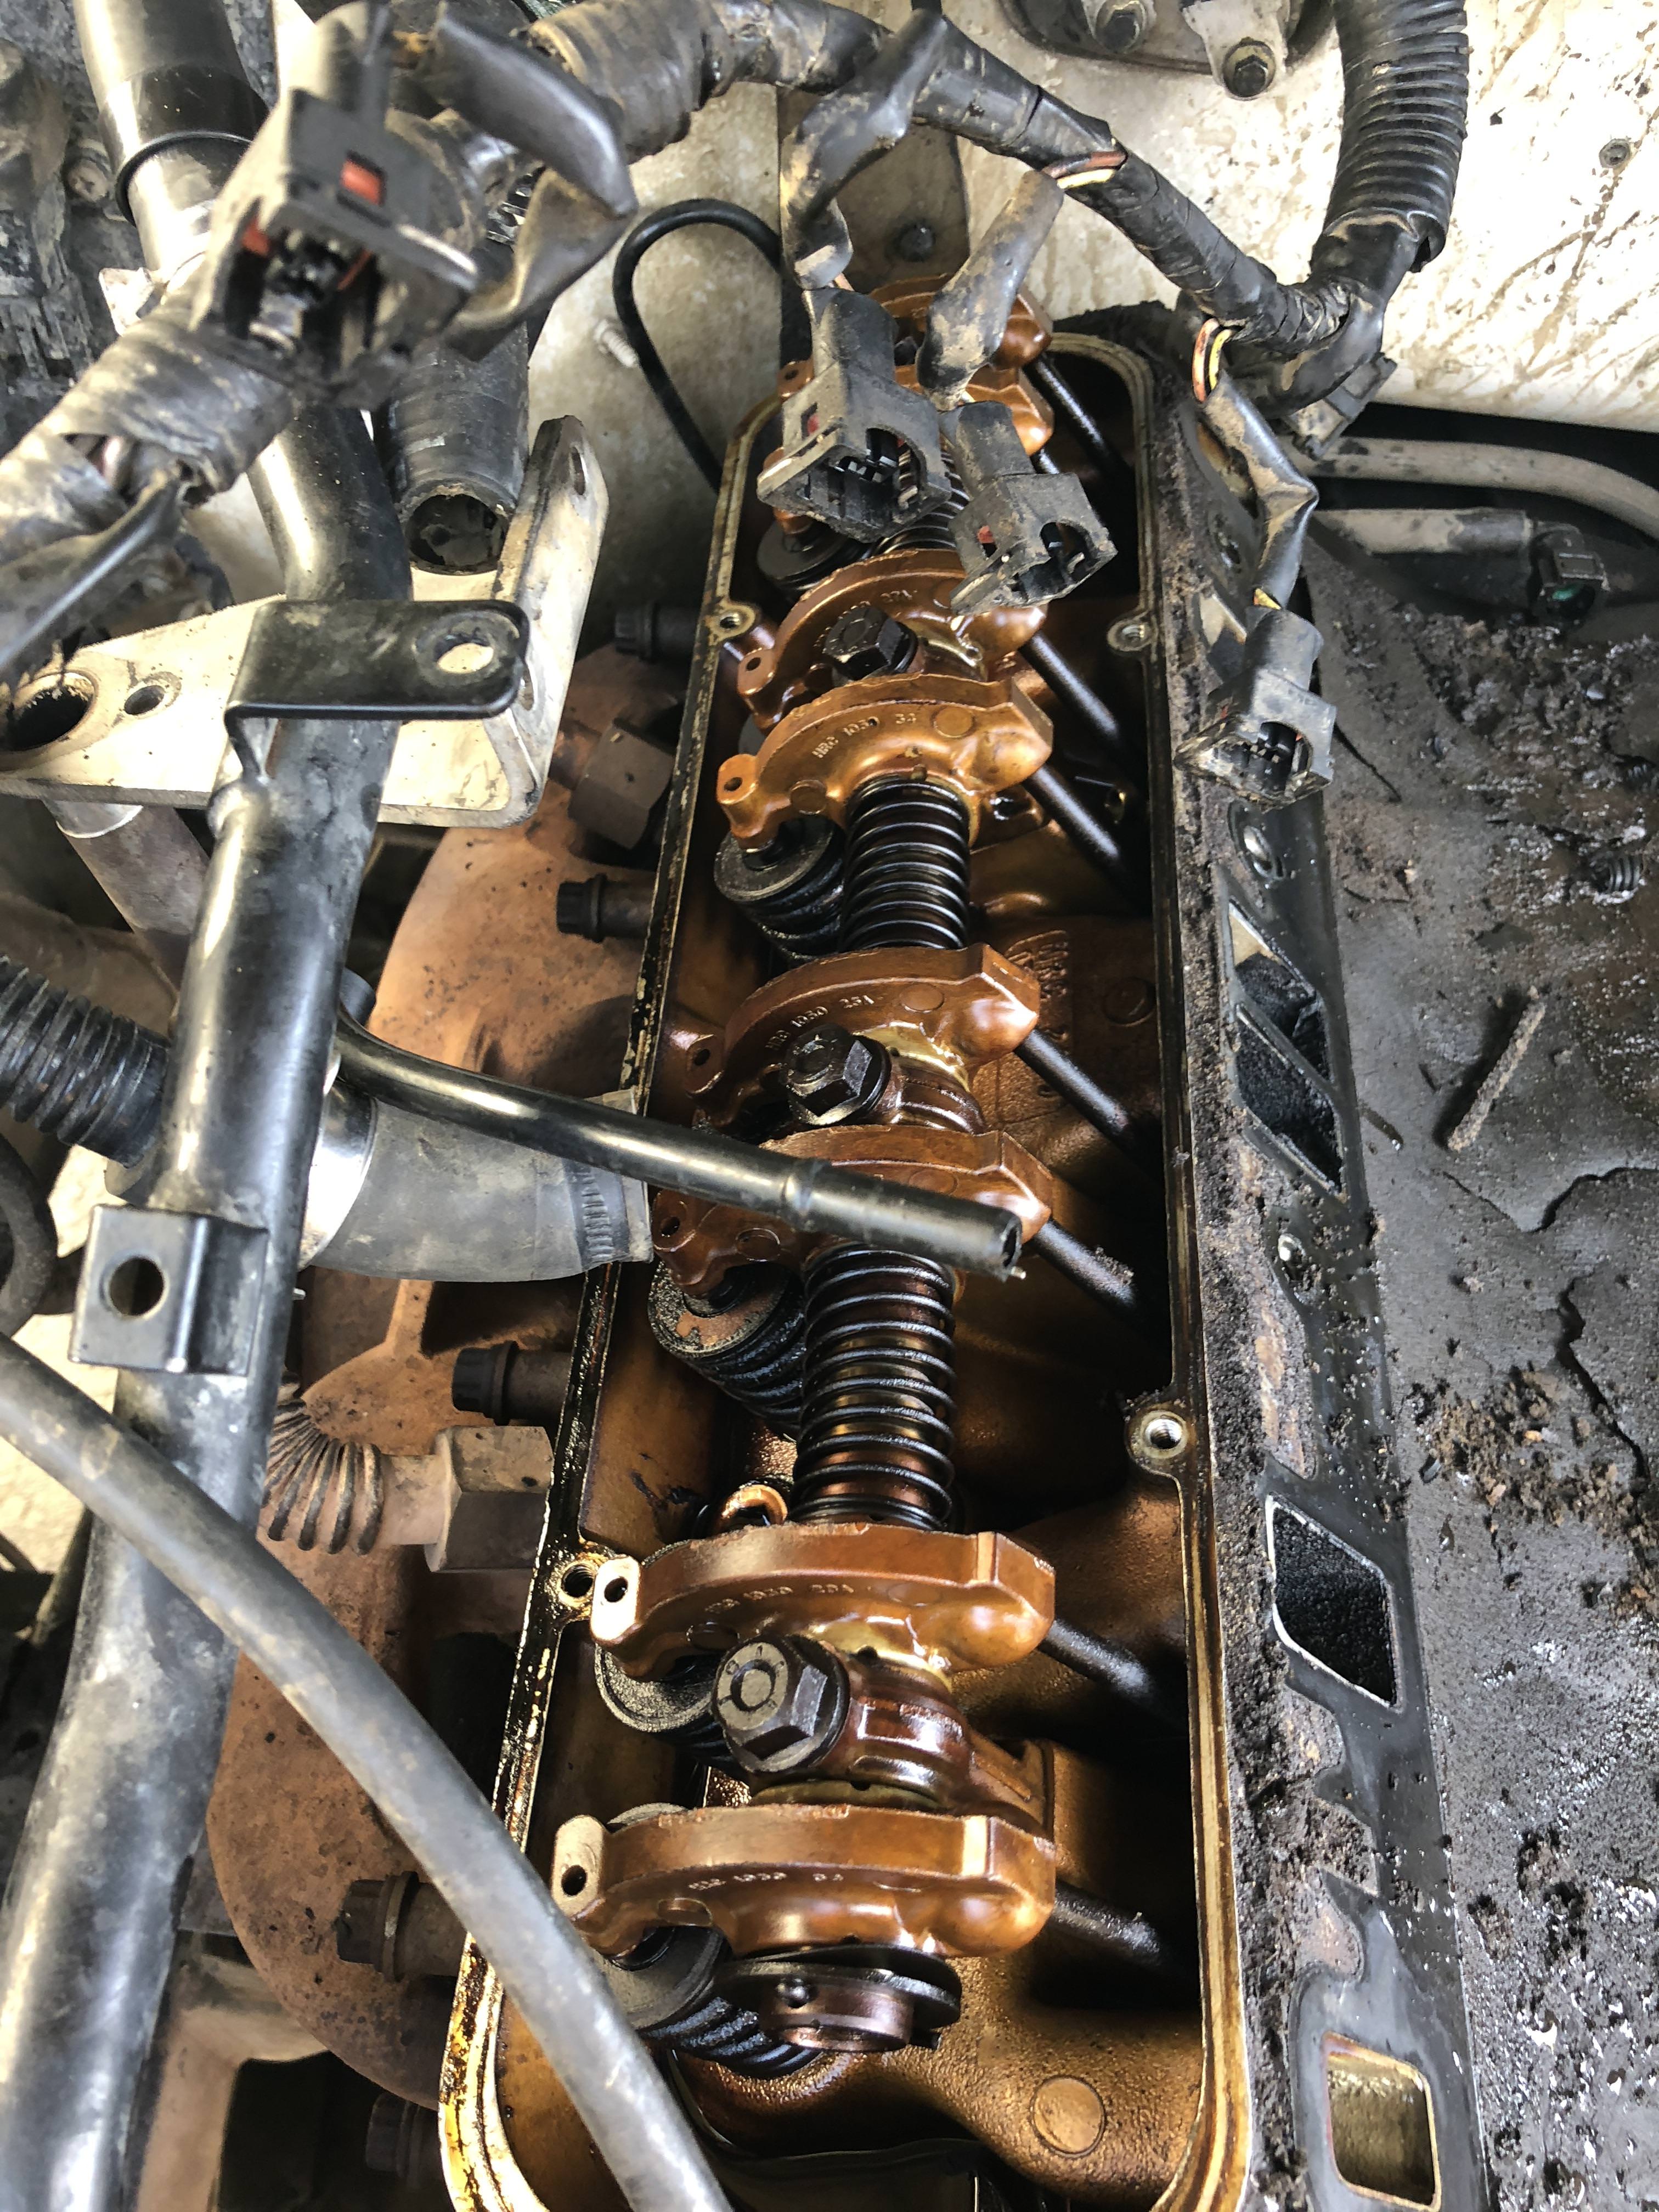
I am pleased to report that i did loosen all the exhaust mani bolts and none of them broke!
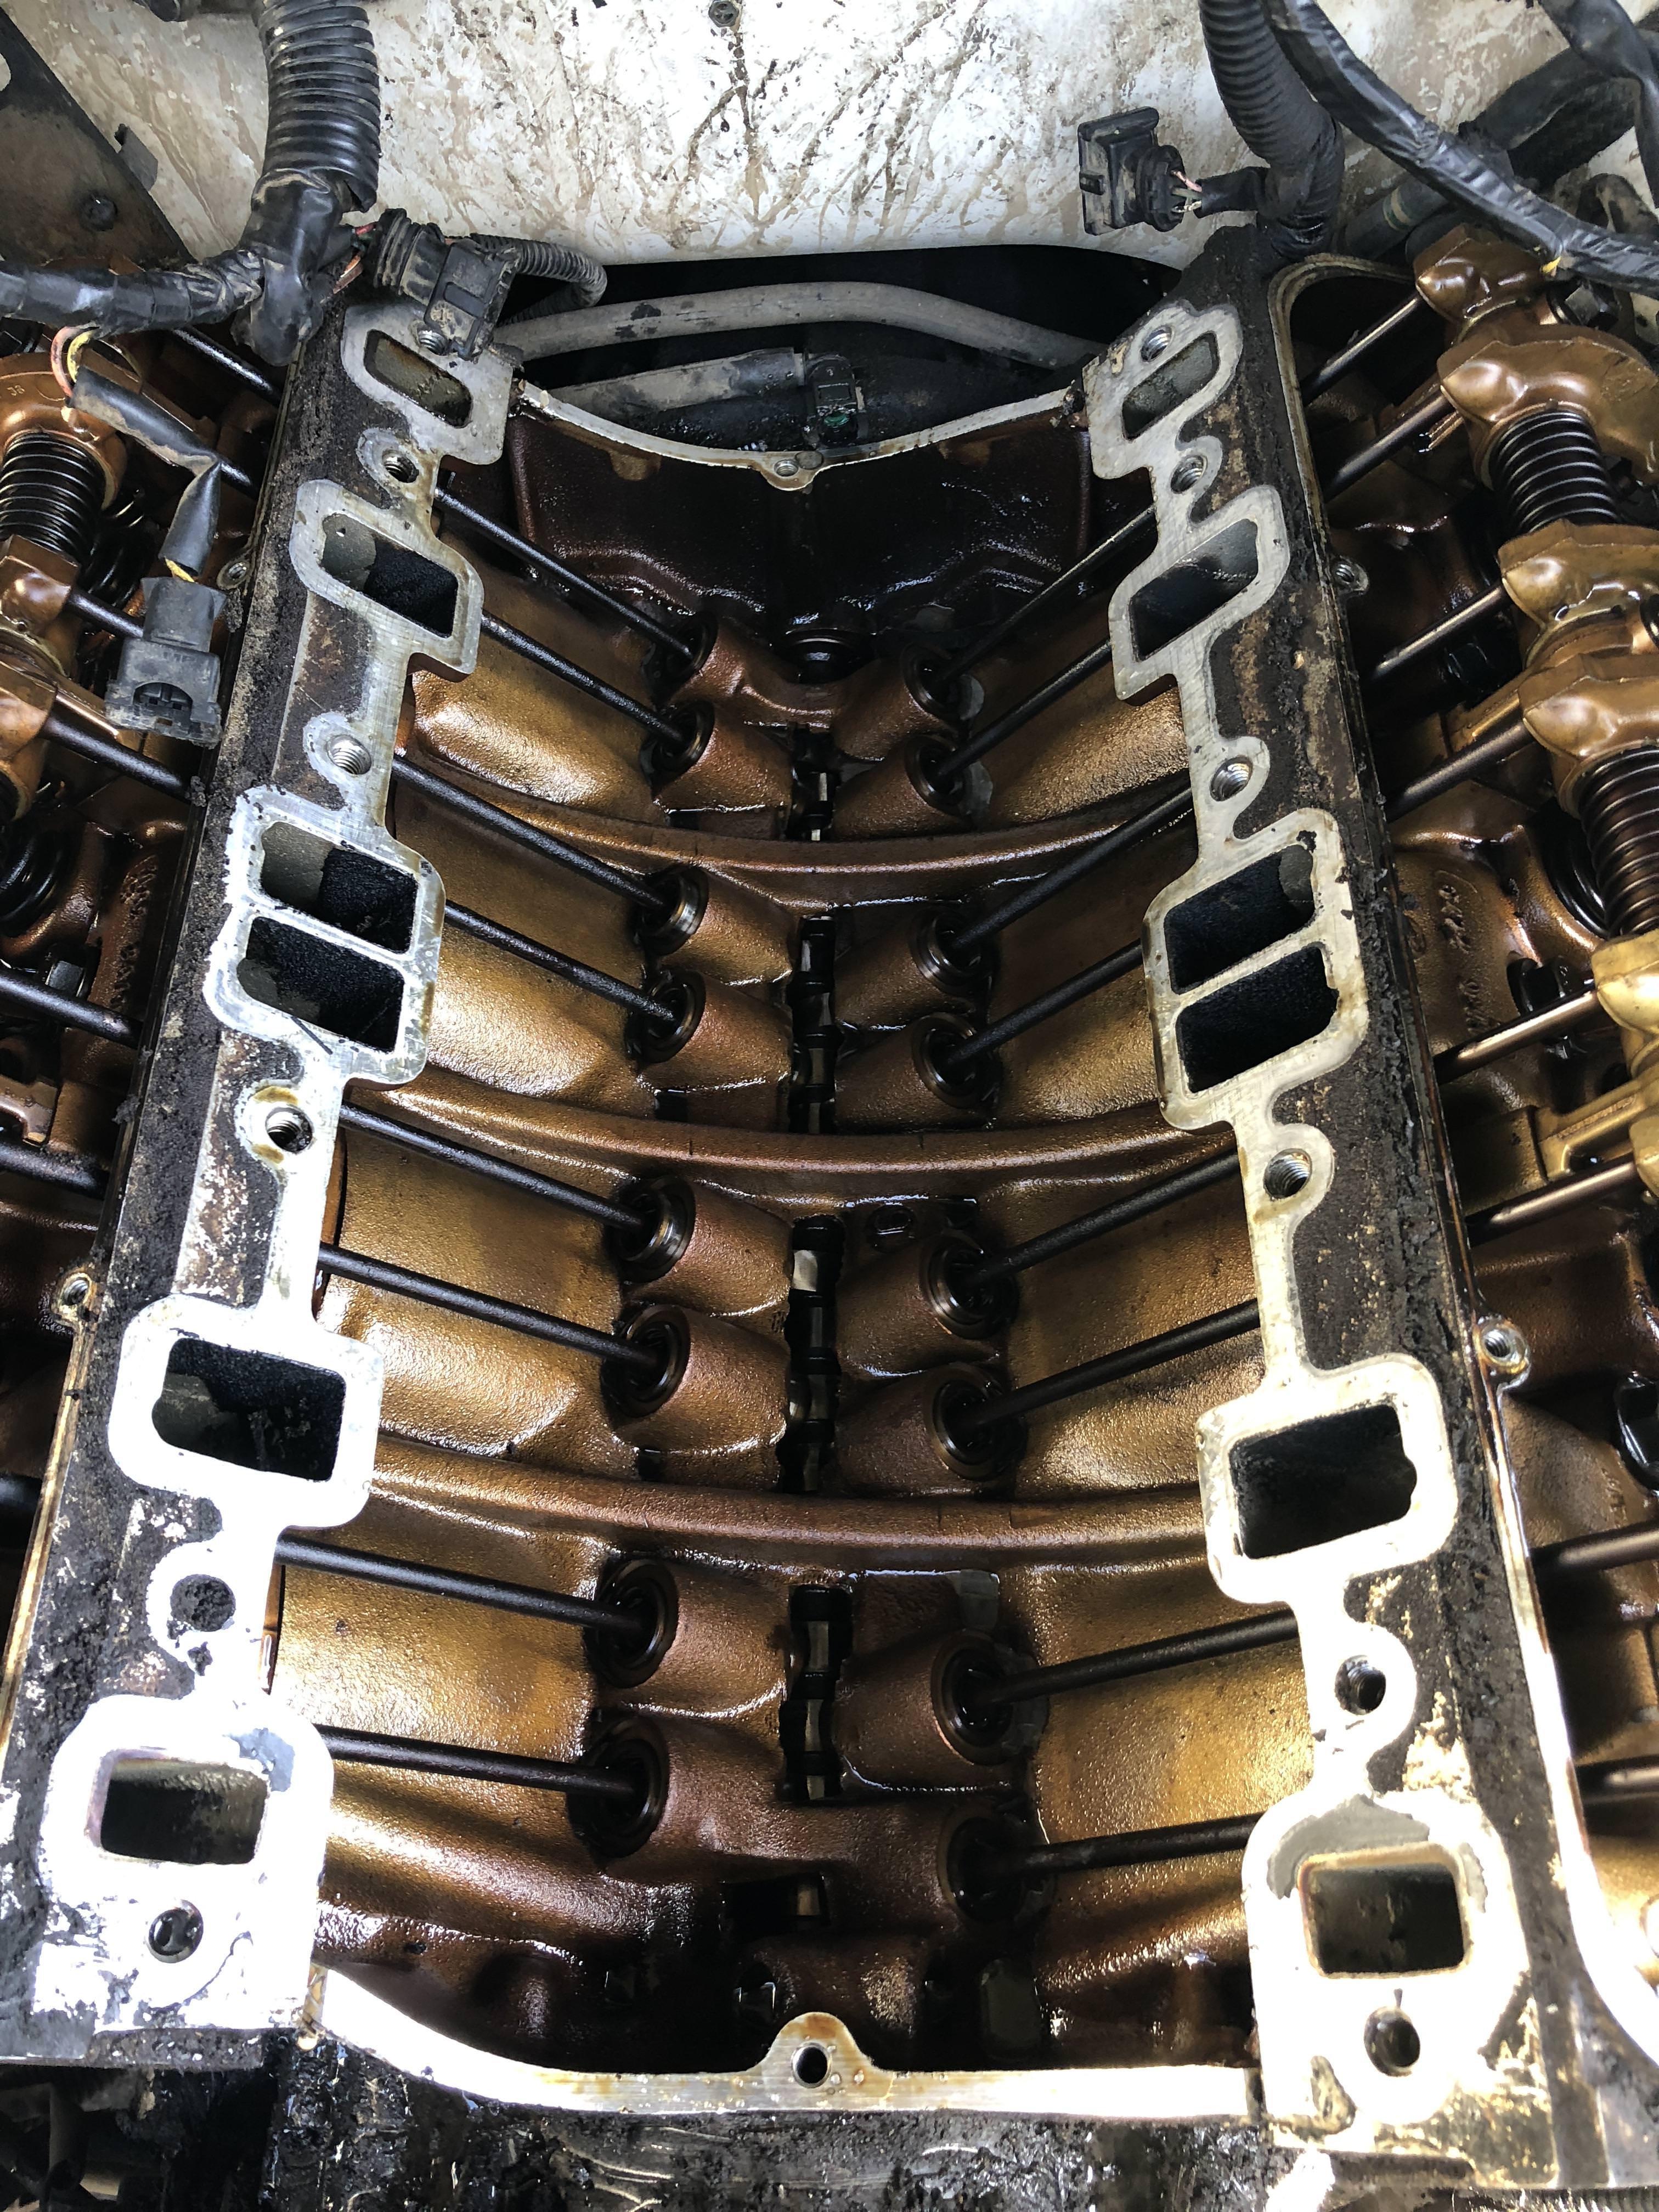
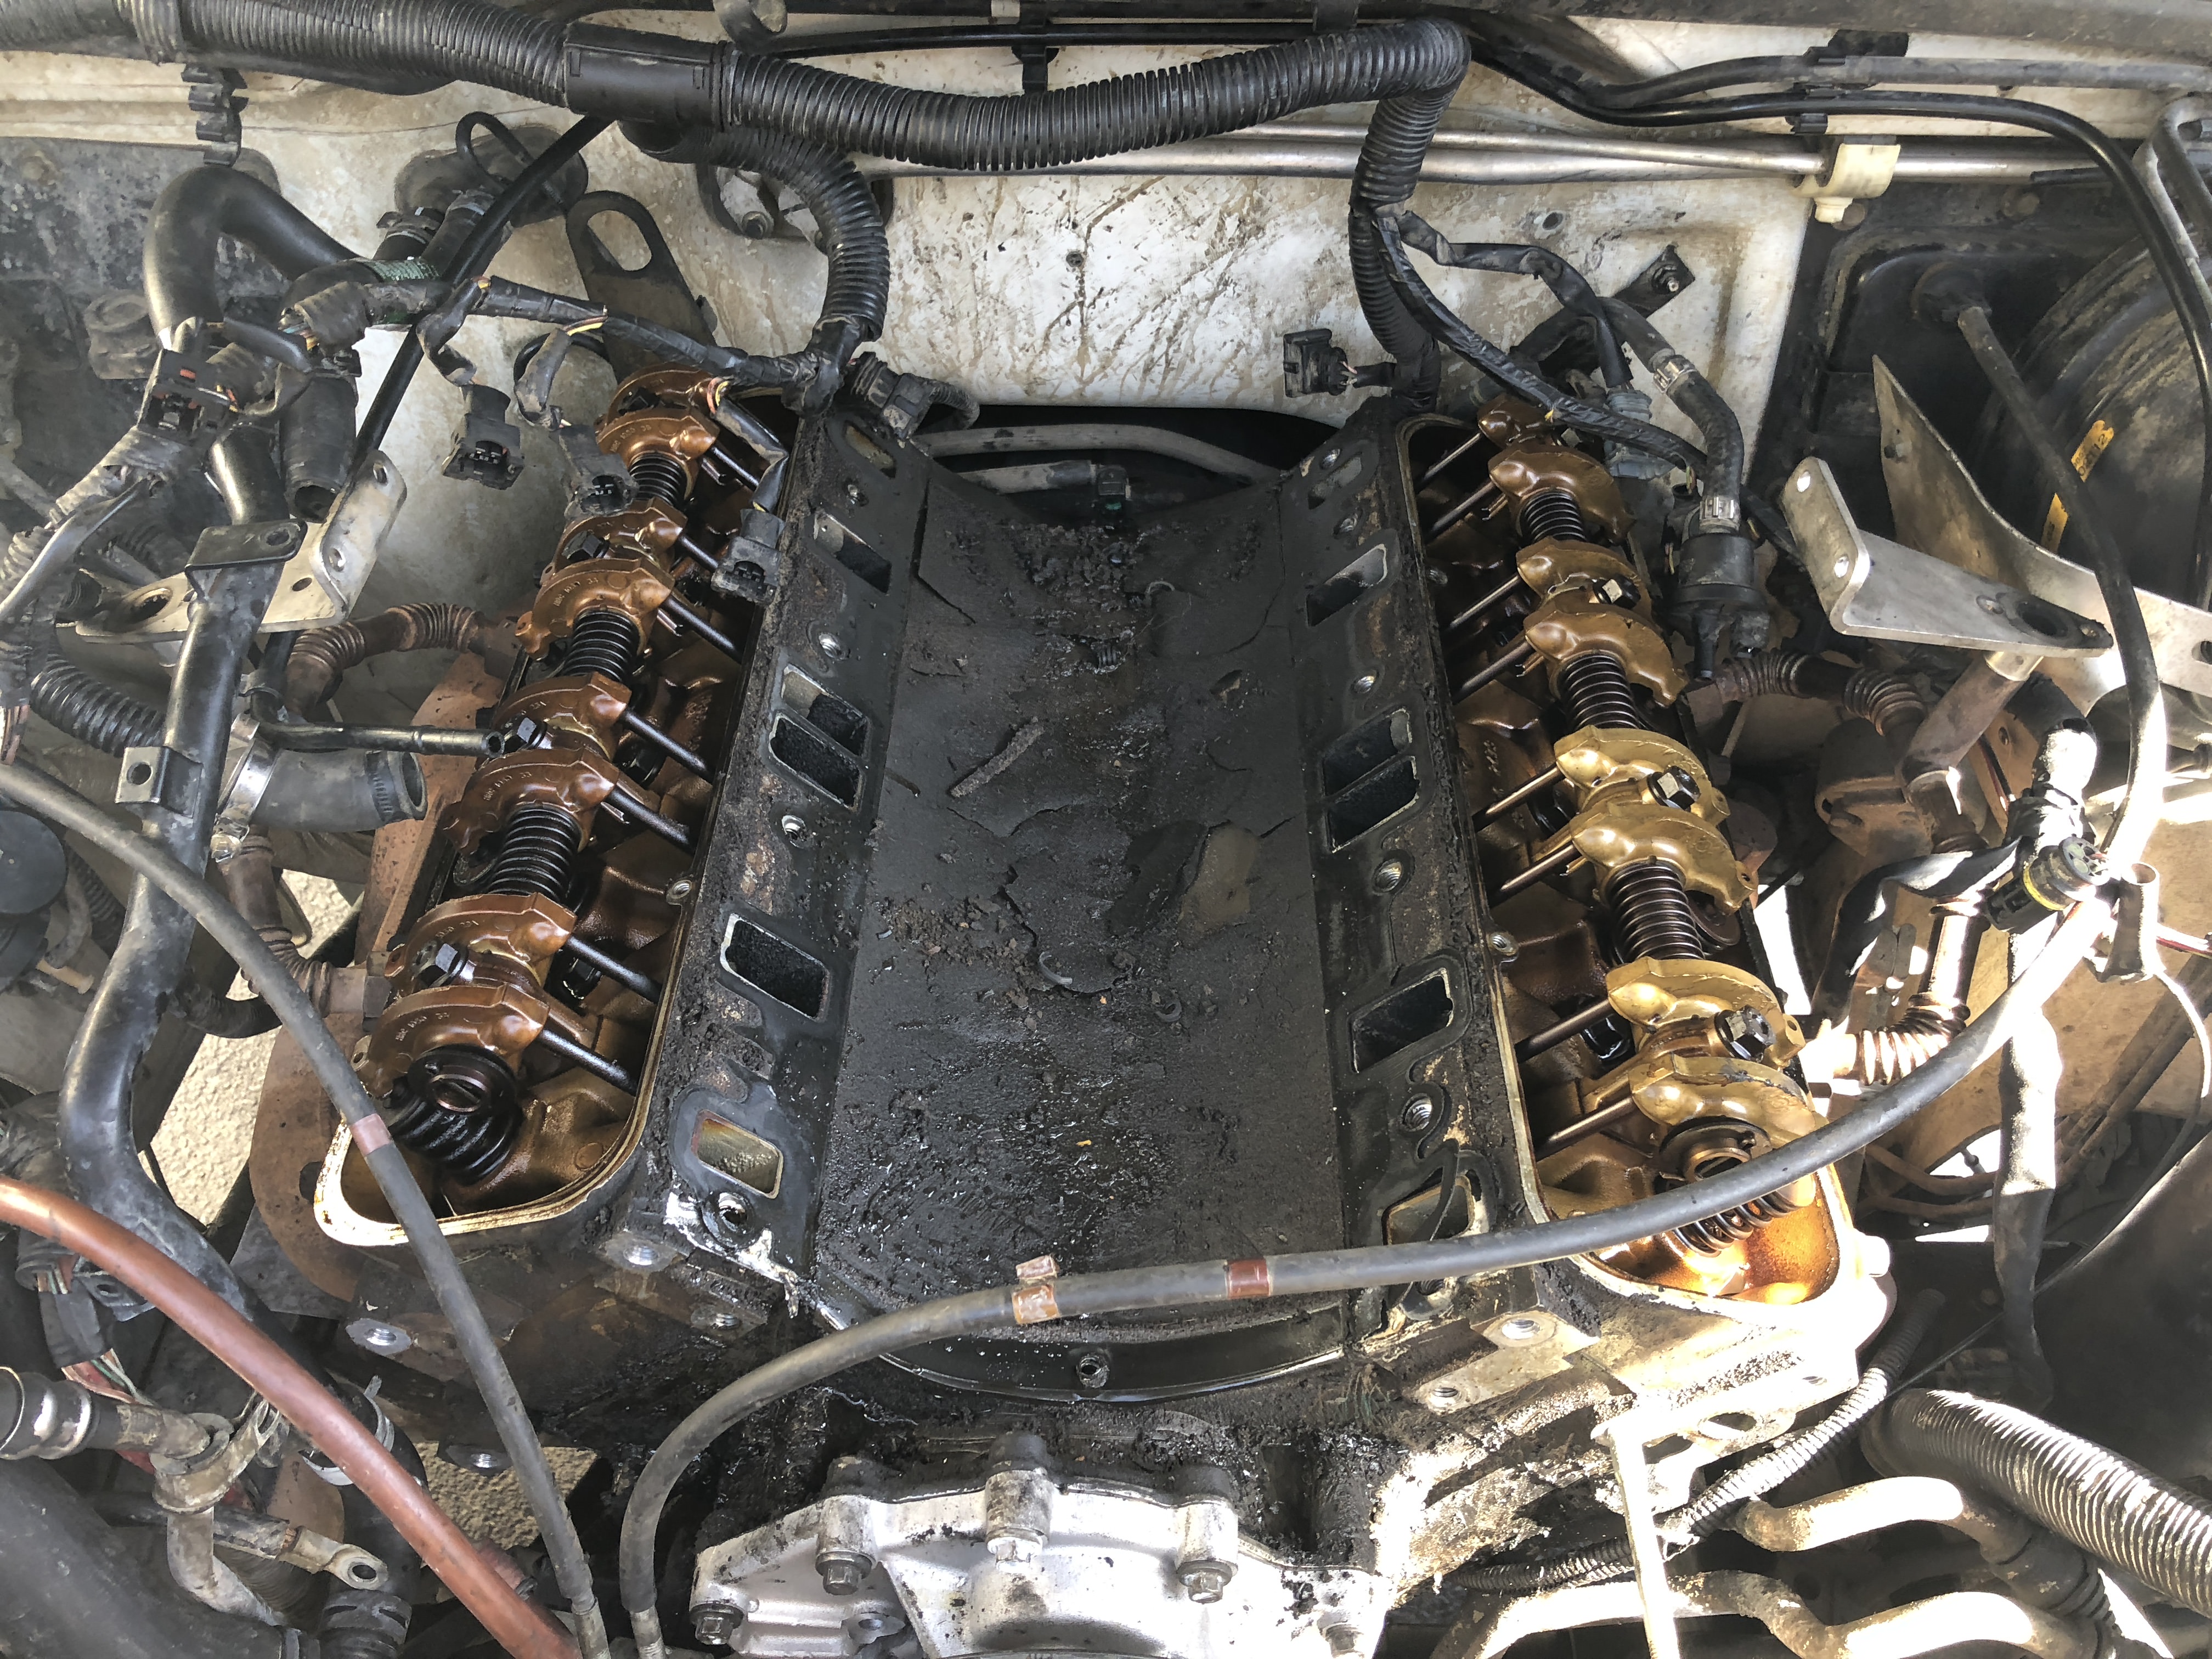
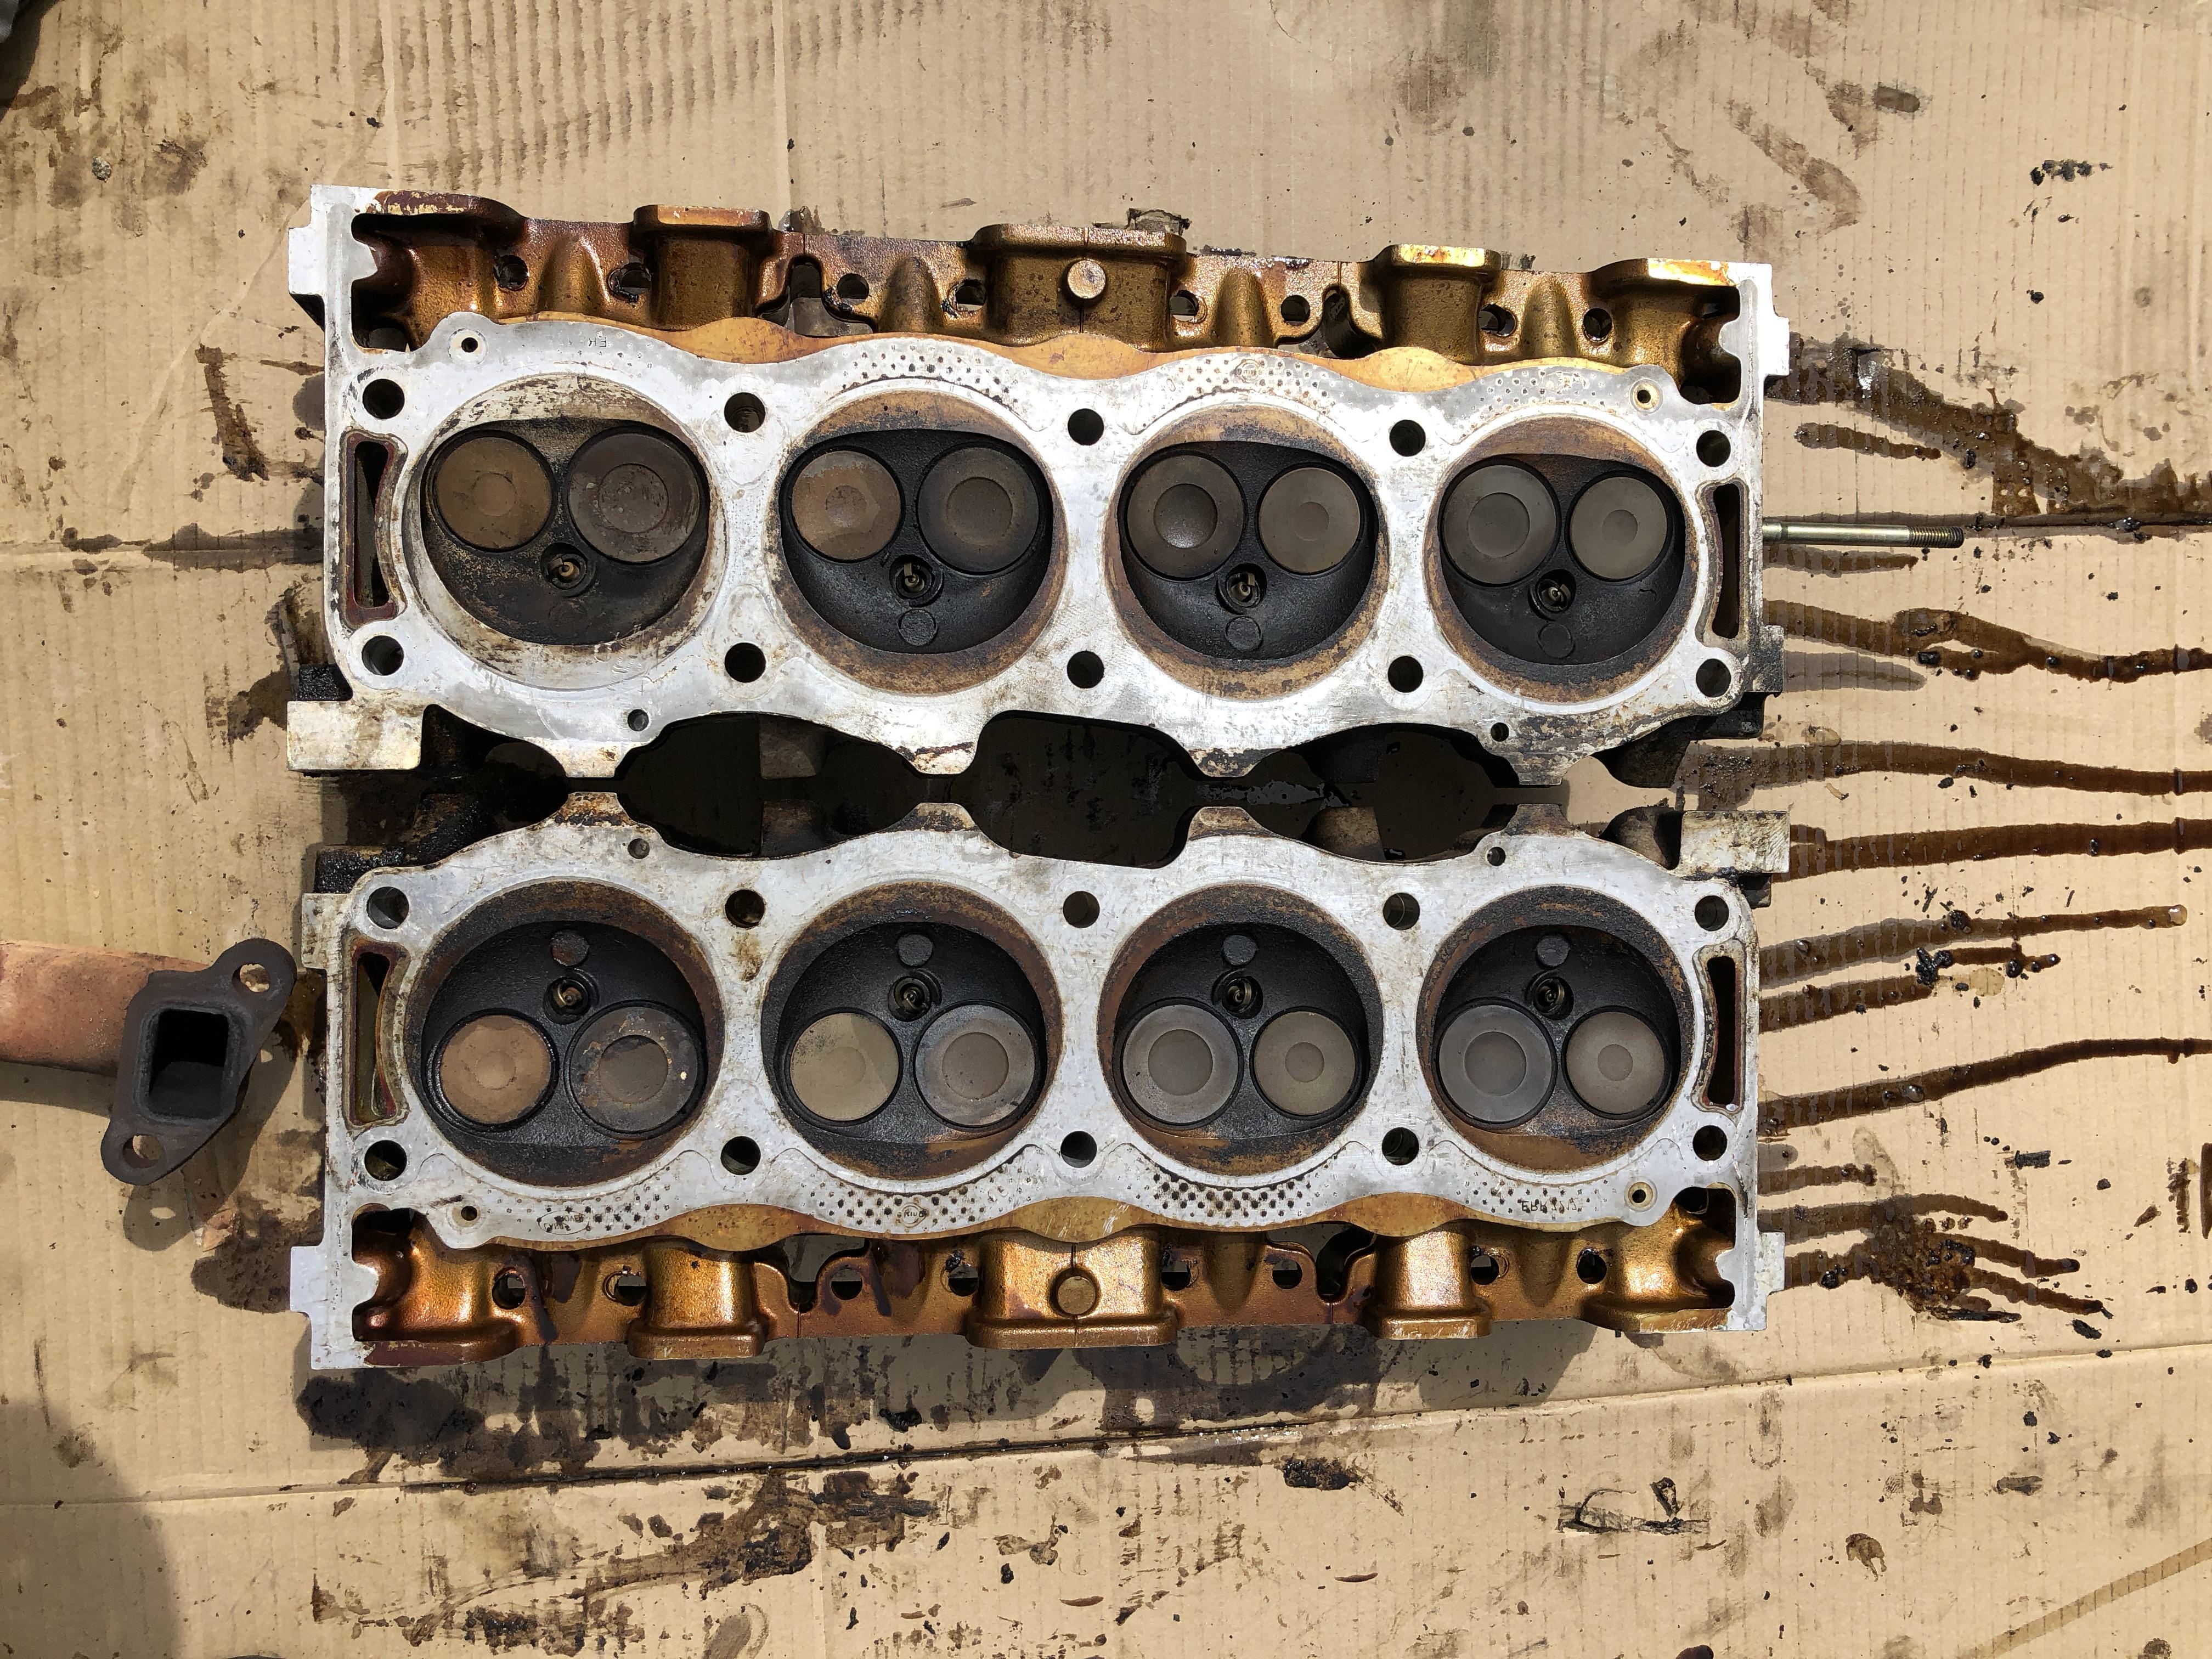
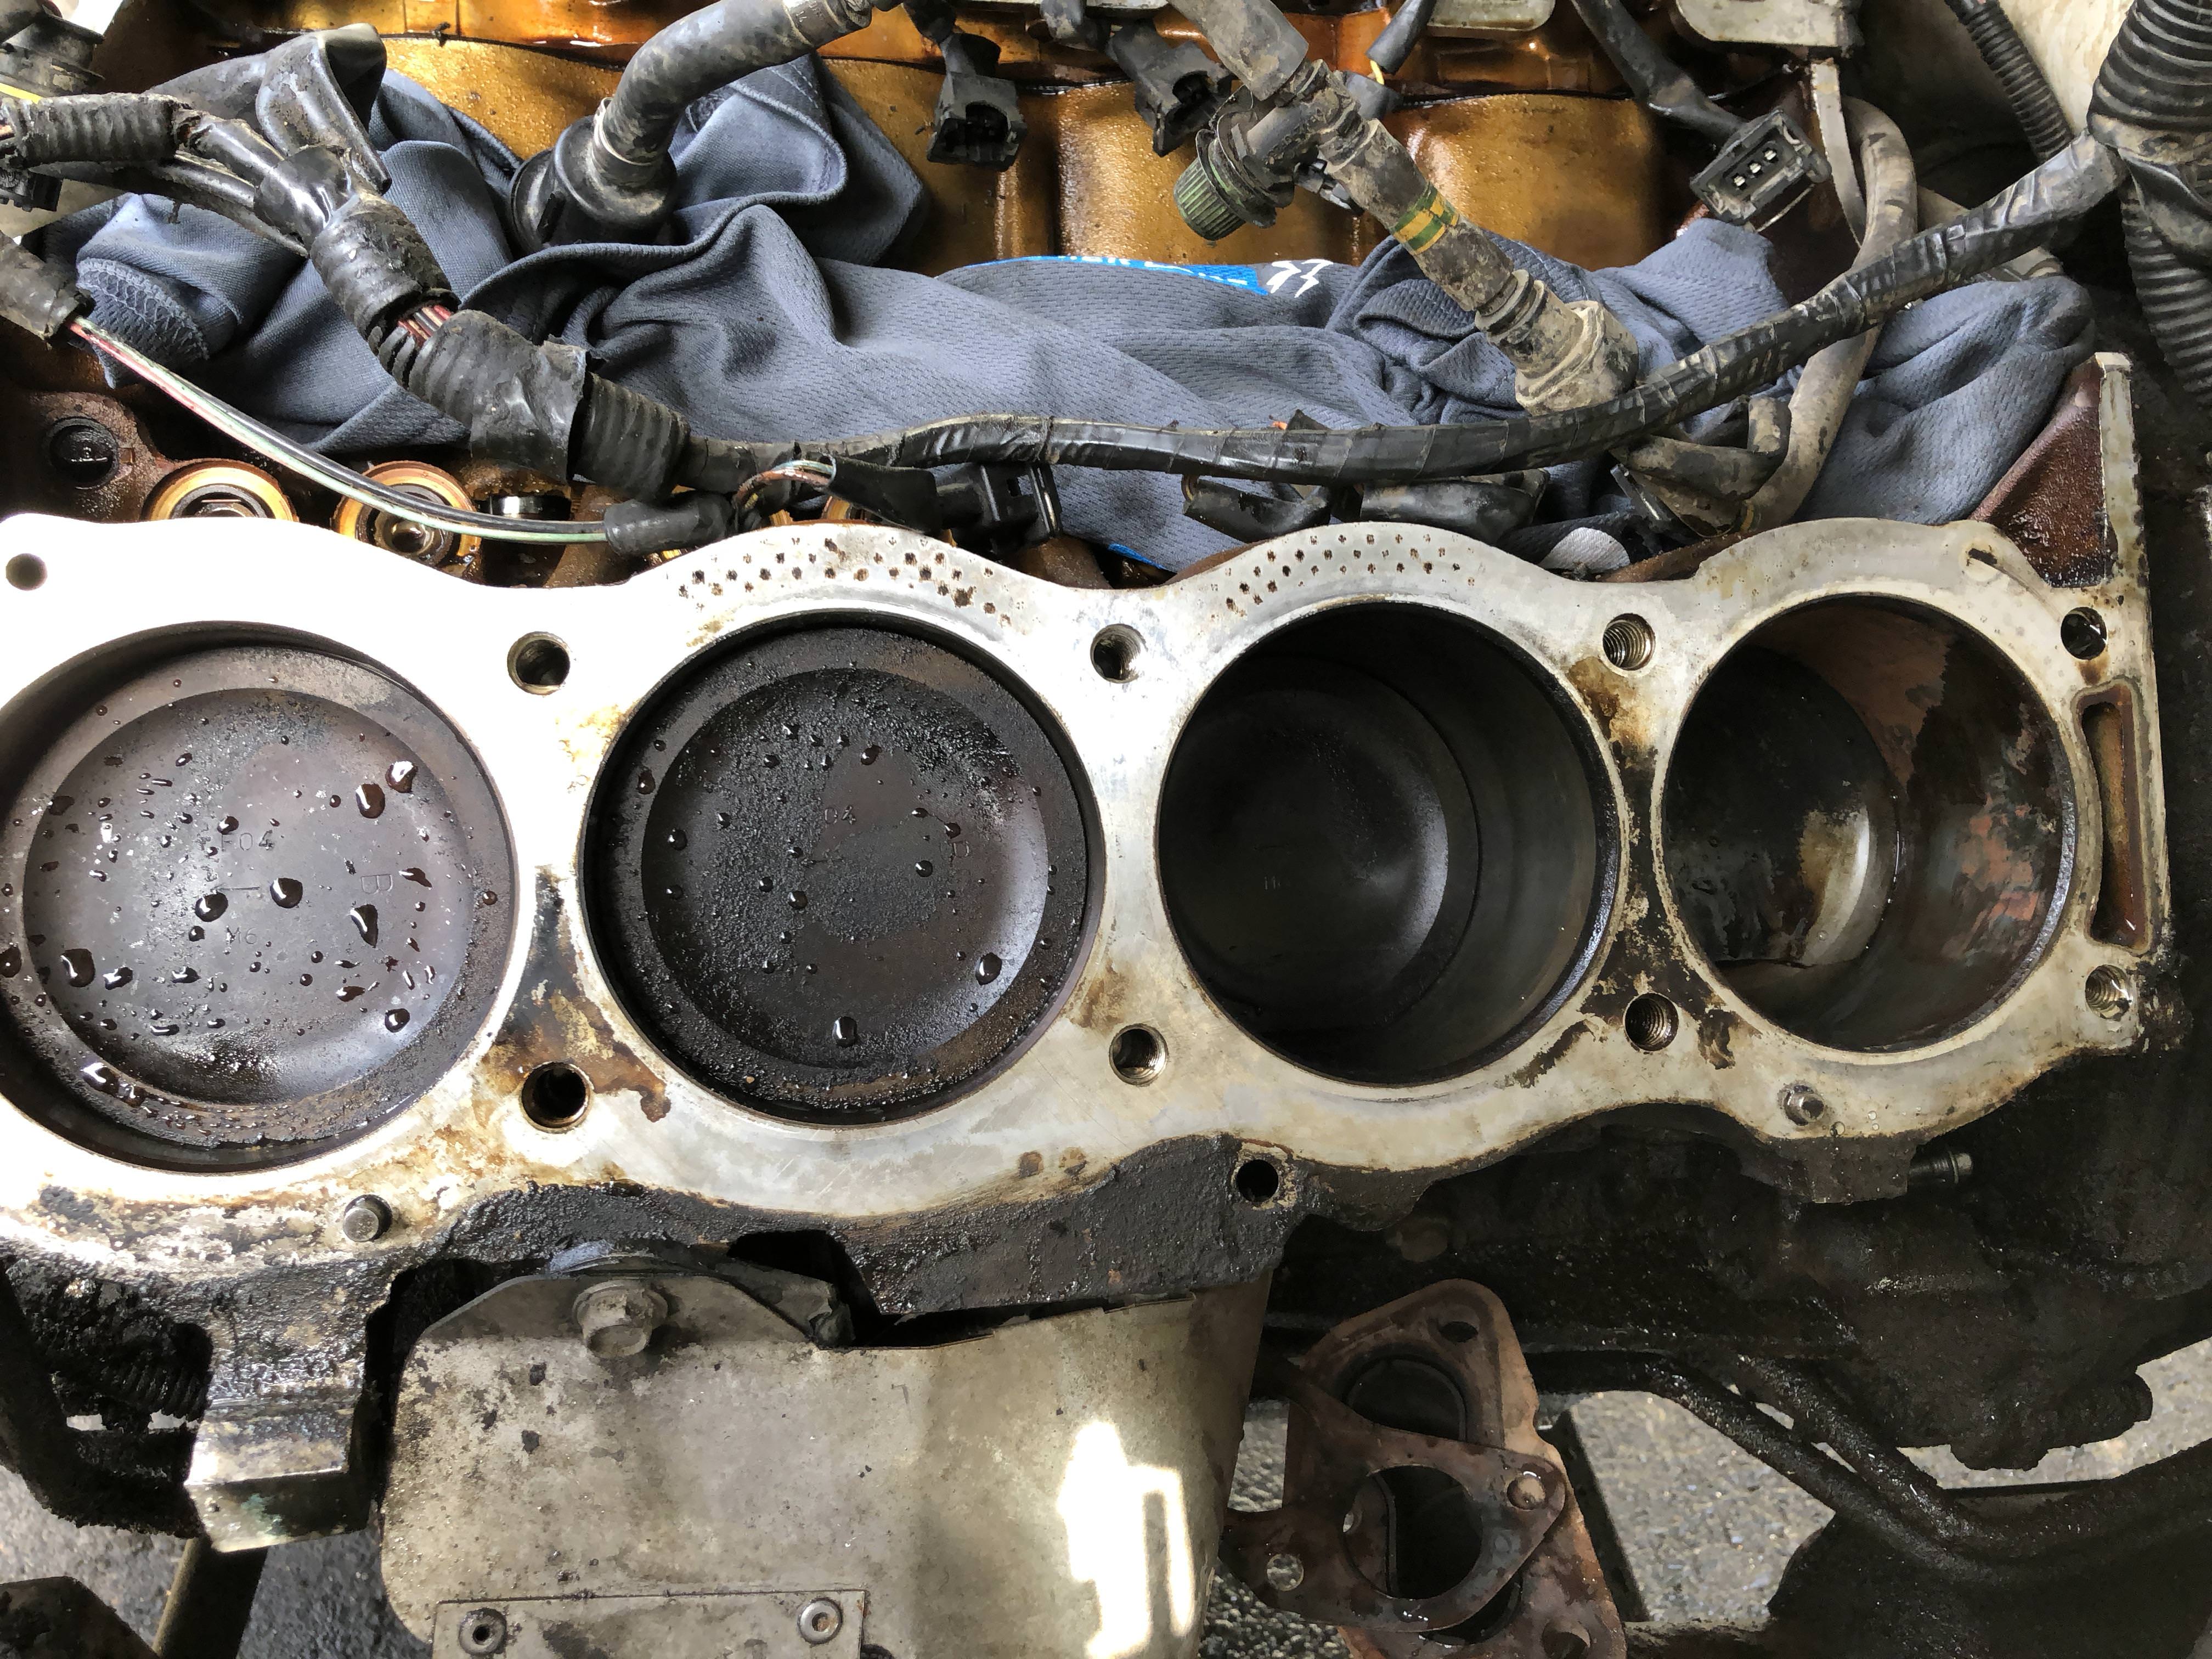
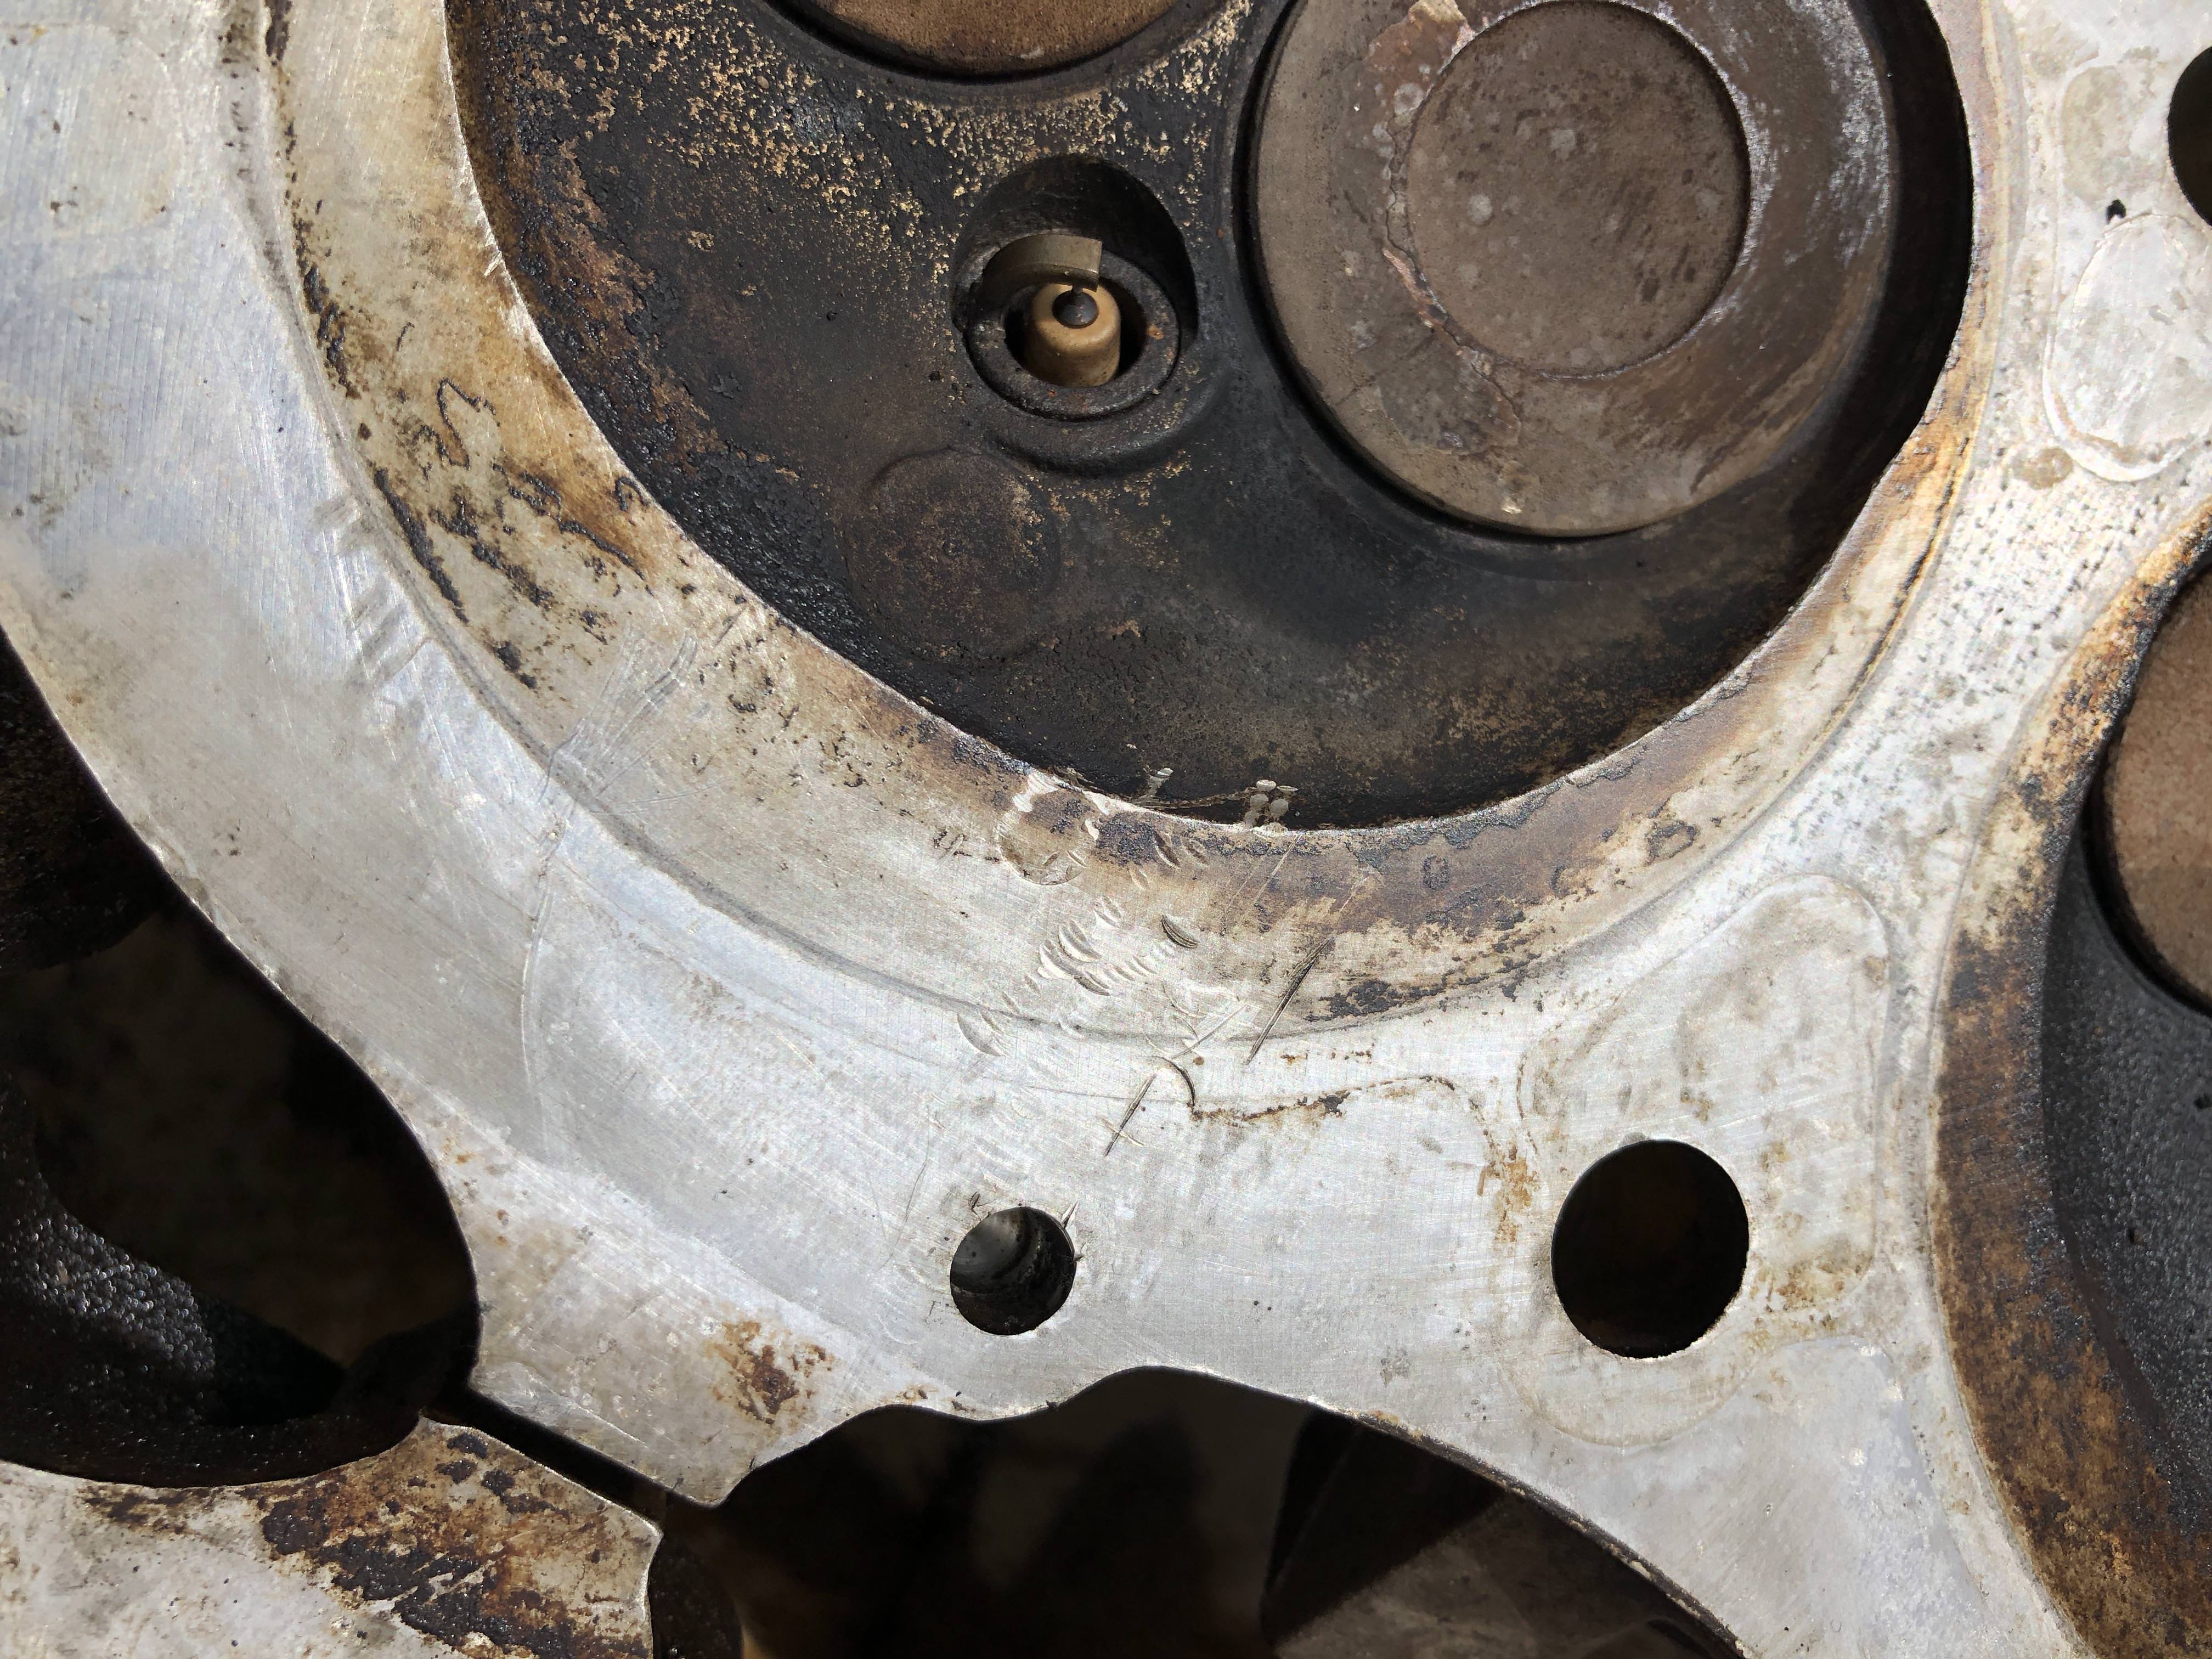
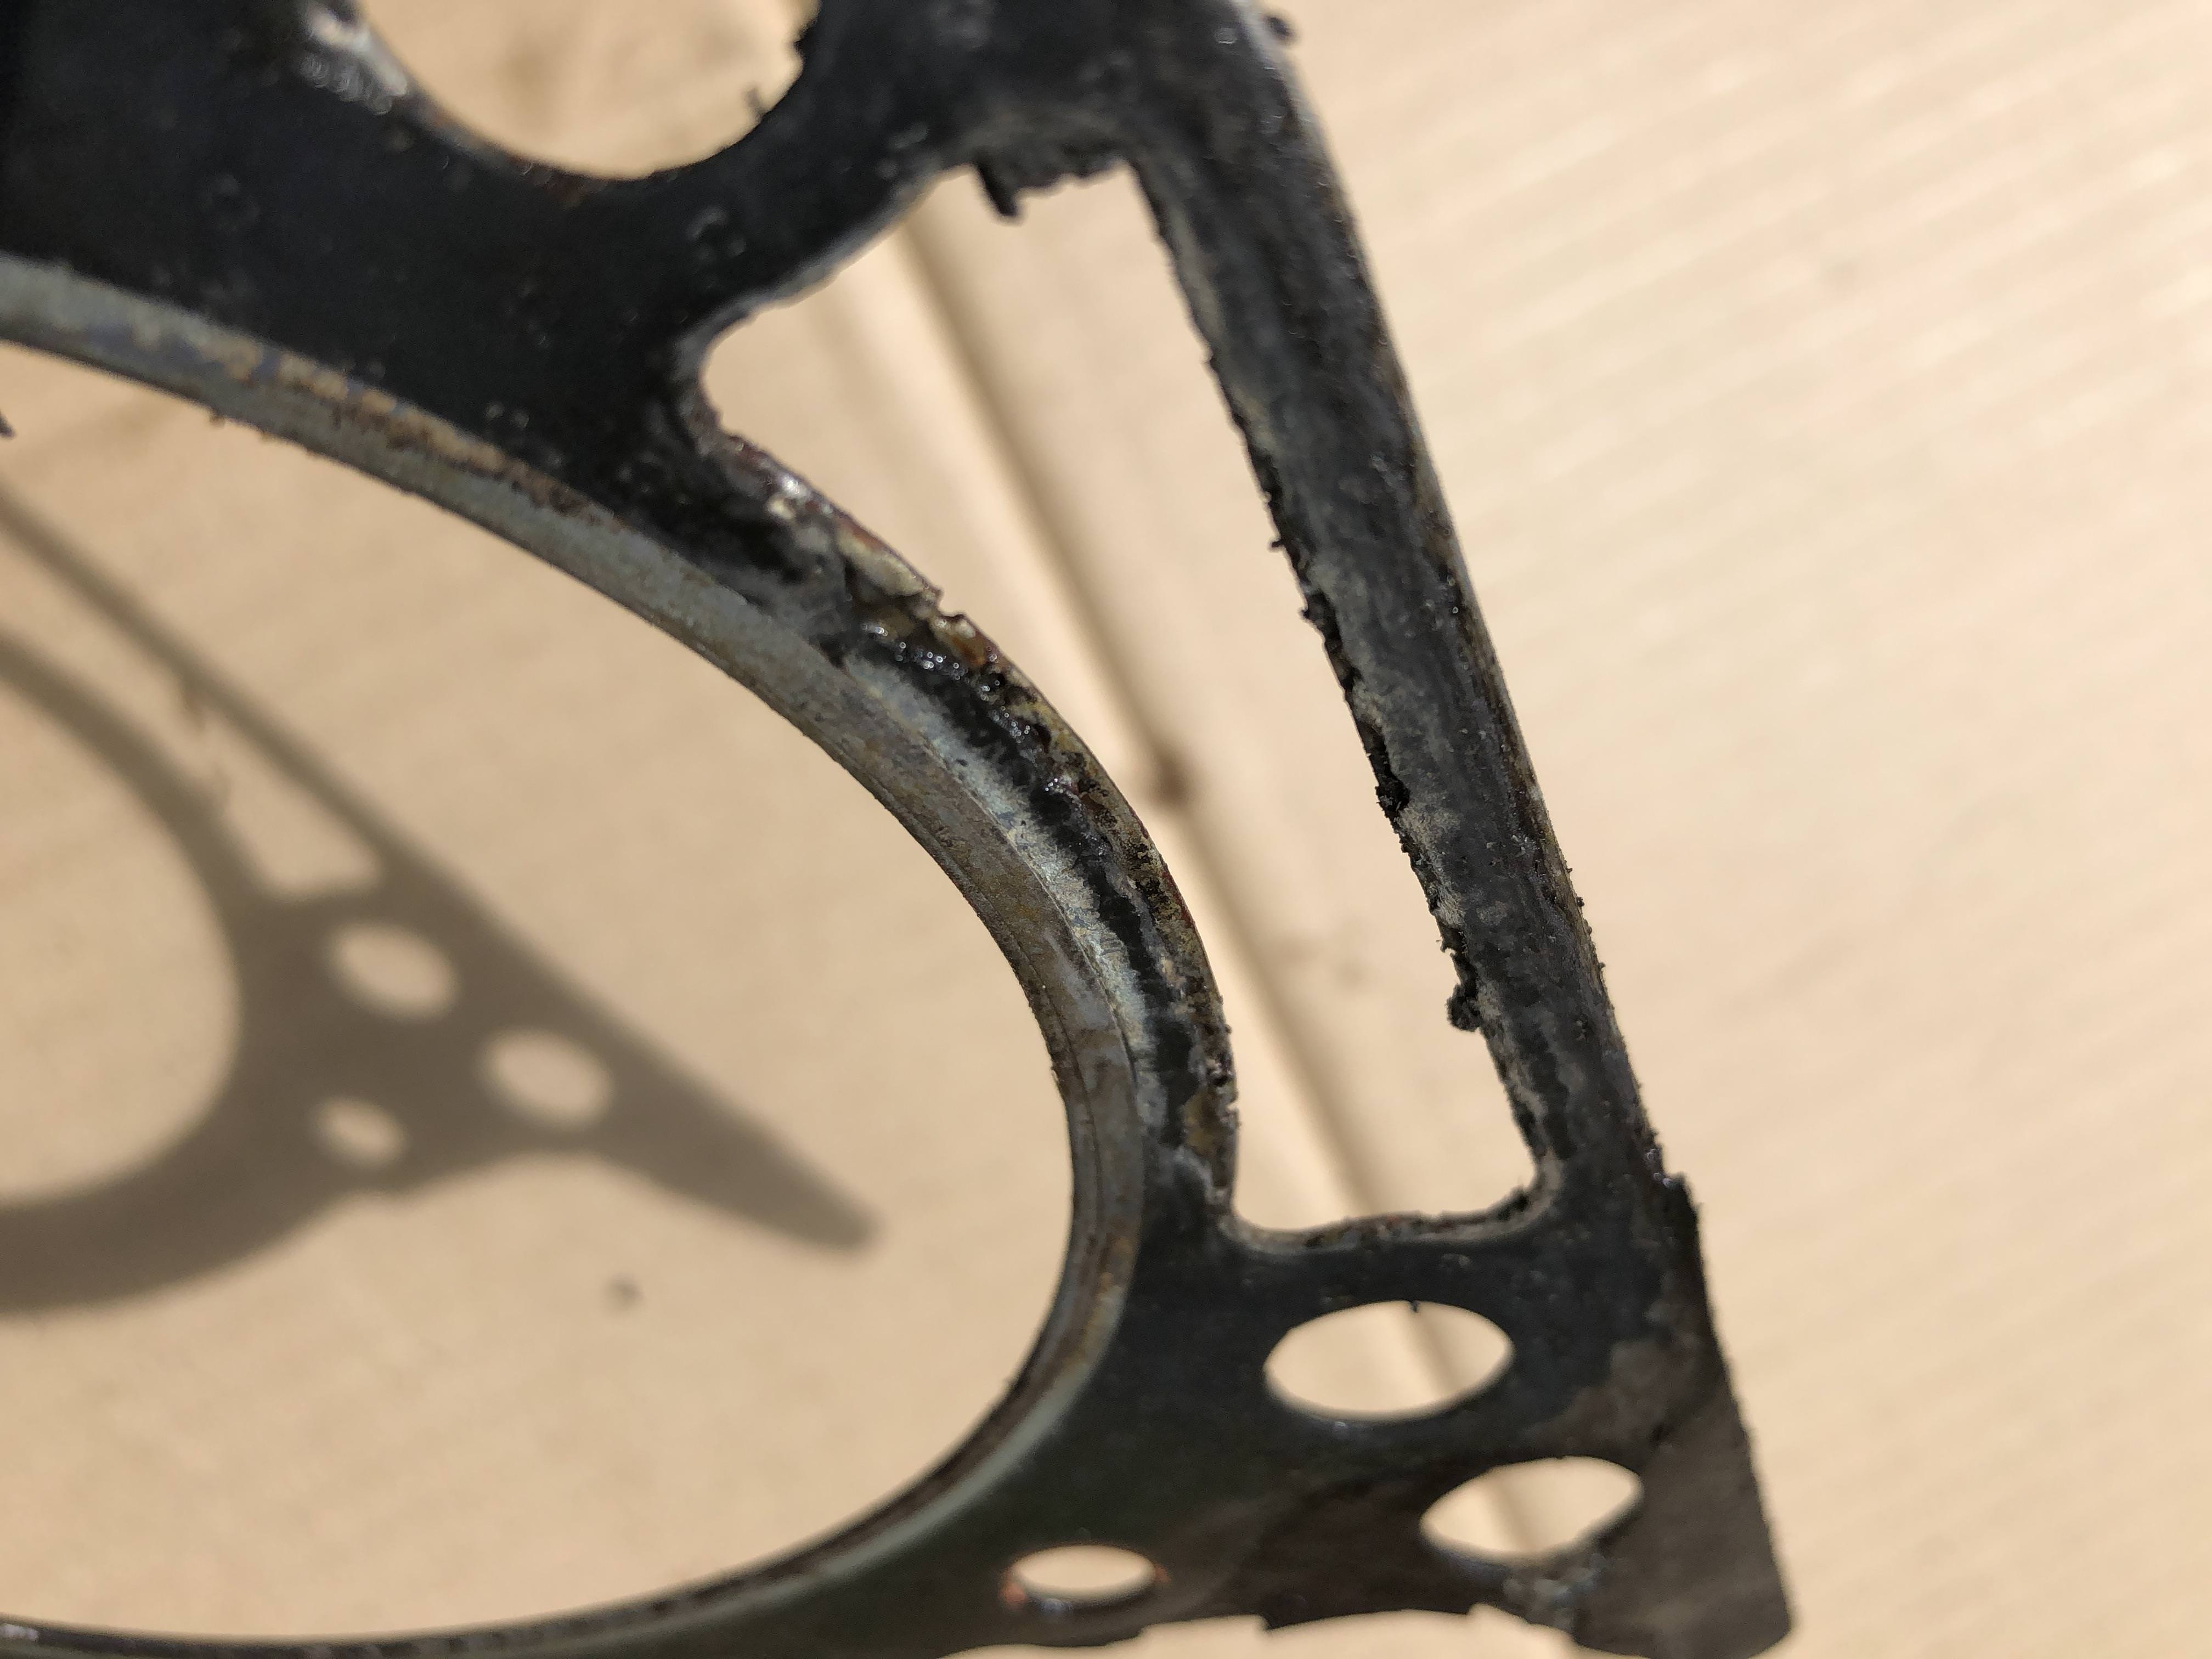
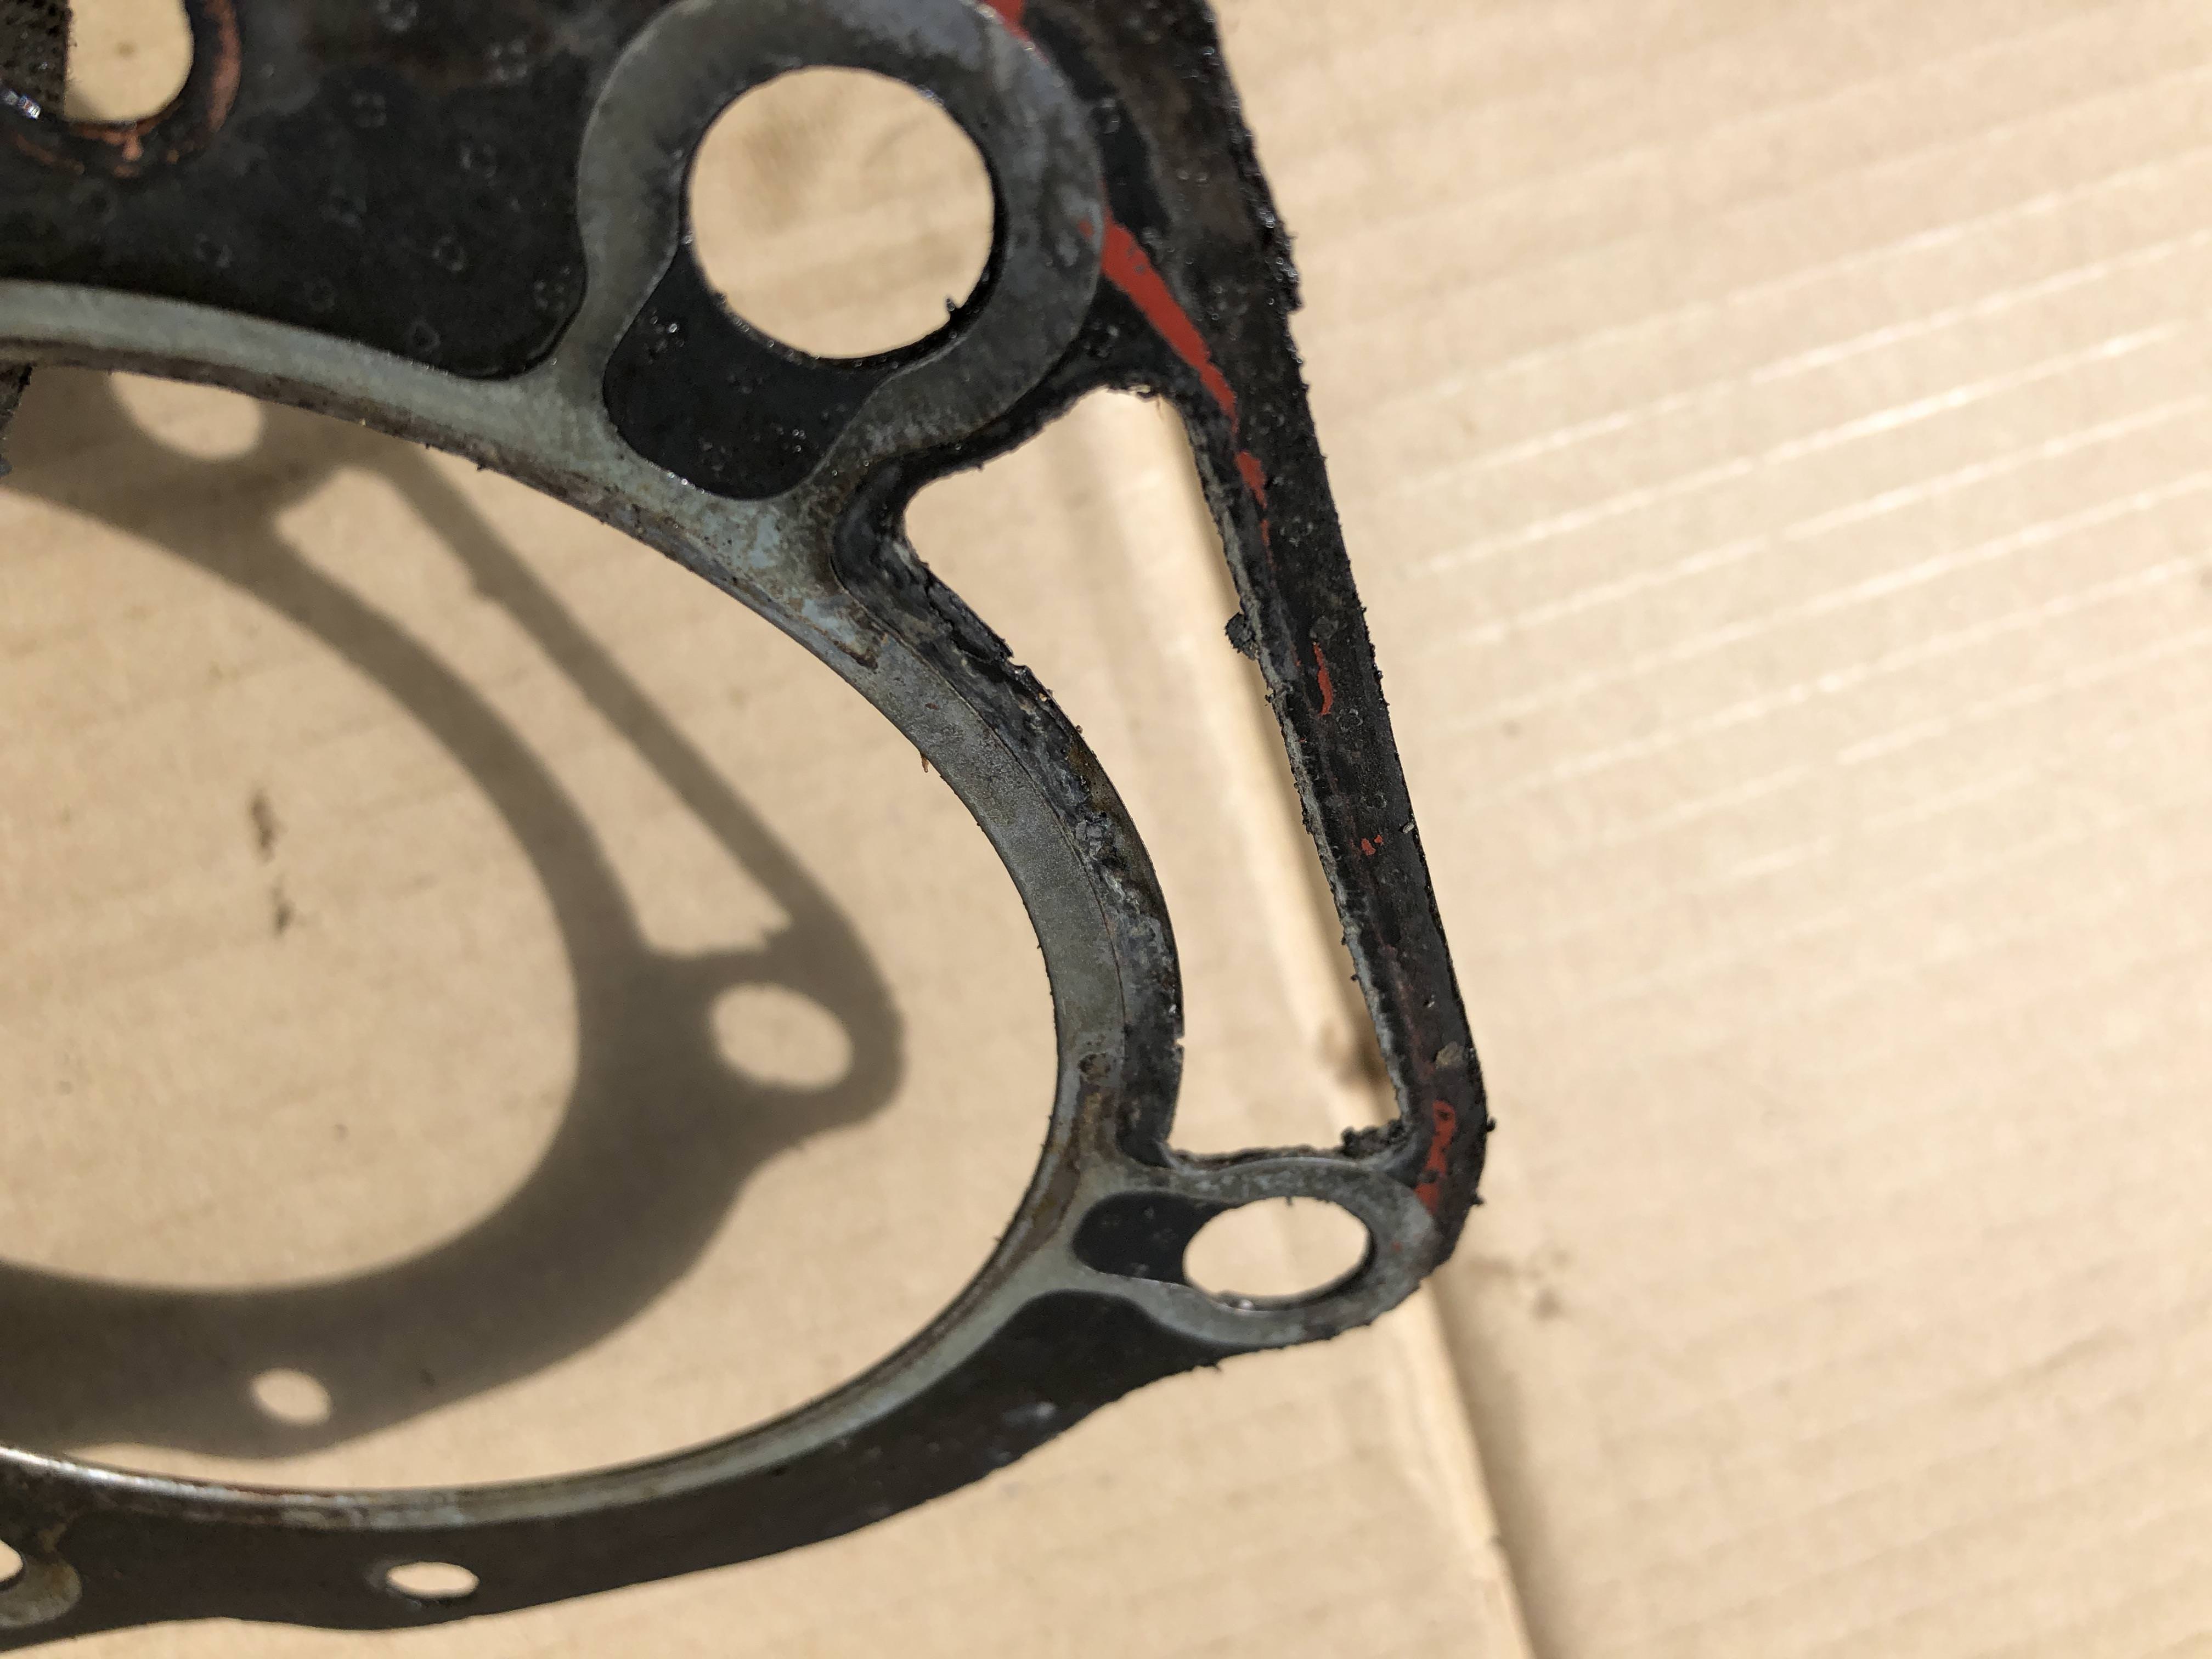
All done with the tear down -- i was surprised how not tight the head bolts were  You can see in cyl #7 where the HG failed, there is a tad bit of surface rust in the bore. Everything else looks ok which is good! No stripped / broken bolts which is awesome.
I mistakenly didn't undo the manifold --> downpipe bolts before cracking the seal on the drivers side HG, which caused me to get some vinegar/water solution in my eye while crawling back under the truck to undo them. It hurt real bad! The bolt on the back of the drivers side head where the wire harness is connected was extremely annoying to get out, I had already removed the head bolts so the head kinda moved around a little on the mounting pins which dinged the head ever so slightly. Hopefully the machine shop can clean the dings up, they aren't super deep
Now i just need to get the heads to a machine shop -- the HG kit from Lucky8 should be arriving tomorrow.
You can see in cyl #7 where the HG failed, there is a tad bit of surface rust in the bore. Everything else looks ok which is good! No stripped / broken bolts which is awesome. I mistakenly didn't undo the manifold --> downpipe bolts before cracking the seal on the drivers side HG, which caused me to get some vinegar/water solution in my eye while crawling back under the truck to undo them. It hurt real bad! The bolt on the back of the drivers side head where the wire harness is connected was extremely annoying to get out, I had already removed the head bolts so the head kinda moved around a little on the mounting pins which dinged the head ever so slightly. Hopefully the machine shop can clean the dings up, they aren't super deep
Now i just need to get the heads to a machine shop -- the HG kit from Lucky8 should be arriving tomorrow.
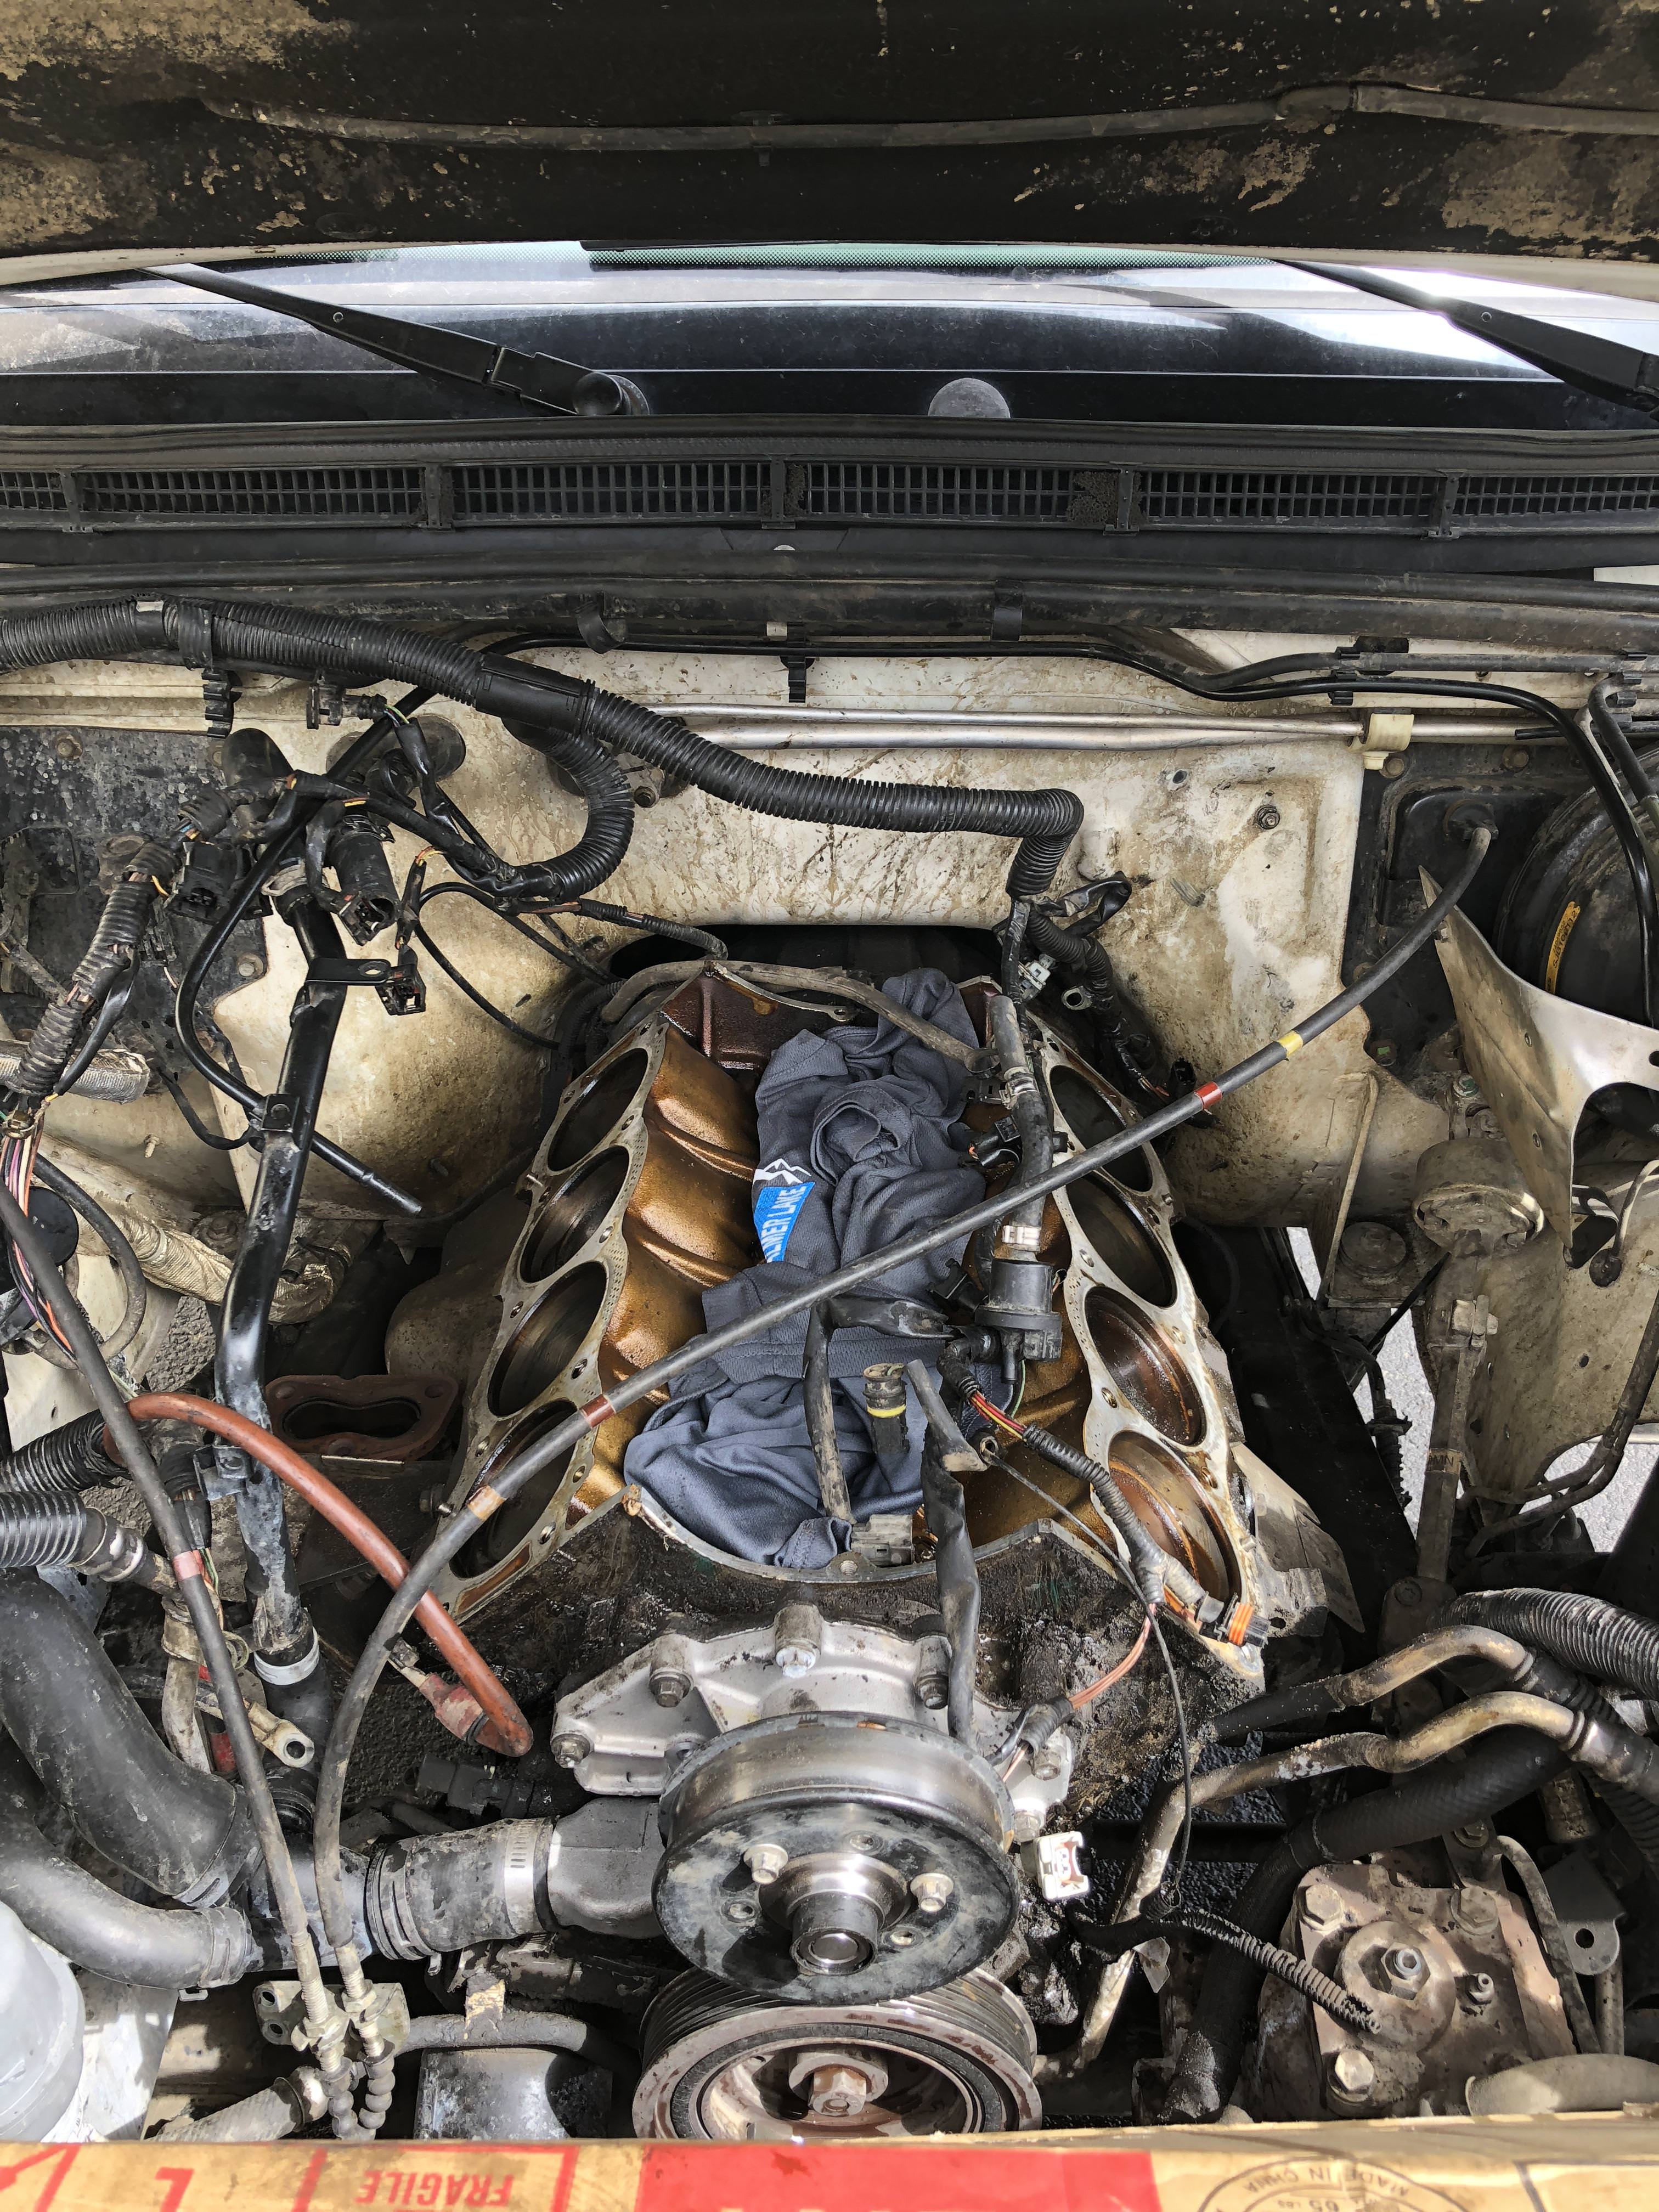
Btw -- whats the deal with the green paint on the front of the block? I seem to recall there was a few different paint codes to identify the grade of blocks between the Range Rovers and Land Rovers. Any one know?


Just got a quote from a super reputable machine shop that services the best independent LR shop here in Denver, they quoted me $450 for a complete rebuild / clean up etc -- the whole works. It's a tad more than I was thinking it was going to be but still within the ballpark of my budget.
Dropping those off early next week and then the Wifey and I are going to Europe for a family trip for 10 days. Heads will be finished by then and I can throw this thing back together!
Dropping those off early next week and then the Wifey and I are going to Europe for a family trip for 10 days. Heads will be finished by then and I can throw this thing back together!
