What did you do with your DII today?
#551
 04-16-2013, 06:13 PM


#552
04-16-2013, 06:41 PM
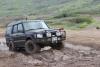
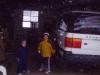
Recovery Vehicle
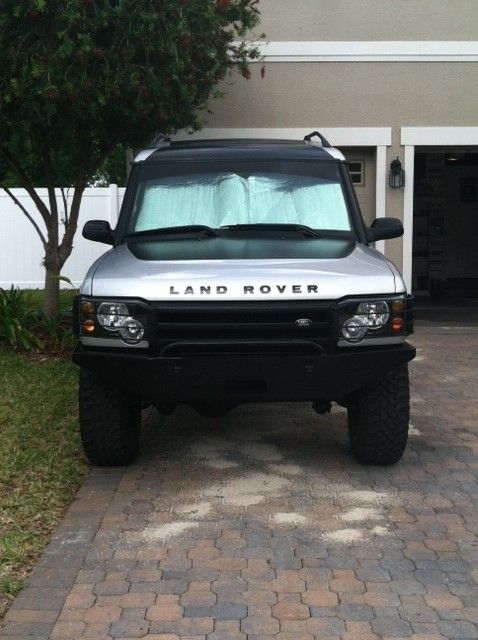
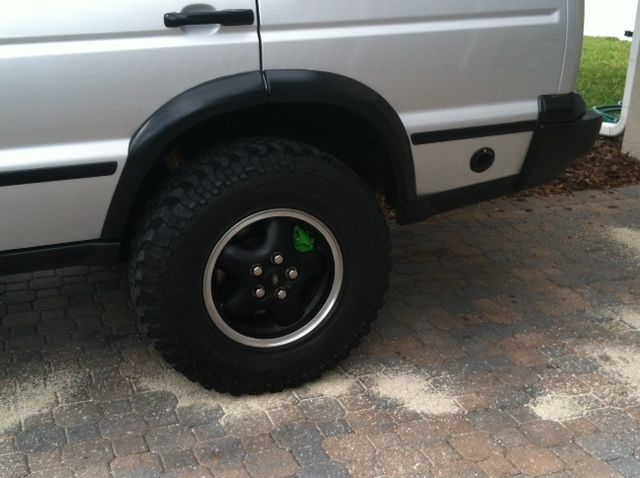
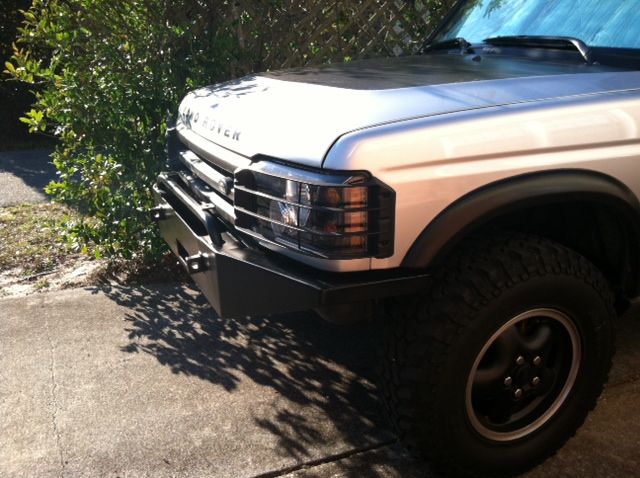
That is a very clean and unique look for a Disco II. Love the front bumper. I'd add some terrafirma fender flares!
#553
04-16-2013, 08:43 PM
Thanks for the kudos! There is a YouTube video of a G4 from the U.K. with those flares and an Arb Sahara bumper. One of my favorite D2's. need a rear bumper, sliders before I could go that route. I can add it to my 'wish list'. I imagine larger tires and spacers too huh? Lol.
#554
04-17-2013, 12:29 AM
Rock Crawling
I changed the spark plugs that to NGK Iridiums. The current ones weren't particularly old, but I just didn't really like them at all. They were Champions and they just didnt feel like I go the oomph out of them that I would have liked, so I changed them up.
Went over to a friends house to look at his Range Rover Classic. He may have a busted radiator or water pump, we don't quite know right now, so the teardown will begin on saturday. He is also a D2 owner.
Went over to a friends house to look at his Range Rover Classic. He may have a busted radiator or water pump, we don't quite know right now, so the teardown will begin on saturday. He is also a D2 owner.


#556
04-18-2013, 10:53 AM

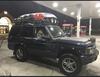
Pro Wrench
This is how I'd like my D2 to look. I like that you minimized the color and blackened everything.
edit: I see you didnt paint the roof at all but used blackout.
Last edited by slanginsanjuan; 04-18-2013 at 10:54 AM. Reason: duh.
#557
04-18-2013, 06:52 PM
Drifting
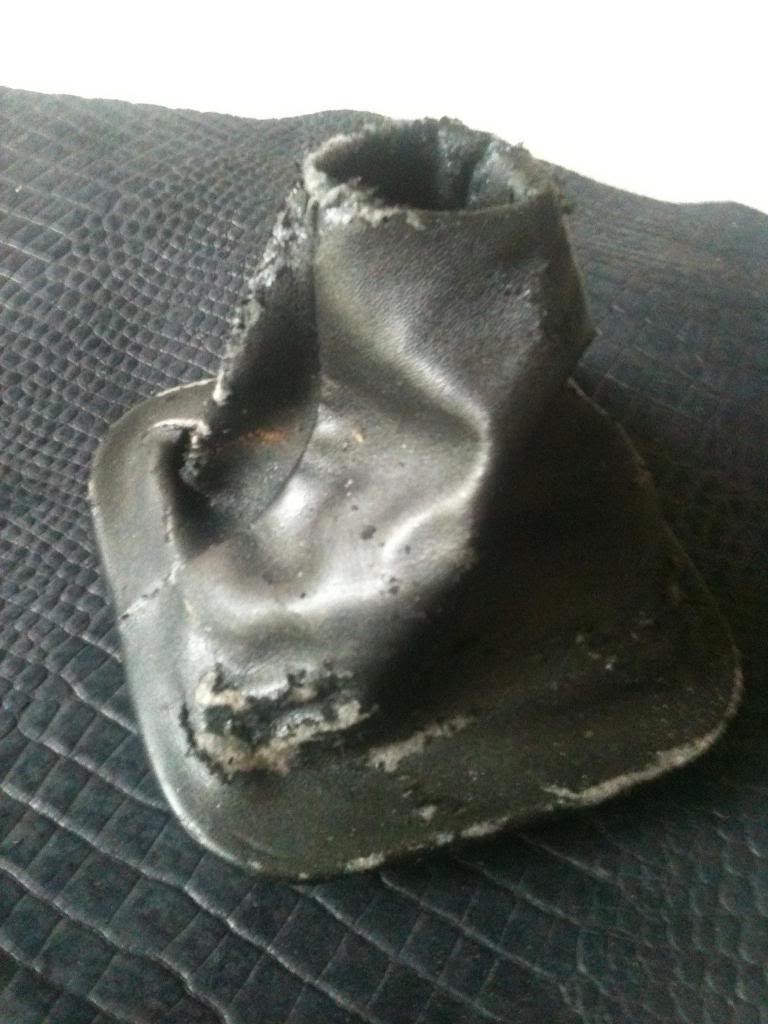
Figured I would share my project. It's a simple and low cost replacement of the crappy boots (CDL/e brake). I absolutely did not want to pay so much for replacement materials that would basically rot again. So I found a nice size piece of suede leather (4 ounce wallet liner leather) with a crocodile print. This whole project cost me around $40.00 and roughly 2 hours of my time. I used a 20"x2" strap to create an overhead console gun holster. Materials needed: leather or material of your choice, white crayola, scissors, 3 tubes of Gorilla super glue, some needle in thread, and a knife or razor to cut the old boot threading. Pull the boots out of your Rover. Peel/Remove the boots from their clips (they are just sticky glued on), split the old seem with a knife (the CDL boot has two seems, only need to split one. I cut one solid piece and sewed one seem. MUCH cleaner look), Lay your boots out over your material and use a white crayola to trace the pattern. Cut it out, sew the seem with the material inside out (this will hide your seem when you reverse it.), run a line of glue over the stitching to add strength. Once the glue has dried simply turn the boots rite side out, stretch it over the clips and glue it on (reverse of removing the old) I couldn't sew a torn pair of pants if I had to, so if I can do this anyone can. Some may not care for the suede look, but I am happy with the results. Save money and use real leather! Suede is durable and simple to keep clean. Using a super lite weight leather means it is very pliable.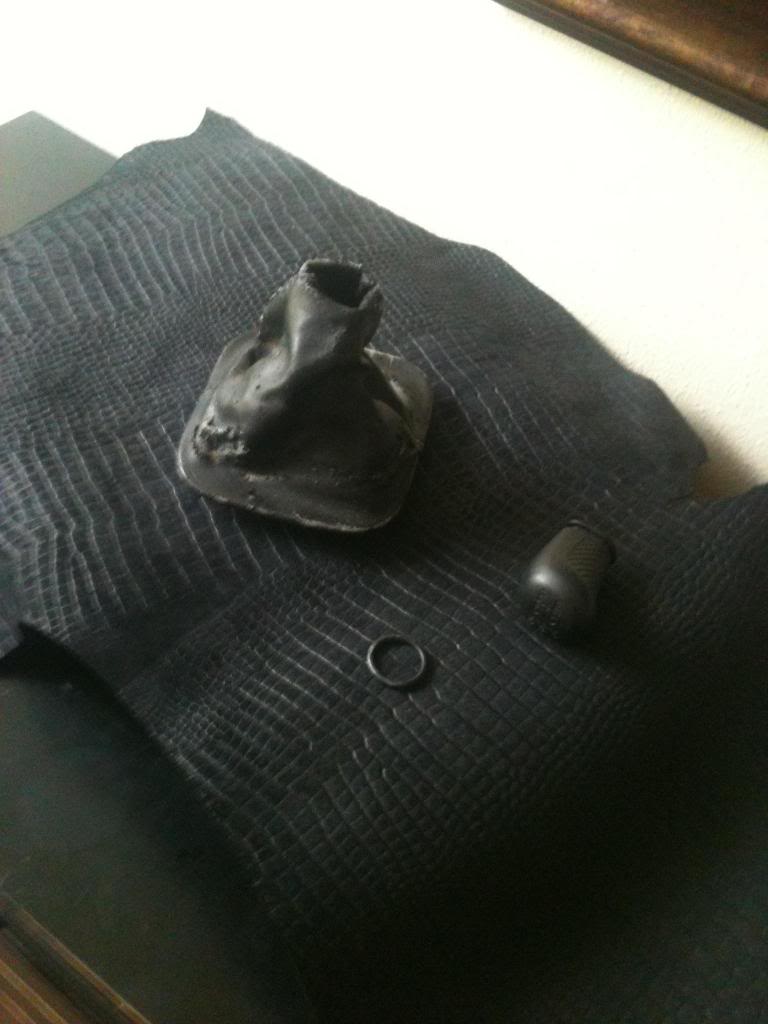


#558
04-18-2013, 07:41 PM

Figured I would share my project. It's a simple and low cost replacement of the crappy boots (CDL/e brake). I absolutely did not want to pay so much for replacement materials that would basically rot again. So I found a nice size piece of suede leather (4 ounce wallet liner leather) with a crocodile print. This whole project cost me around $40.00 and roughly 2 hours of my time. I used a 20"x2" strap to create an overhead console gun holster. Materials needed: leather or material of your choice, white crayola, scissors, 3 tubes of Gorilla super glue, some needle in thread, and a knife or razor to cut the old boot threading. Pull the boots out of your Rover. Peel/Remove the boots from their clips (they are just sticky glued on), split the old seem with a knife (the CDL boot has two seems, only need to split one. I cut one solid piece and sewed one seem. MUCH cleaner look), Lay your boots out over your material and use a white crayola to trace the pattern. Cut it out, sew the seem with the material inside out (this will hide your seem when you reverse it.), run a line of glue over the stitching to add strength. Once the glue has dried simply turn the boots rite side out, stretch it over the clips and glue it on (reverse of removing the old) I couldn't sew a torn pair of pants if I had to, so if I can do this anyone can. Some may not care for the suede look, but I am happy with the results. Save money and use real leather! Suede is durable and simple to keep clean. Using a super lite weight leather means it is very pliable.
E BRAKE & TRANSFER BOOT KIT DISCOVERY I, DISCOVERY II, PLK130 - Kit Configuration Page
#560
04-20-2013, 08:31 PM
[QUOTE=slanginsanjuan;392840]Really nice. I see you didnt paint the entire roof. I have to do mine and I'm going to the roofrails.
This is how I'd like my D2 to look. I like that you minimized the color and blackened everything.
I painted mostly the flat part of the roof due to the damage/ white spots caused from the sun. Taped off the perimeter and set up to protect from overspray and put 3 coats of VHT Black epoxy spray paint in Satin from Advanced Auto.
I like the sides showing the stock color if the roof... so far no sun damage. If it spreads again... I will be faced with a decision to blackout the whole roof or have it professionally reprinted stock color.