When you click on links to various merchants on this site and make a purchase, this can result in this site earning a commission. Affiliate programs and affiliations include, but are not limited to, the eBay Partner Network.
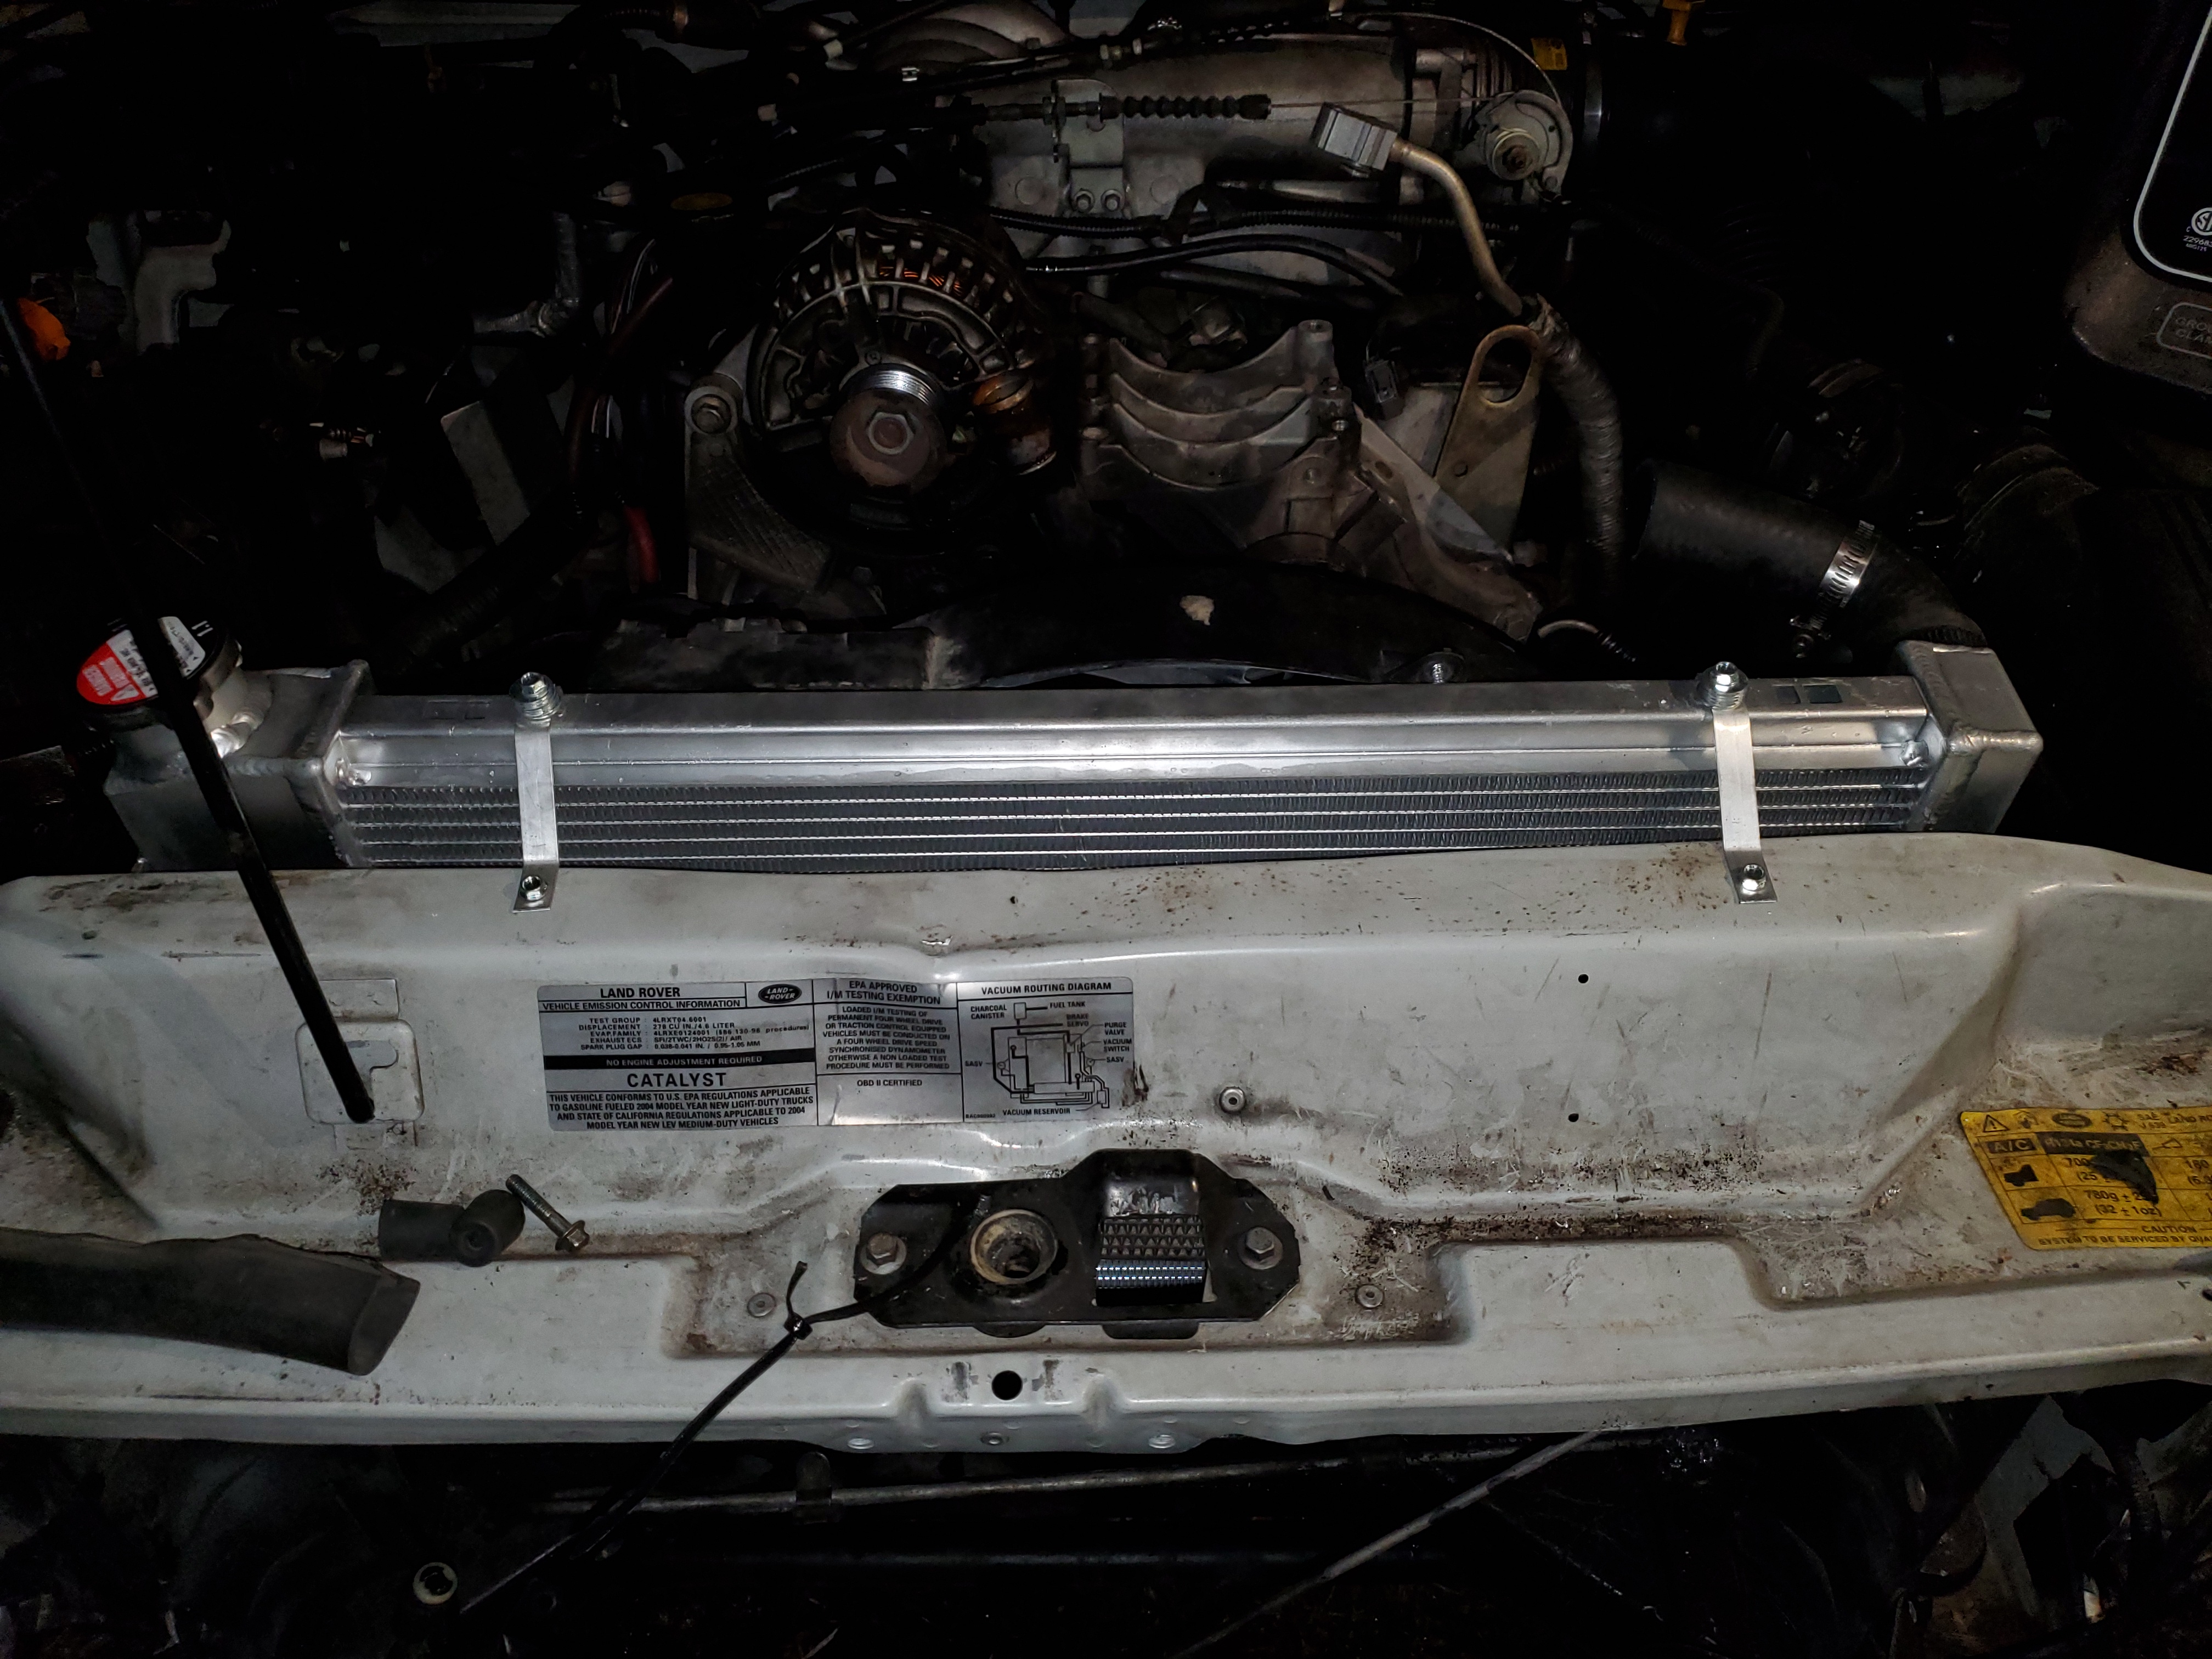
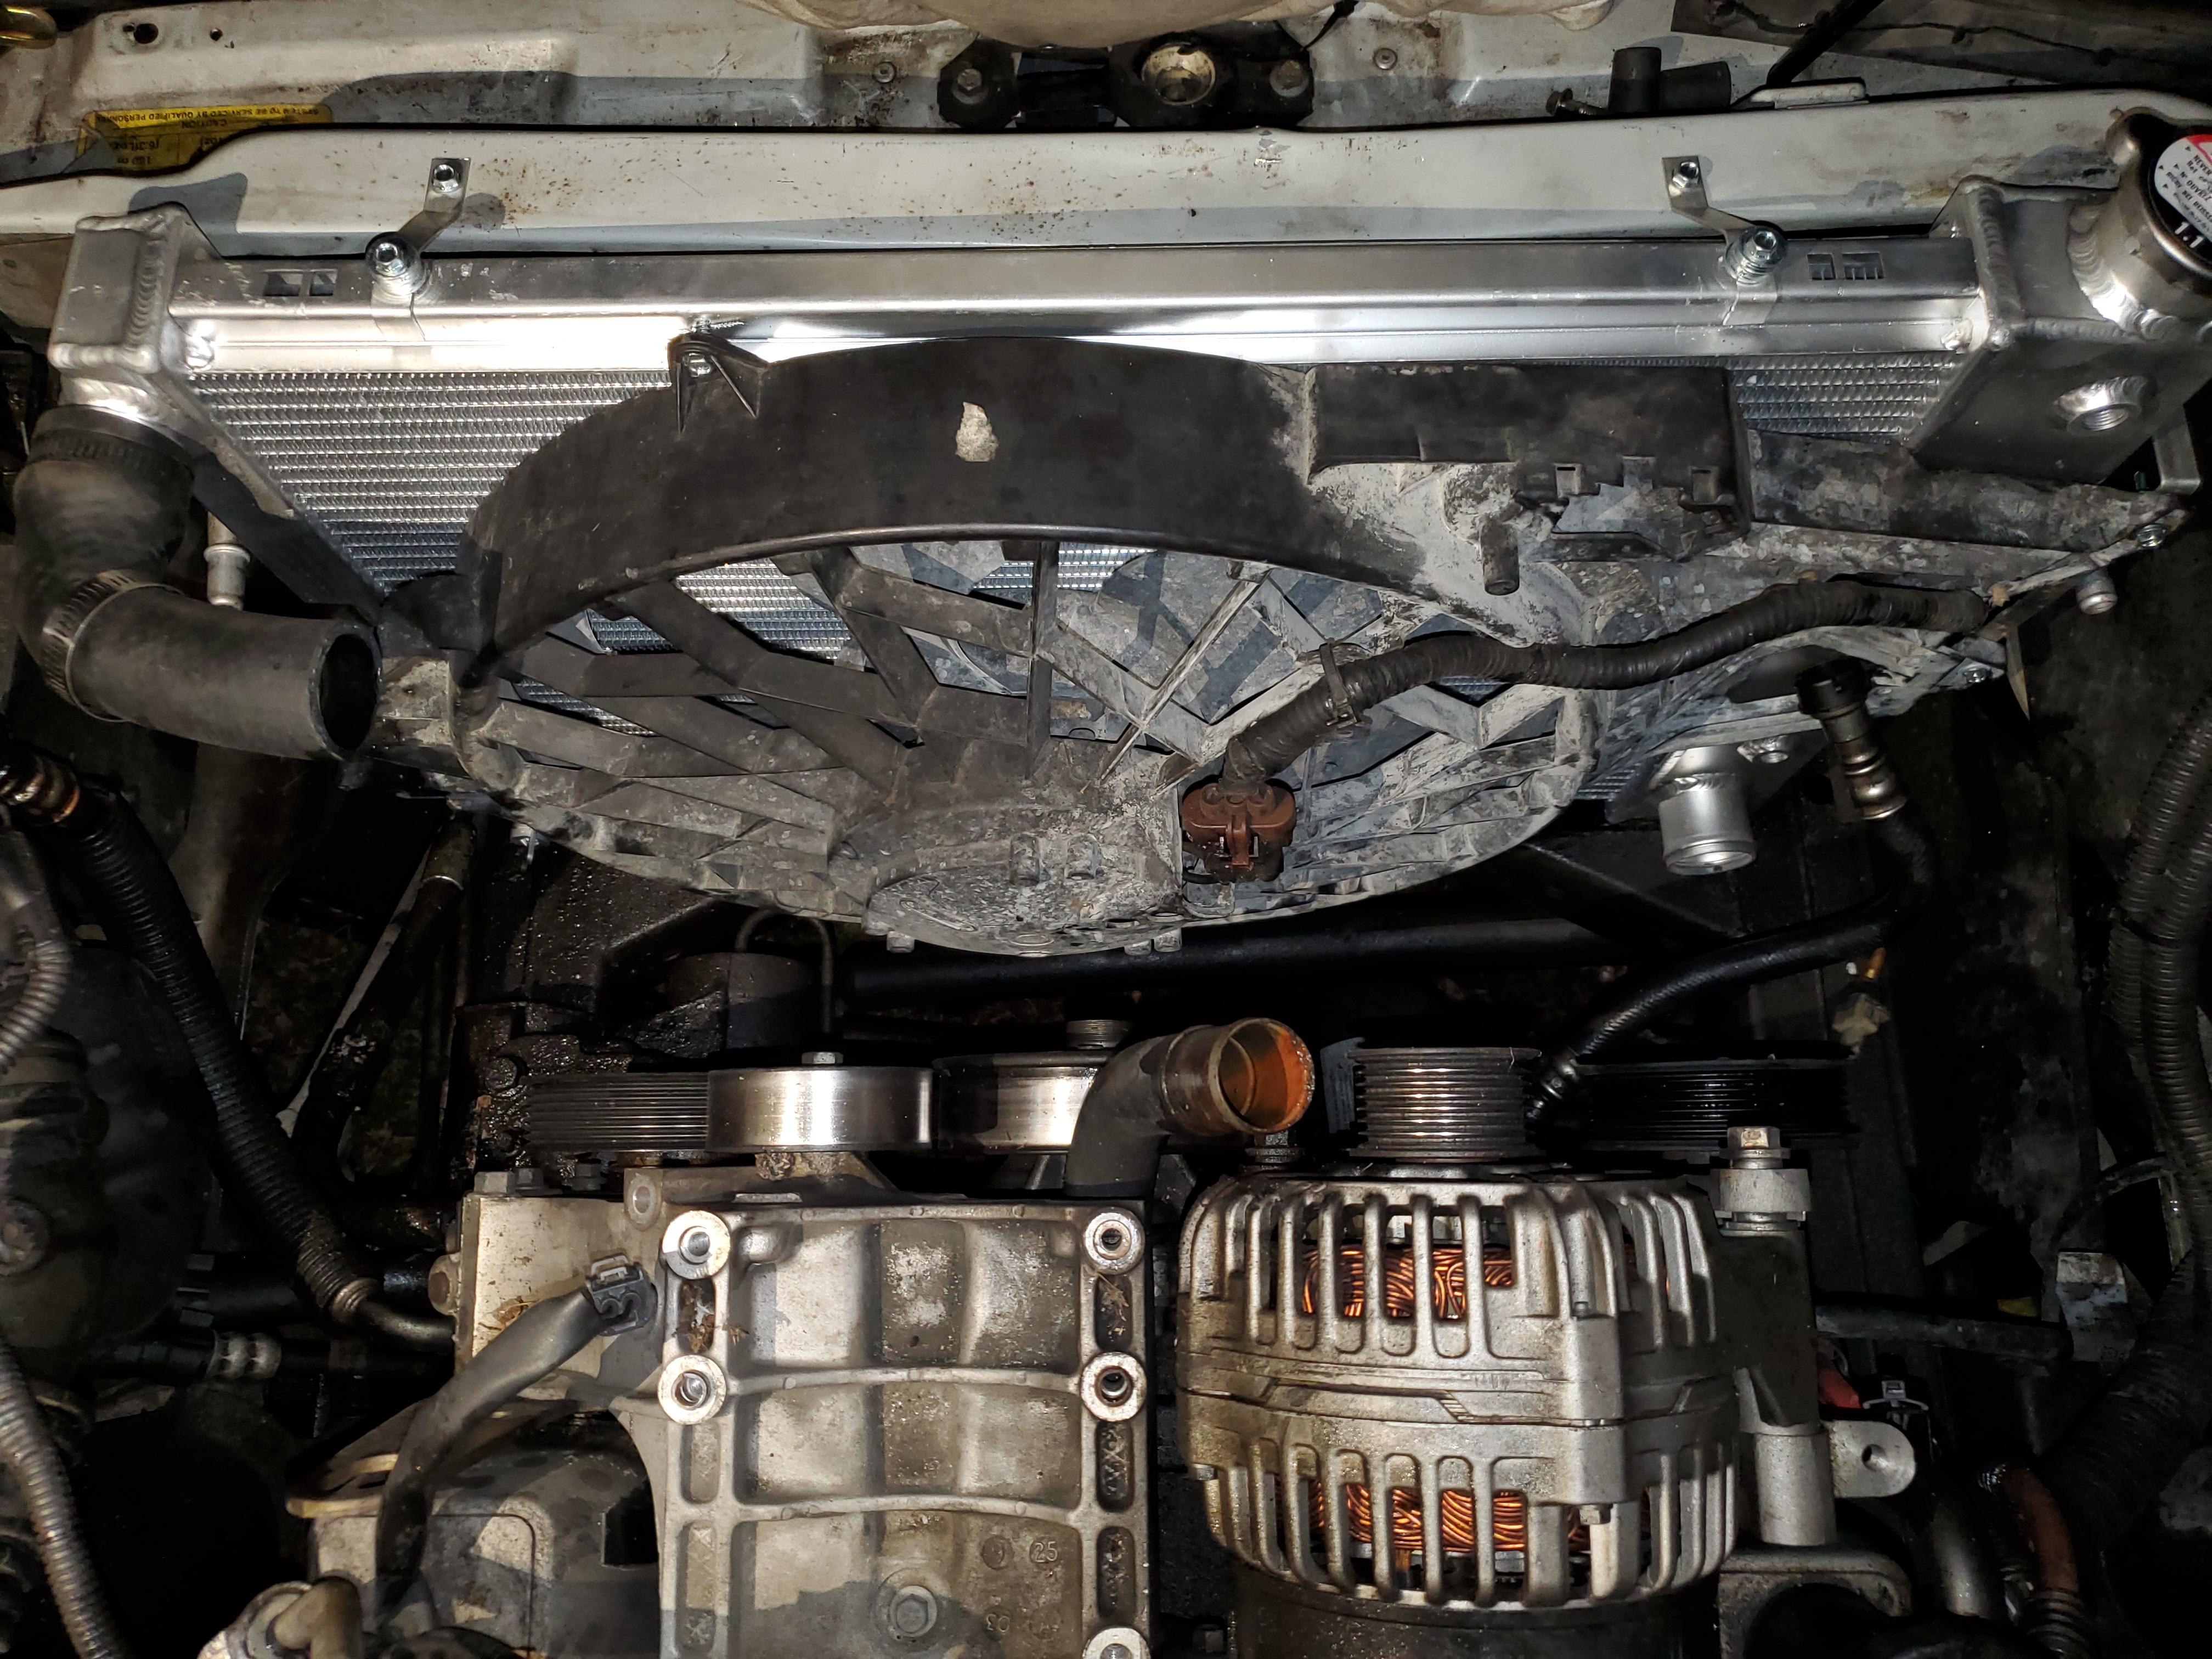
Unfortunately a buddy plowed a deer at 60 the other night in his disco. Luckily I had several if the parts, such as the hood and driver's fender, that he needed to get back on the road. Switching him over to the Camaro radiator, electric fan, and in line thermostat in the mean time, as well as converting him over to round headlights. His idea, I look forward to seeing how it comes out. We've probably got another days work in it to get it back on the road which will probably be one day next week. Luckily for him he had a terrafirma bumper which prevented a lot more damage. Just bent in the winch tray a couple inches, which we'll try to sledge back out.
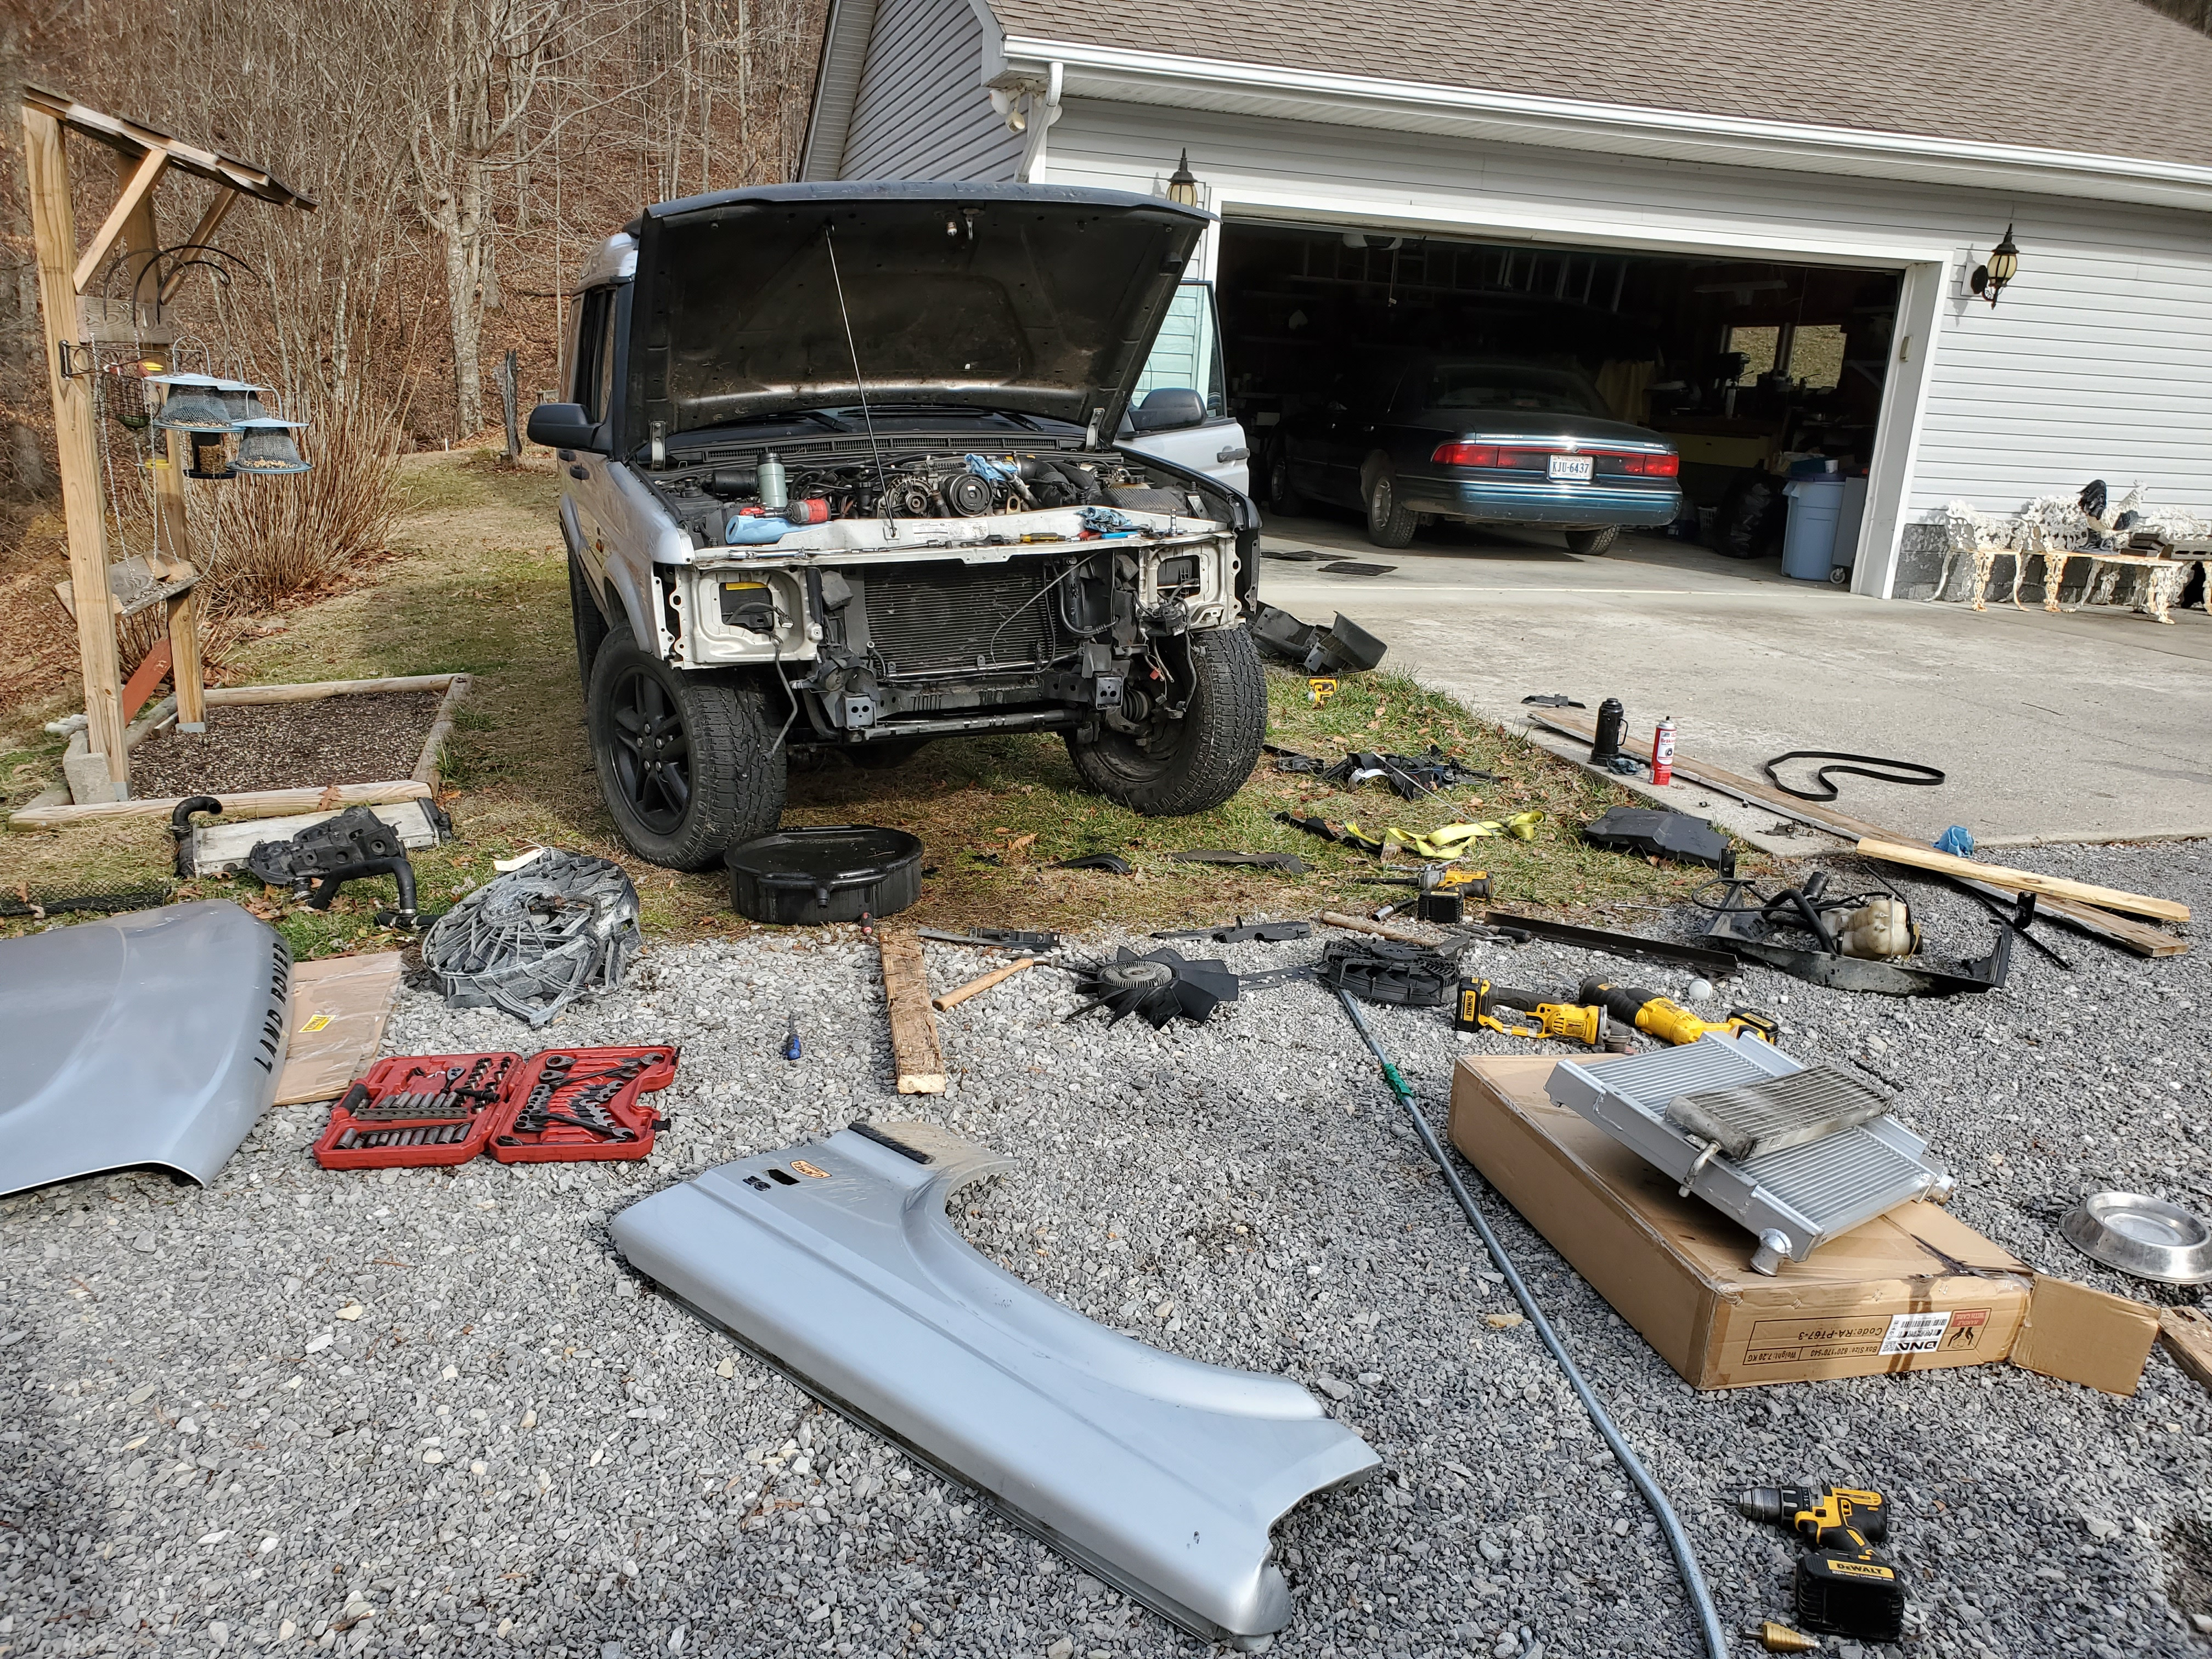
I finally had a bit of free time today, began to get back to my rear bumper I started in the summer. Did a quick mock up and reinstalled the original for now. I need to extend the wings and fab up some mounts
Unfortunately a buddy plowed a deer at 60 the other night in his disco. Luckily I had several if the parts, such as the hood and driver's fender, that he needed to get back on the road. Switching him over to the Camaro radiator, electric fan, and in line thermostat in the mean time, as well as converting him over to round headlights. His idea, I look forward to seeing how it comes out. We've probably got another days work in it to get it back on the road which will probably be one day next week. Luckily for him he had a terrafirma bumper which prevented a lot more damage. Just bent in the winch tray a couple inches, which we'll try to sledge back out.
what round headlights? 03/04 ones or something else?
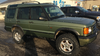
Picked up a 2000 Disco 2 (228k mi) at auction for $950. Needed a second vehicle for occasional hauling and backup for my other CSOB older car (2002 BMW 330xi). Been driving it for 2 weeks and we're falling in love.
Not all done today, but here's some recent tasks:
1) Replaced bad power transistor in the "resistor pack" (as many call it...) for the AC/heater fan. Now fan works at all speeds, not just high.
2) Rebuilt key with kit from ebay : new switches, battery, and cover. Used original blade so no key to cut.
3) Used epoxy, PVC scrap, and a Dremel to rebuild the busted out bits on back side of instrument cluster surround. PO used the "pull upwards really hard" method to remove it. Probably b/c the bright/dim roller was broken off. No pics, but my work was really ugly. Fortunately it doesn't show from the outside and the end result looks and works fine. And only wobbles a little...
4) Tried (unsuccessfully) to revive the dead/ghost segments of the clock LCD by cleaning the "conductive rubber" connector from PCB to LCD with alcohol. After that failed, I just disconnected power plug so clock is off. I kinda hate clocks stuck all over the place (dashboards, ovens, coffee makers, VCRs, prosthetic limbs, etc.)
5) Fixed the pop-out cup holder (which wouldn't stay retracted) by removing the spring. Now it doesn't pop out at all. Problem solved!
6) Took the first steps of the journey of many fluids. Steering fluid done. Brake fluid looked brand new, so left alone. Coolant done. Motor oil done. Still to go: gear oil in diffs and xfer case, ATF + filter. Also bought a new tstat and TB heater.
7) Hit engine with degreaser and a rinse. If I was a true optimist I'd say this might lead me to discover where all the oil and coolant are leaking from. But,
8) Put a plastic tray/ box in cargo area to store fluids, greases, potions and salves.
9) Ordered a Autocom CDP+ to help battle the three amigos. Stay tuned.