So what did you do to your Disco today?
#801
 10-30-2012, 06:49 AM


I inserted a temperature probe into the city light bulb hole and left the headlights on for a while. Surprisingly it only rose about 6 degrees above ambient before leveling out. So with the reassuring data I ordered and installed my LED city lights. These are 5100k LEDs, model WLED-WHP5 from superbrightleds.com. They're brighter than the stock incandescent bulbs and I'm really pleased with the crisp white light that updates the look, all at 1/12th the current draw. They even look great when combined with the more yellowish halogen headlights. I didn't take a picture of it, but it creates an interesting mix between the LED and halogen color temperatures.
Stock 168 bulb on left, LED on right:
Attachment 12331
Attachment 12332
Stock 168 bulb on left, LED on right:
Attachment 12331
Attachment 12332
#802
10-30-2012, 10:18 AM

Pro Wrench
#803
10-30-2012, 12:23 PM
Don't recall the numbers, but they were replacements from SuperbrightLeds.com
One city light failed, then one license plate light. The other plate light started flickering and made it look like I was at a dance party so I pulled them all and tossed in regular incadescent bulbs.
One city light failed, then one license plate light. The other plate light started flickering and made it look like I was at a dance party so I pulled them all and tossed in regular incadescent bulbs.
#805
10-30-2012, 10:53 PM


#806
10-31-2012, 08:45 AM
Overlanding
Join Date: Aug 2012
Location: Jackson, MS
Posts: 23
Likes: 0
Received 0 Likes
on
0 Posts
#807
10-31-2012, 09:21 AM
Recovery Vehicle

#808
10-31-2012, 06:37 PM
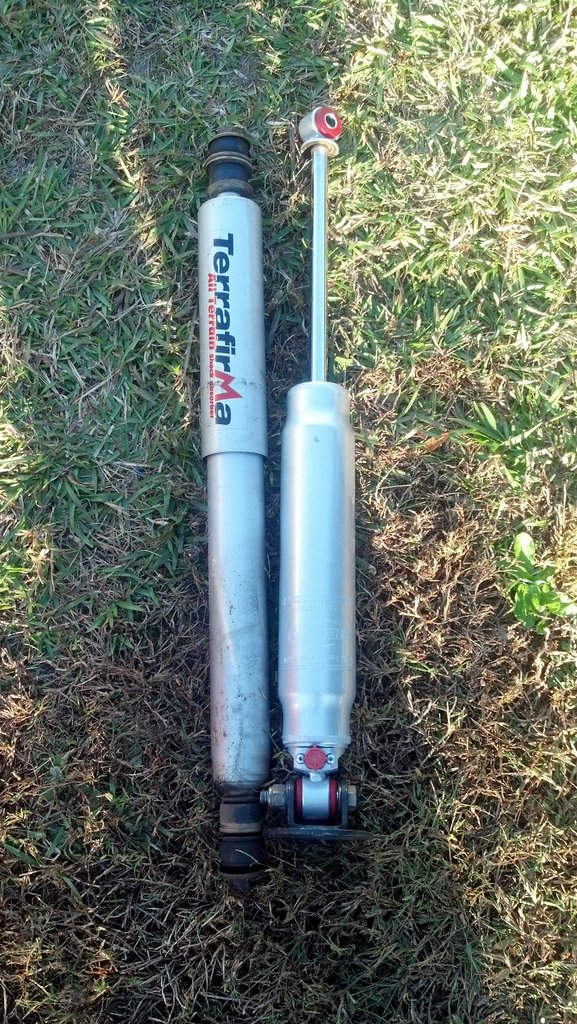
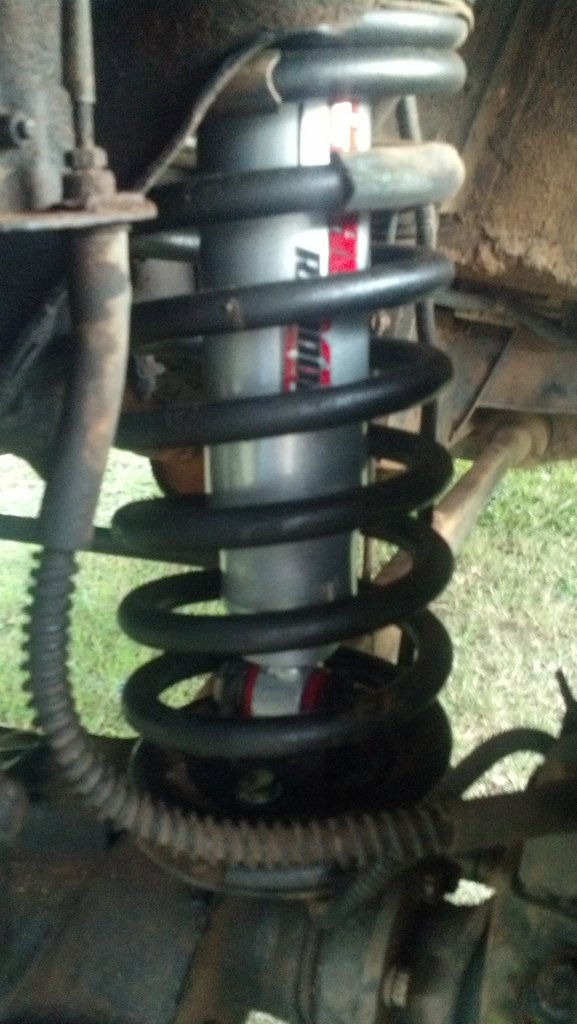
I installed one of my 10" Rancho front shocks before running out of daylight. I had an epic battle with one of the bolts that holds the spring perch to the axle. Had it almost all the way off and then it locked up solid. Saws-all 1, bolt 0! Hopefully get the other side done tomorrow.
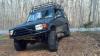
I figured I'd throw this up for the hell of it. They guy that built my bumpers and and sliders built this and just finished swapping out the yota drivetrain for a Ford 351. Bad *** is an understatement.
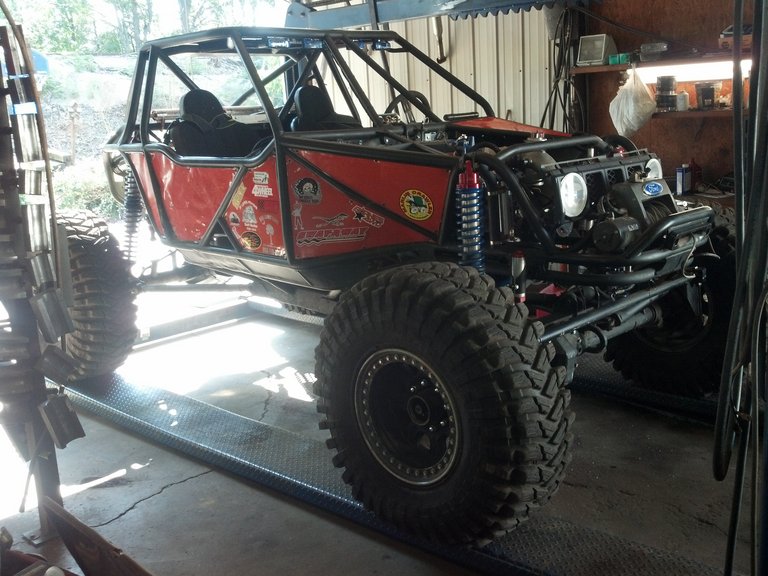
I figured I'd throw this up for the hell of it. They guy that built my bumpers and and sliders built this and just finished swapping out the yota drivetrain for a Ford 351. Bad *** is an understatement.
#810
11-01-2012, 09:19 AM
Overlanding
Join Date: Aug 2012
Location: Jackson, MS
Posts: 23
Likes: 0
Received 0 Likes
on
0 Posts