When you click on links to various merchants on this site and make a purchase, this can result in this site earning a commission. Affiliate programs and affiliations include, but are not limited to, the eBay Partner Network.
It's definitely not as plug-and-play as some would have you beleive. Not a physically demanding task, just a lot of "fit, adjust, install, fit, adjust, install". Especially on the CDL nipple end of the linkage.
the cdl nipple was easy. It was the high low that was a pia!!
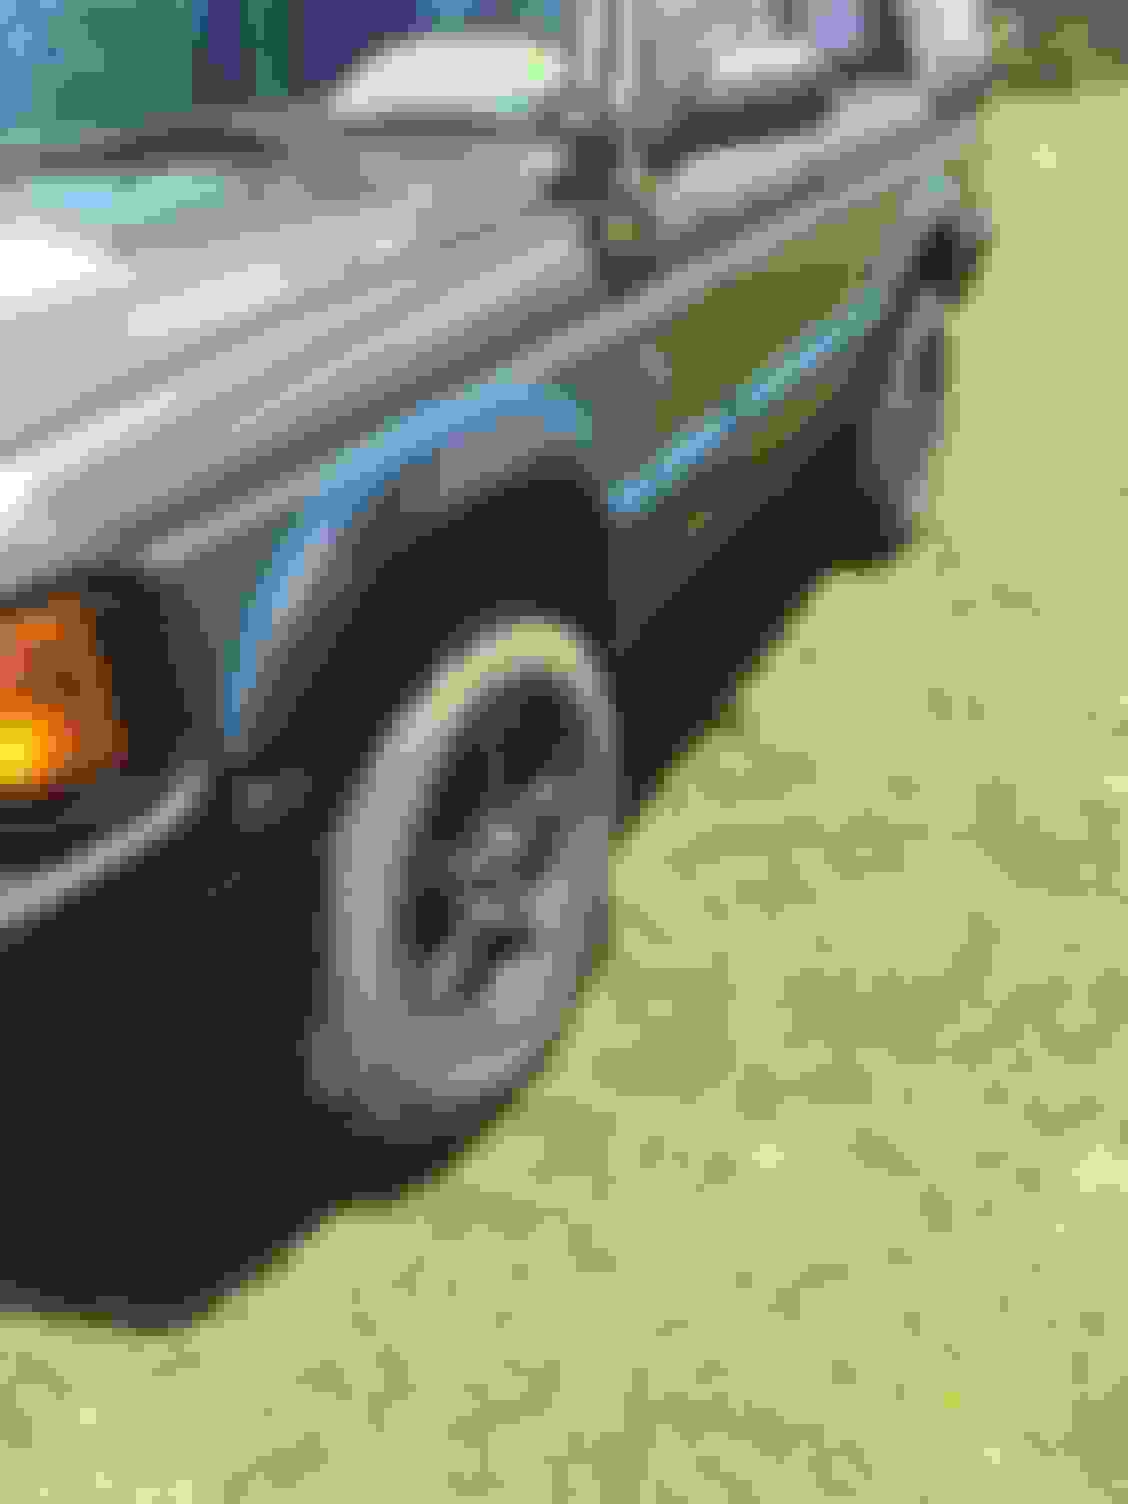
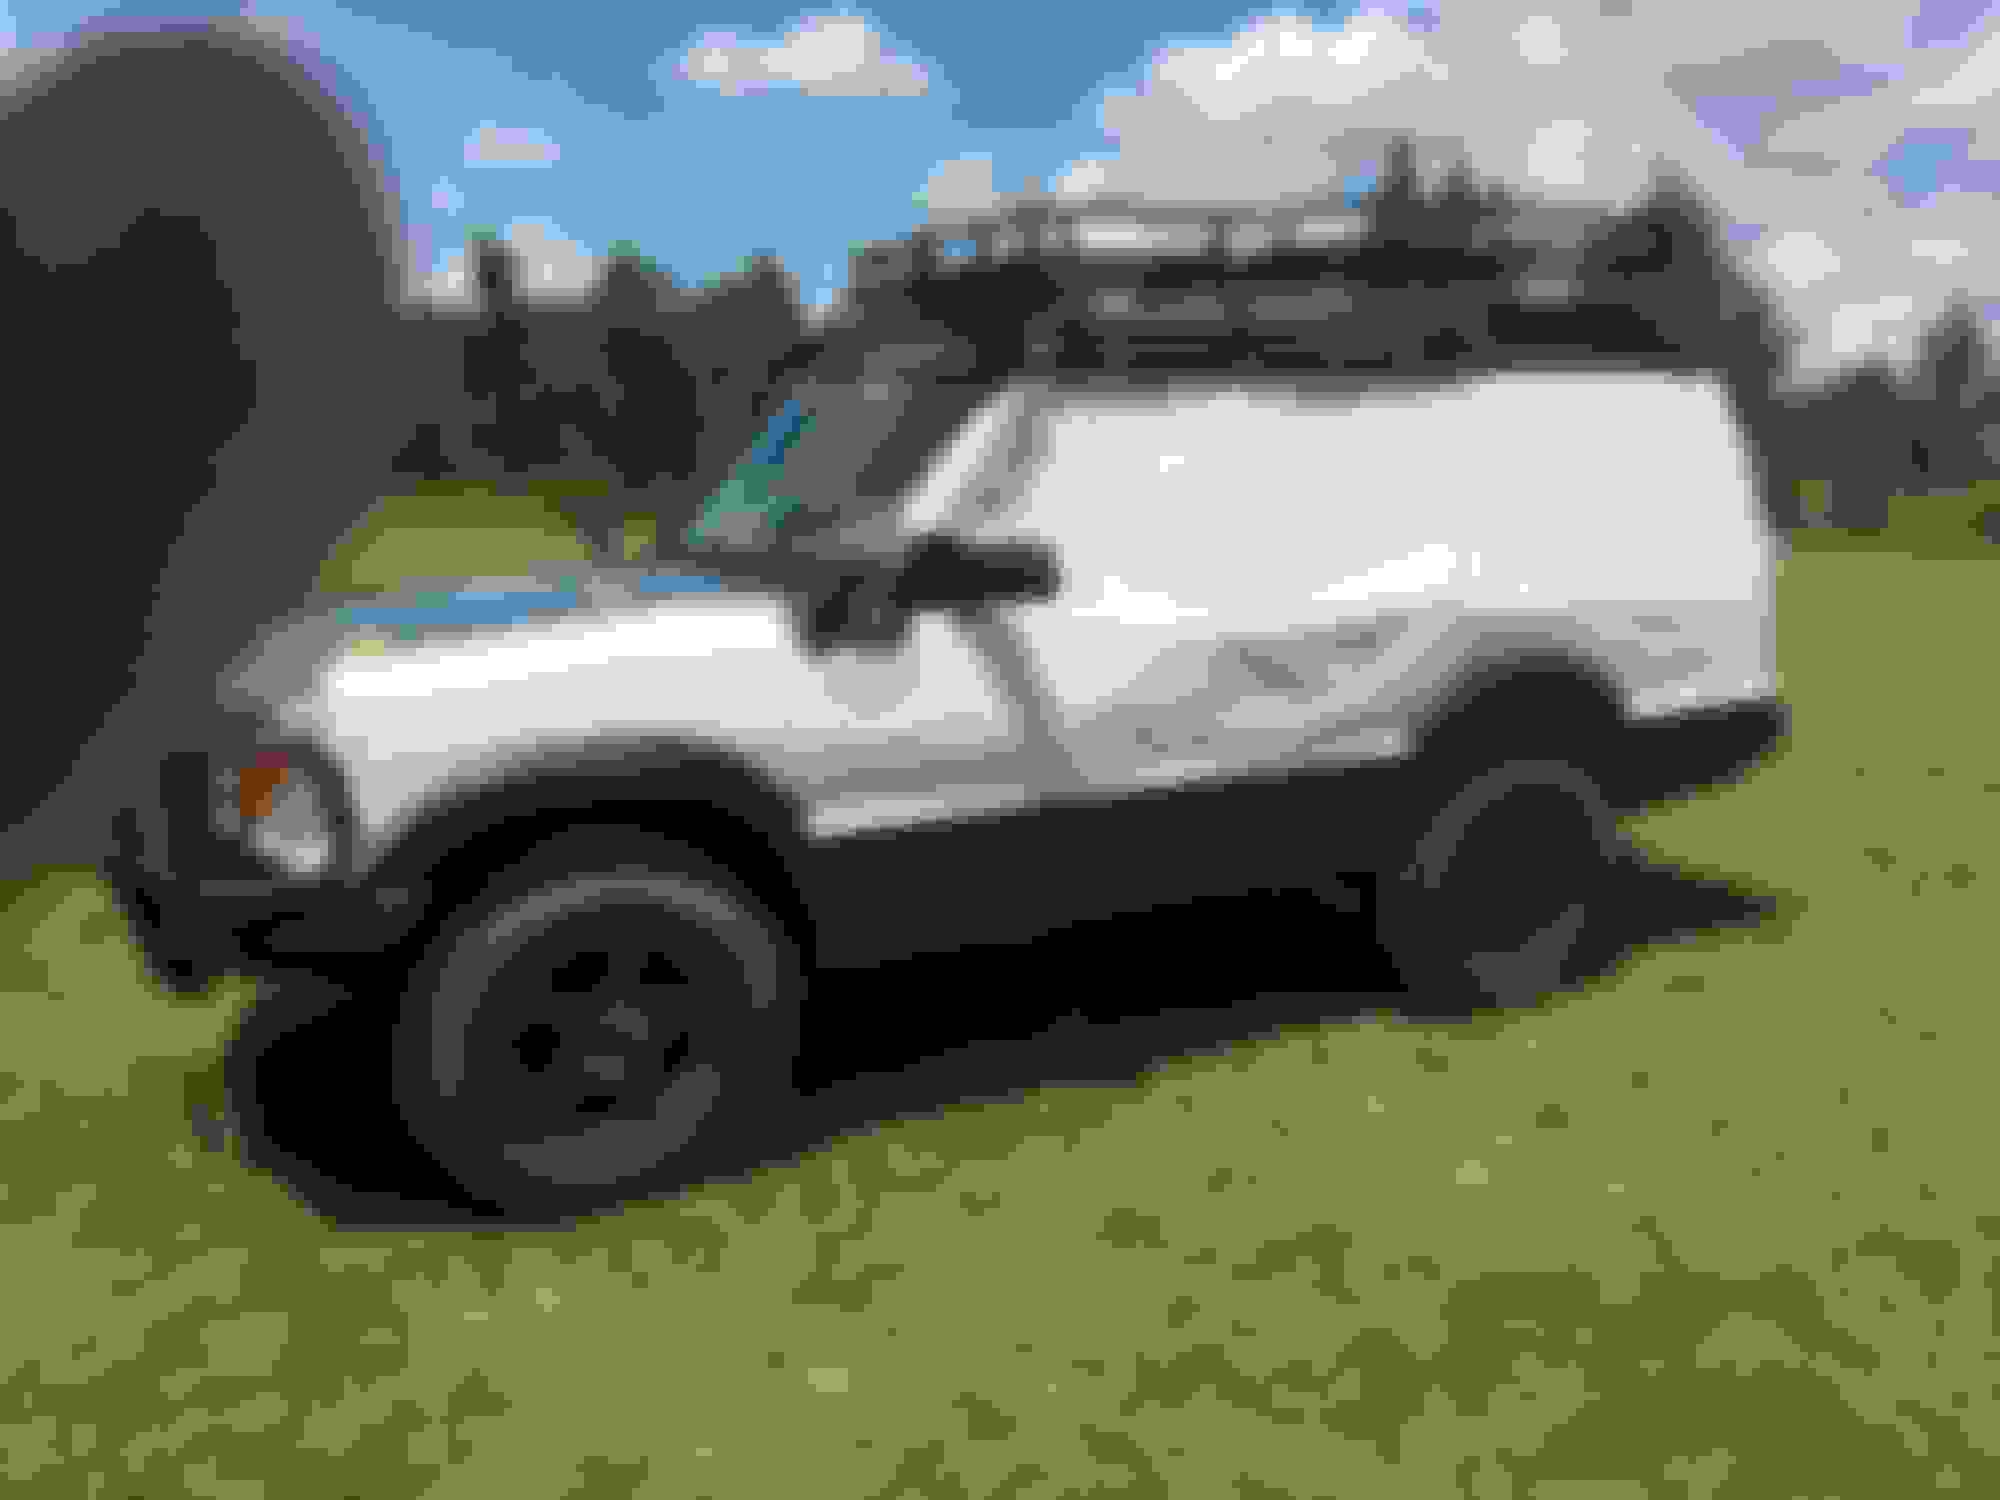
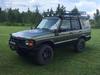
Been a long time since I posted or did any major or minor work to the disco been dumping my money into my other habit (Harley) but ole girl needed some well deserved TLC. So I did a couple things over the weekend, I repainted the fender flares and rocker panels with Bed Liner paint, added the hood blackout decal with a little bit of "Freedom" on it, replaced the rear cracked bumper up and replaced the ABS modulator. And now we have no 3....."shhh" she will hear me!
Getting is taped off
All wrapped up
Whatelse is there to do when watching paint dry...other than drink some cold beer
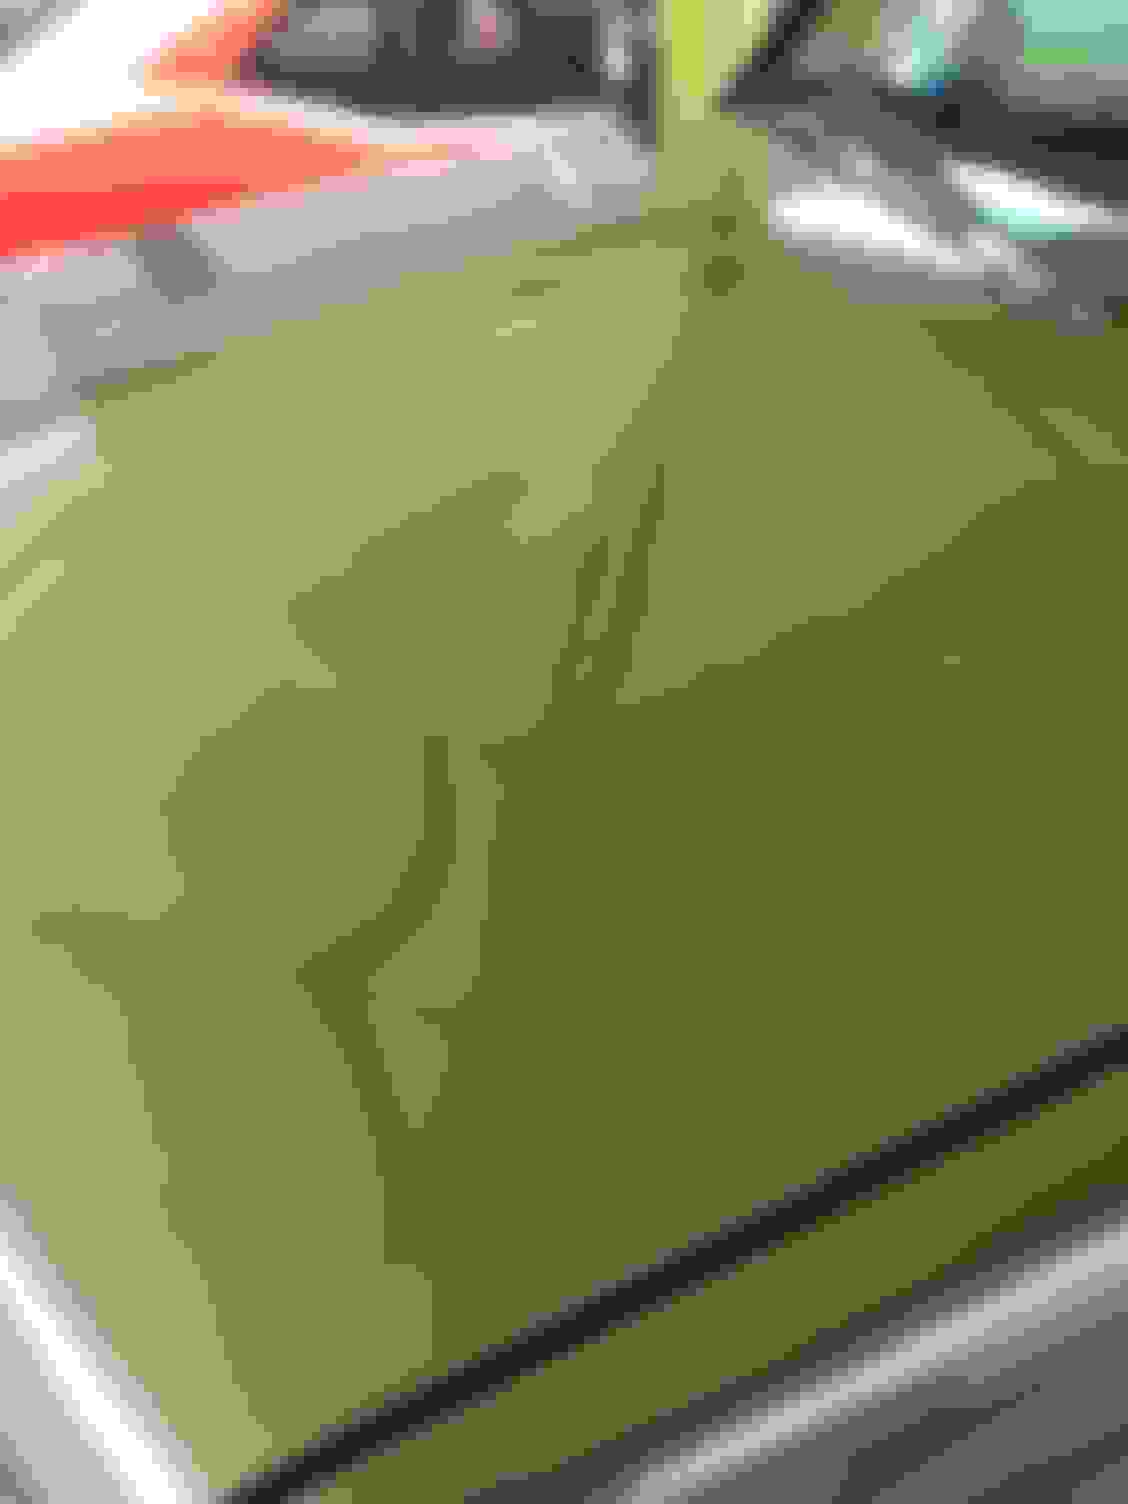
Taking the old hood graphic off<br/>
All prepped and ready to apply the Hood blackout wrap
marking the trim line for the vinyl wrap with cutting tape
all finished and added some Freedom!
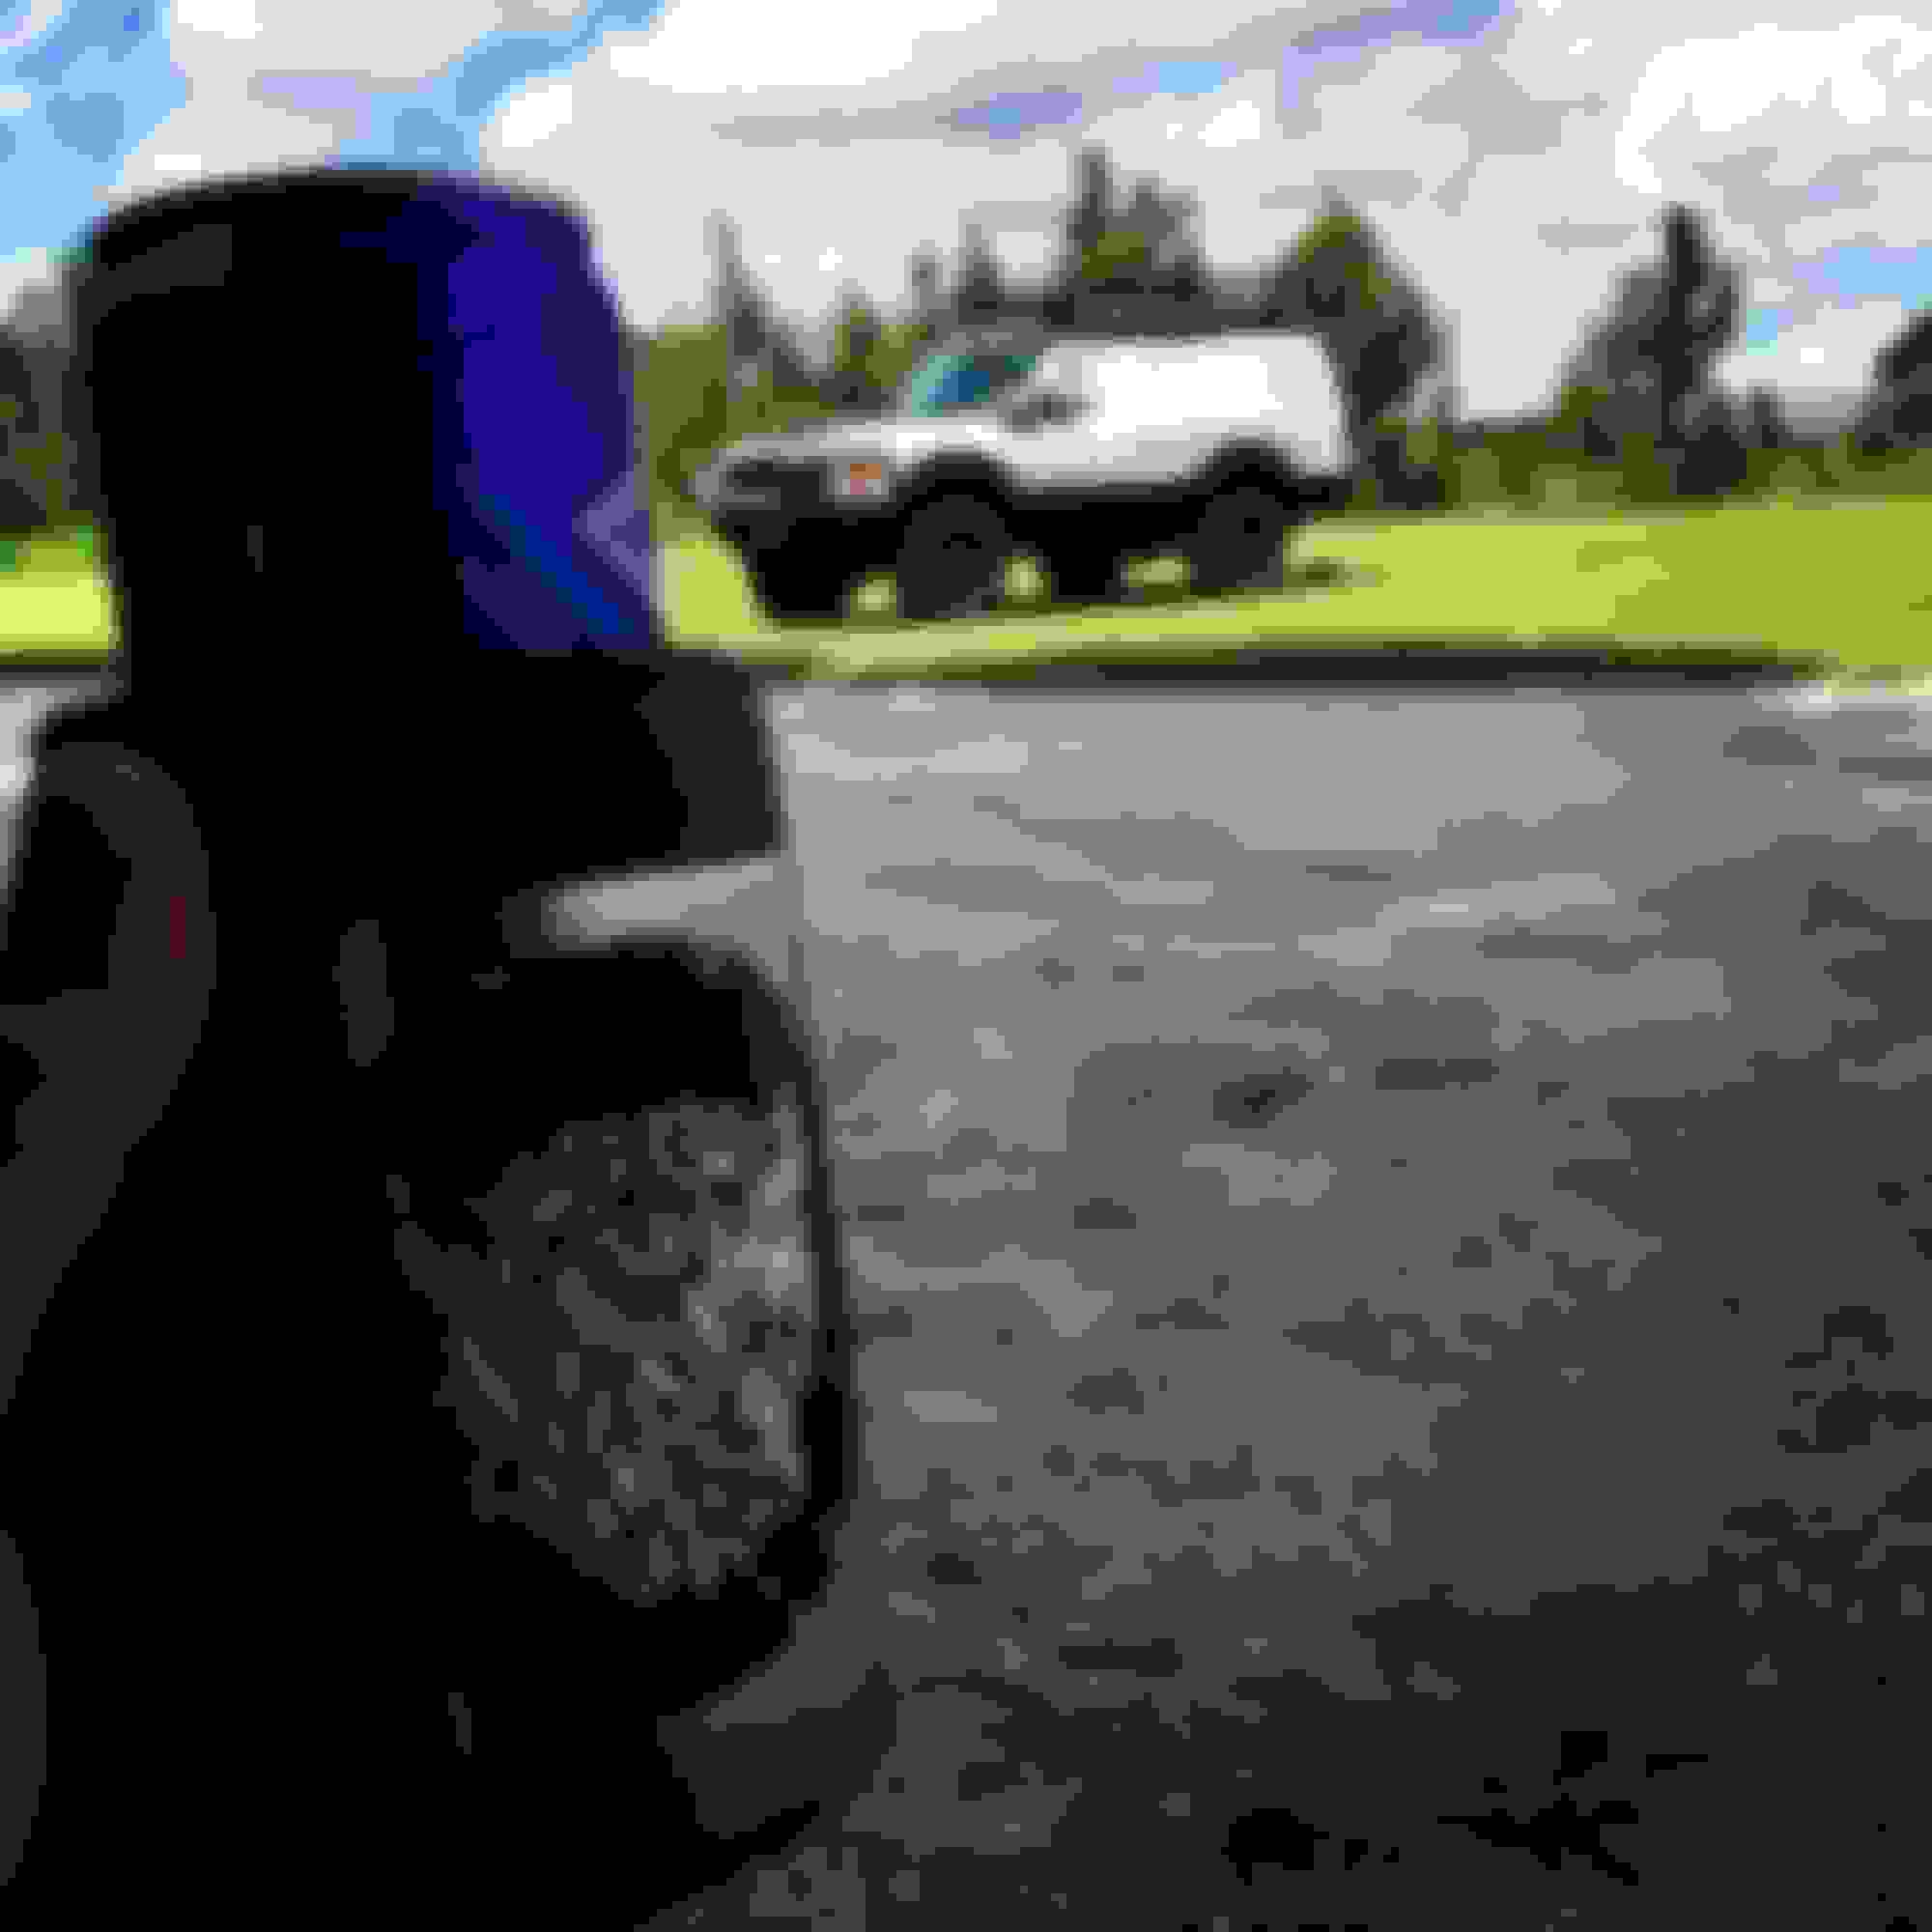
added some Hella 500 Comets i picked up for cheap, to give it that old style look up top
Loving the hood decal. You should put a few up for sell with the vinyl cutting tape included. How much would it run shipped usps
Loving the hood decal. You should put a few up for sell with the vinyl cutting tape included. How much would it run shipped usps
The Distressed American Flag Oscar Mike Star (22inch x 22inch) runs $25 plus $9 shipping. I'm working on some options to be able to ship the Hood Blackouts for Disco 1, II and LR3.
Thanks, Yeah probably won't ever catch me in Cali.
I also do vinyl graphic's here in California on the side. If you are willing to send me the eps file for the freedom logo you made then I can help here on the west coast also.
Have an appointment to get my headliner replaced a week from tomorrow. I'm so excited!! Isn't that pitiful? Getting excited over a new headliner? Happy Birthday to me!
save your money and repaint it. its very easy to remove follow the directions in the forums. I did mine in one day. once out just remove the headliner material and sand off the remaining foam with a wire brush then a smooth sanding with some 60 grit. then I painted mine with rustoleum black hammered finish. I get lots of compliments and ill never have to do the headliner again. and the money you save by doing it yourself you can put mating on roof for sound deadening before reinstall.
here is what I have done since the last version of the rear setup.
after wood burn and varnish
after woodburn and varnish
Finished rear door camping mod. Made from aluminum paneling. I replaced the stock door panel. then I relocated the door latch to a pull **** next to door ****. the tray on left is in the upright position being held by earth magnets I mounted inside the knife block and also inside the aluminum paneling. and stowed the second table to the left for traveling. when its in use it will slide in position between the speaker box and spice tray. then both tables have chains to hold them at the right angl
Here is my rear door camping mod in working positions. Using earth magnets to hold left tray in upright position And chains to hold it in down position for use. I moved the lower carrier box to above speakers for spices and oils. And have second table to right for prep. The table on left will be used for portable stove. or coffee brewer. This mod will help while camping and while my tent is setup as I can access my vehicle from back of room and open my door all the way while inside tent. if you
dammed I love modding this car. I've modded a few cars to my liking but to get ready for overlanding and traveling this is so much fun. hope you all are liking it.
That table is cool! Interesting approach. I did a single table, and in hindsight can see the advantage of two separate tables (one for stove, one for misc).
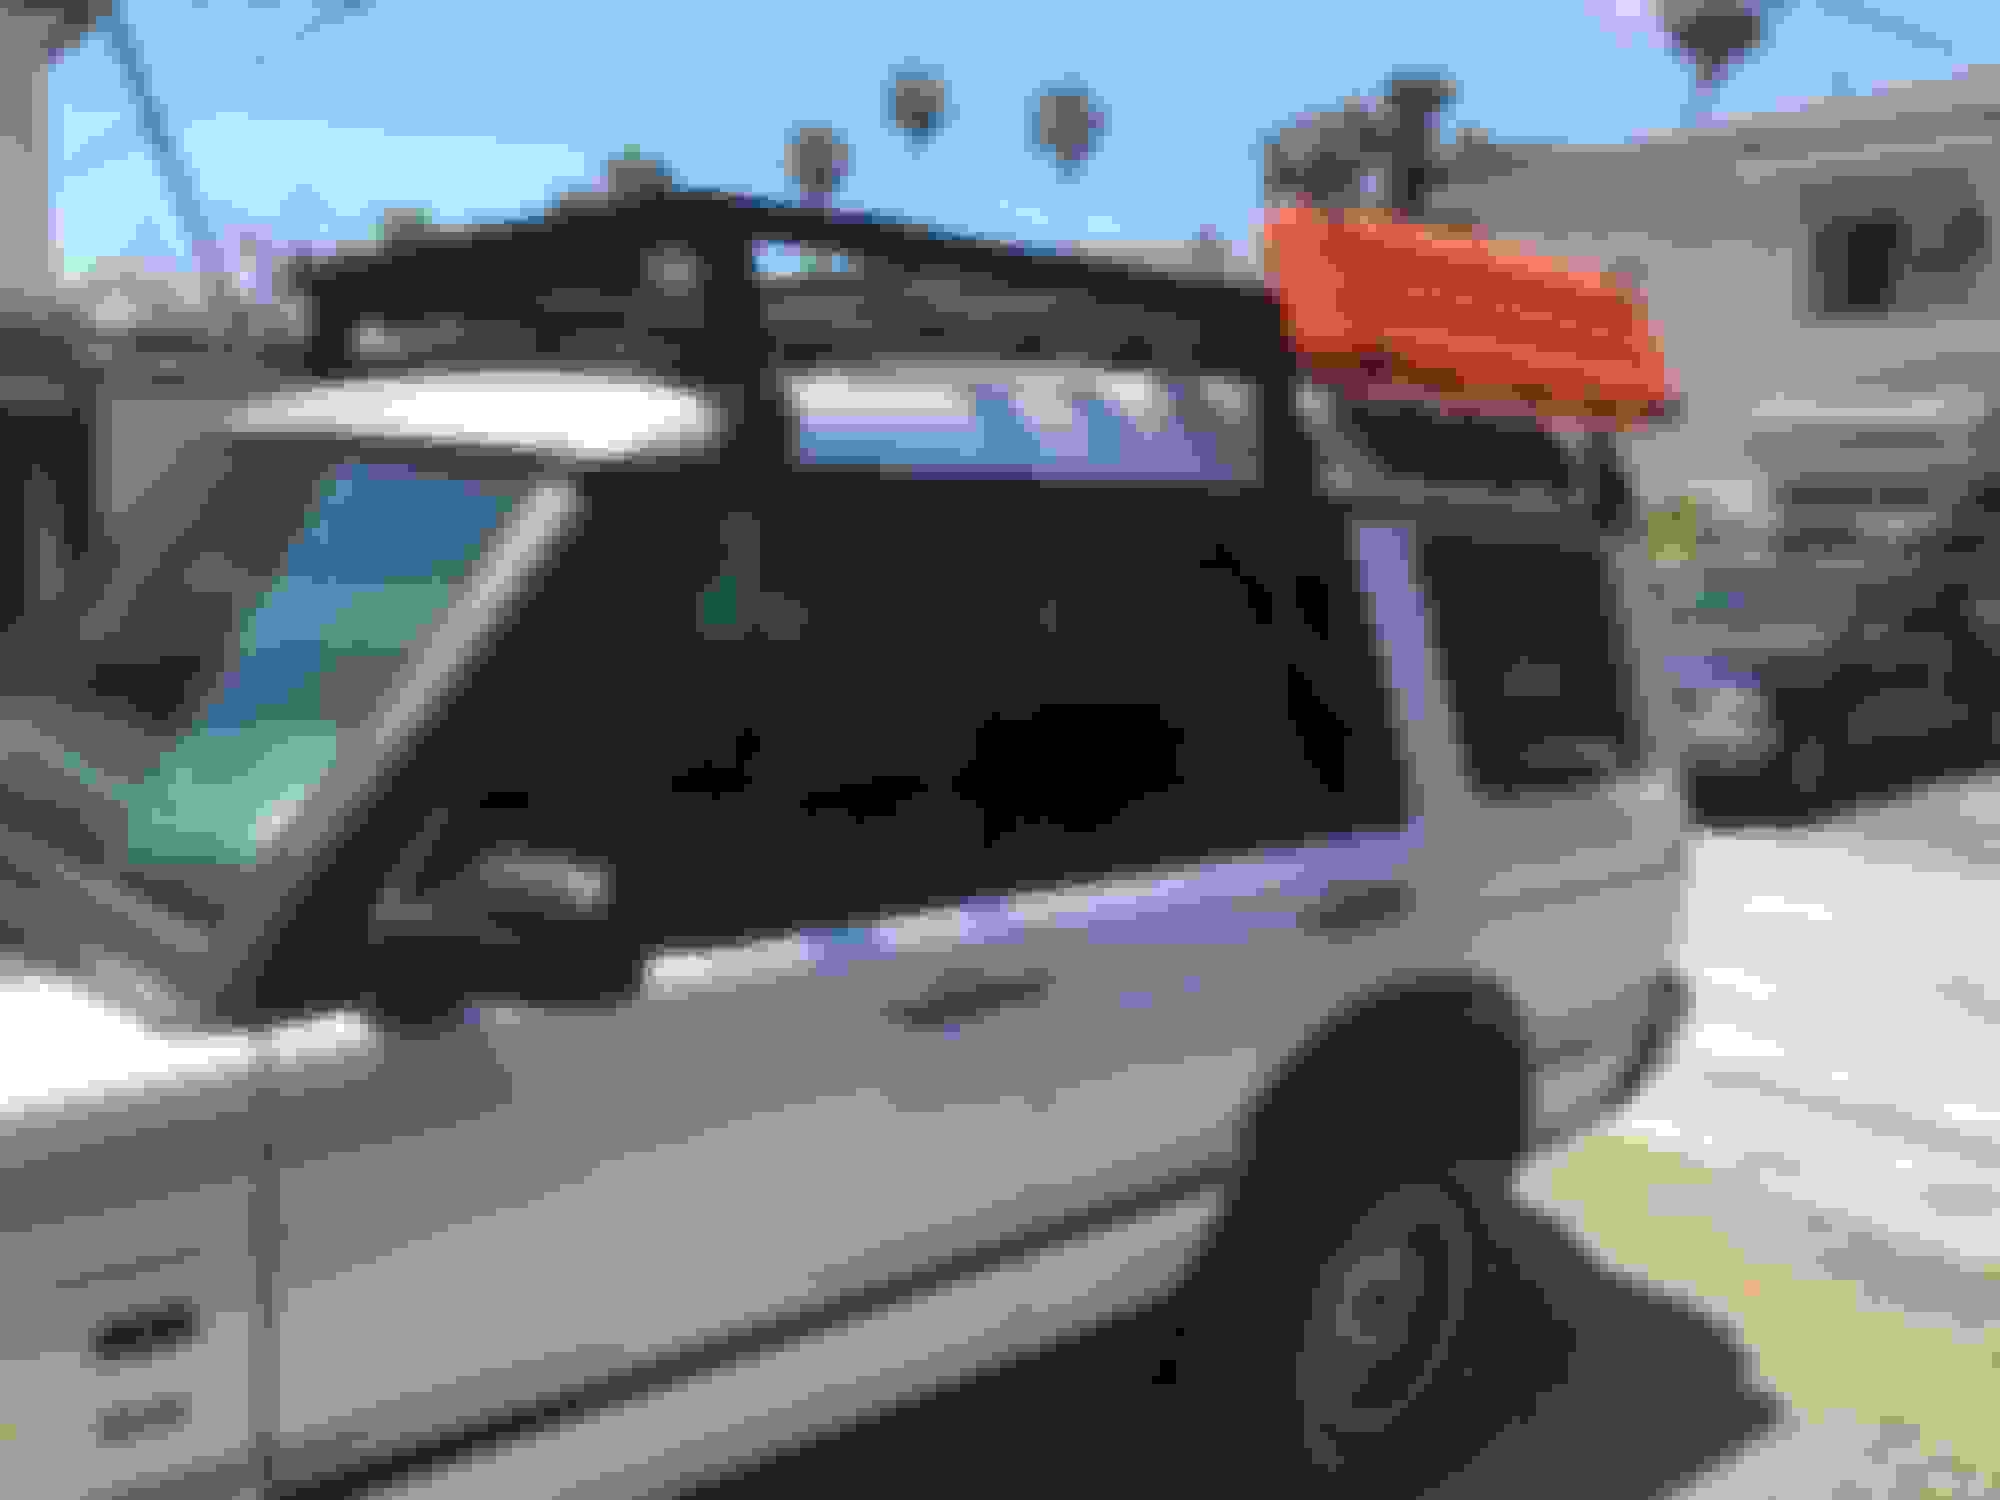
Yesterday I installed an 8" extension for the front runner rack so that the rear lights will sit nicely over the end.
I installed maxtrax onto my frontrunner rack today, and installed front and rear diff guards.
next up, greg davis bumper, TF wheel arches, and bush cables.
I drove my '99 D2 with factory everything from Salt Lake City to Scottsdale AZ. With 7 people in her and a bunch of stuff in the cheap Reese cargo basket on her roof we made it without issue. It was 112 when we arrived in AZ, so she is in my in-law's garage getting some well deserved rest.


 06-20-2017, 09:02 PM